

Supplies
Here is a running list of all things needed for sourdough baking. You'll have a lot of these items in your kitchen already. If you need more detailed info, watch my first attempt at a facebook live video here: *cringe*
For Creating & Maintaining a STARTER
Glass Jar (pyrex measuring cup or wide mouth mason jar)
Scale
Plastic wrap
Small spatula
King Arthur Whole Wheat Flour
King Arthur Bread Flour
Tupperware (for half and half mixture)
Thermometer (optional)
For FORMING Loaves & BAKING
Combo cooker or dutch oven
Bench scraper
Pastry spatula (optional)
Large colander or lined proofing basket
Tea cloth if using a colander
Razor Blade or Bread Lame
King Arthur Whole Wheat Flour
King Arthur Bread Flour
Rice Flour For Dusting
Creating Your Starter
I create and feed my starter in a method that is a combination between Tartine & The Perfect Loaf. Both are great resources for learning more about this process. If you’re looking for a more relaxed method that doesn’t involve a scale, check out this post.
About the Method
This method involves meticulously measuring your ingredients to ensure that your starter has a routine to help it grow and become active. In order to do this, you will be using a scale to measure out your feedings each day.
This method involves maintaining a fairly small amount of starter on a daily basis, but regardless of how much starter you would like to upkeep, the principle is the same: feed your starter equal portions of water and flour by weight each day.
So if you want to maintain 100g of starter, each day you’ll discard enough starter so that you have 100 grams left, then you’ll add in 100g of water and 100g of flour.
To make this easy and avoid using a new container every day, you can measure your jar in grams, do mental math to add the weight of the starter you want to maintain, and discard enough starter each day so that your container and starter hits the original combined weight of your jar and your starter.
For Example: if I have a jar that weighs 200 grams and I want to maintain 100 grams of starter, each day I will discard enough starter from my jar so that it weighs a total of 300 grams. Then I will add in an additional 100g each of flour and water, matching the 100g weight of the starter.
Supplies
Scale
Tupperware Container
Pyrex Measuring cup or Mason Jar
Small Spatula
Whole Wheat Flour
White Flour
Room Temp Water
Prepping
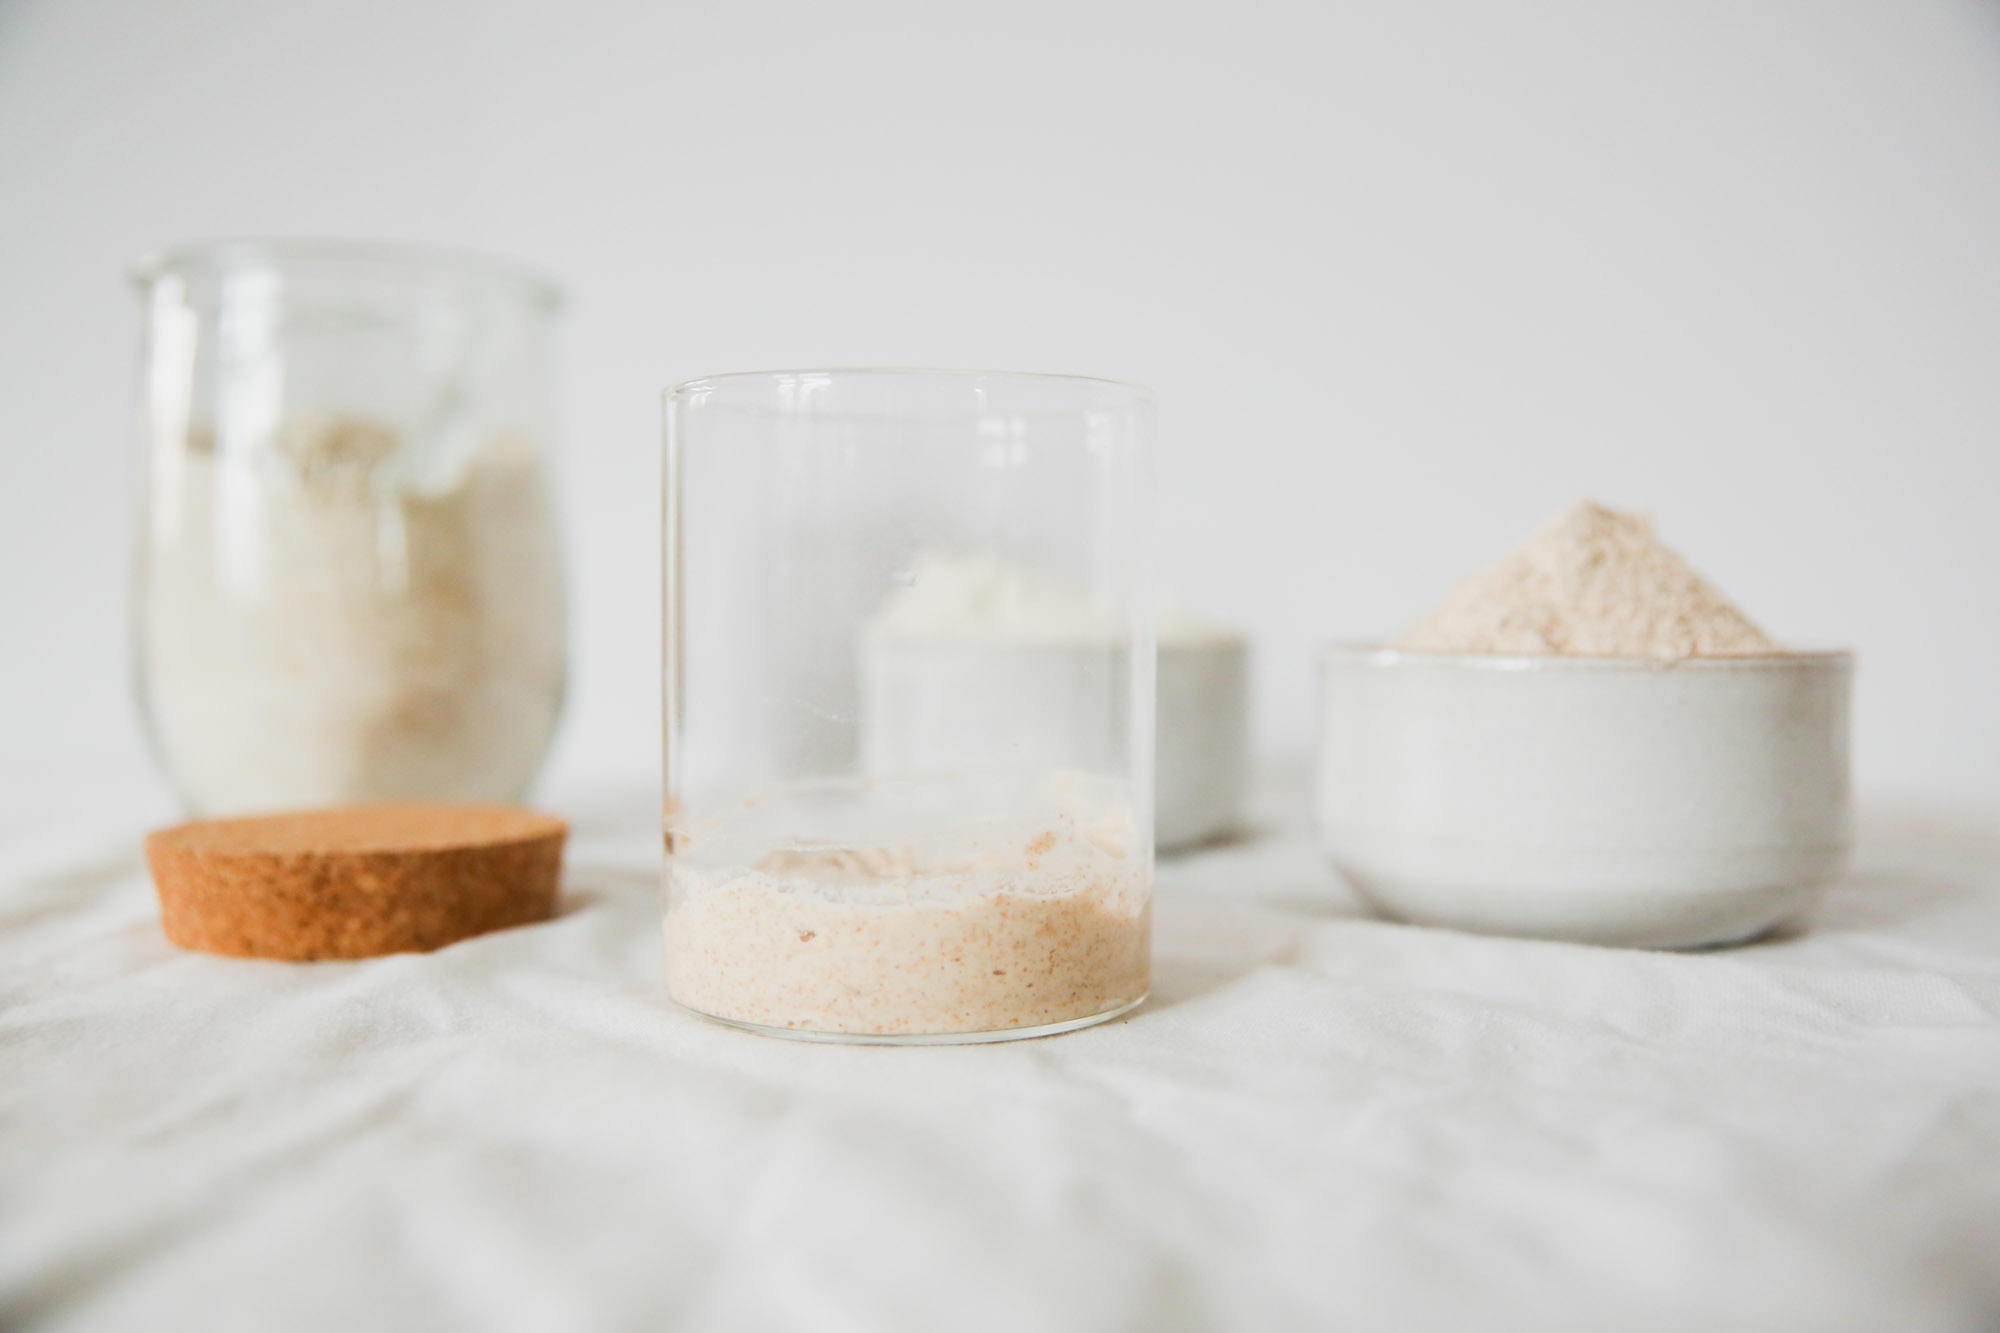
Measure out equal parts white and whole wheat flour into your tupperware container with as much 50/50 flour mix as it can hold. I would recommend 200-400 grams total. This jar is your starter food. Set aside.
In grams, measure the weight of your container that will be holding your starter. My pyrex weighed 500 and I maintain 50 grams of starter on a daily basis, so 550 (500g, the weight of my container + 50g, the weight of my starter) is the number I need to remember for feedings.
Write down your number in an accessible place; I usually type it in a note in my phone or write it in dry erase marker on my container.
This number is important because each day you will discard enough of your starter so that there are only 50 grams (or however much you want to maintain) left in the container.
Place equal amounts of your flour mixture and room temperature water into your container. Again, for me this was 50g each.
Mix thoroughly, cover loosely with plastic wrap, and set in a cool dark place for 2-3 days.
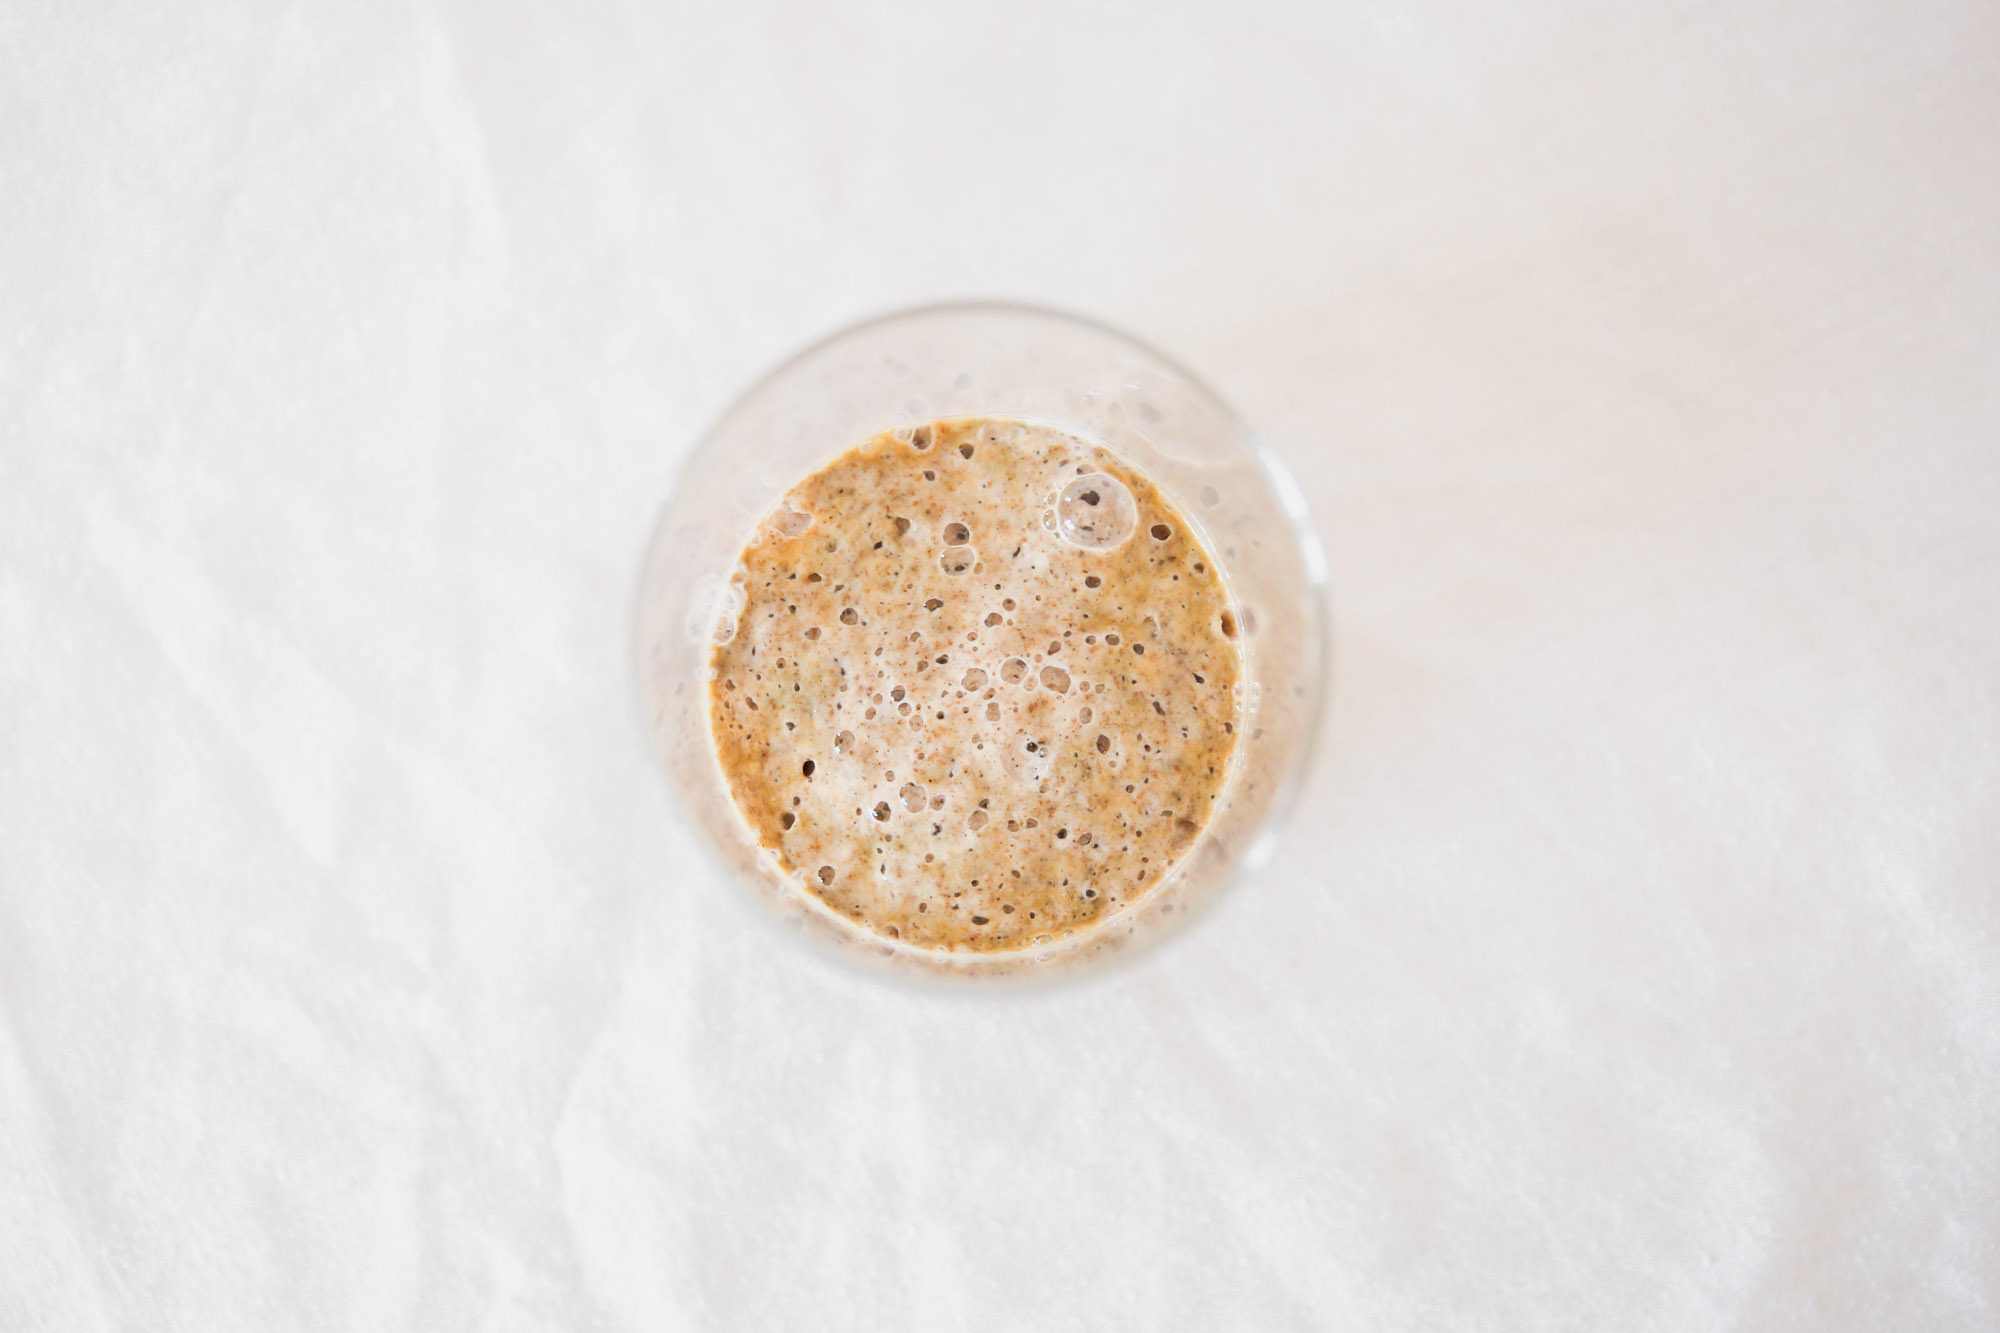
After 2-3 days your starter should be bubbly and smell like overly ripe cheese or days old fruit. That’s how you know it will be ready for your first feeding.

Feeding Your Starter
Ideally, you will do each feeding about the same time every day. When your starter begins to rise and fall (increasing and decreasing in volume) consistently a few hours after feeding, you may want to increase to feedings 2x daily. You can certainly get away with feeding it only 1x per day, but feeding twice a day makes a huge difference in the health of your starter.
Supplies
Scale
Pre-mixed 50/50 Flour
Clear Jar w/Starter
Small Spatula
Room Temp Water
Method
Give your starter a good stir, mixing everything together and deflating all of your bubbles.
Turn on your scale and weigh your starter. Discard enough so that you reach the desired weight of your container + starter that you calculated when you created your starter. Mine needs to decrease to 550 so I take out starter until my scale reads “550”.
After you have discarded enough to reach your desired weight, zero out your scale and add equal amounts 50/50 flour mix and room temperature water. Again, for me that is 50g each.
Stir thoroughly, cover, and let sit.
Repeat daily or twice daily.
Even though you had a lot of bubbles before your first feeding, for the first 5 days of feedings you may not notice much happening. There may be a few bubbles here and there but nothing mind blowing. Don’t give up!
After 7-10 days your starter will start doubling in size over a 8-12 hour span.
Creating Your Leaven
The night before you plan to bake you need to create your leaven, which is an offshoot of your starter. It’s a low concentration of yeast and a high concentration of flour and water, which results in bread with a mildly delicious sourdough flavor. Feel free to experiment with using a leaven, or your starter on its own.
Supplies
Scale
Large Clear Container
50/50 Flour Mix
1 T Mature Starter
Spatula
Method
Place container on scale and add 50g of mature starter.
Zero out scale and add 200g 50/50 Flour Mix & 200g room temperature water.
Mix thoroughly, lightly cover, and let develop overnight.
The next morning, your leaven should be very active and be doubled in size.
Mixing Dough & Forming Loaves
This takes a bit of practice. I have found it to be theraputic, and each time gets easier.
Ingredients
800g White Flour
200g Wheat Flour
750g + 50g Water
200g Leaven
20g Salt
Supplies
Bench Knife
Bread Baskets
Rice Flour
Large Bowl
Dutch Oven or Combo Cooker

Stage 1 | AUTOLYSE
Background
Autolyse is a process by which flour and water are added together without any other bread ingredients so that the flour fully hydrates and develops gluten without having to knead the dough. It also starts to break down the flour into starch that will feed your yeast. The benefit of this step that we’re letting time & water develop our gluten for us without so that we don’t over work the dough. The result is a dough that is easier to shape and work with.
Method
In a large bowl, combine your flours with 750g water. Use your hands to mix the dough until it just comes together in a shaggy ball and no dry bits remain. Cover and let set for at least 30 minutes and up to 3 hours.
After your resting period, add 200g of your leaven, additional 50g of water and 20g salt to your dough. Incorporate it all together by squeezing dough with your hands, until water, leaven & salt have absorbed. Cover and let rest for 30 minutes.
Stage 2 | Bulk Fermentation
Background
During bulk fermentation we are letting the yeast ferment the dough, while at the same time working our dough to develop gluten and create a strong internal structure that can hold the network of bubbles the yeast will produce.
Method
Every half hour for 3-4 hours, perform a series of stretching & folding “turns” with your dough. Gently pull the edges of the dough up an over itself, working your way around the dough and rotating your bowl as you go.
Cover & let it rest for 30 minutes, & repeating every 30 minutes for 3-4 hours. The warmer your kitchen the faster your bulk. If you want to speed up the process you can store your dough in the oven with the light on or on near your dryer if it happens to be running.
At the end of this process, your dough should have about doubled in size and developed a smooth shiny surface.
Stage 3 | Forming Rounds & Bench Rest
Method
Lightly flour your work surface and pour your dough out into one solid mass. Cut your dough into to two equal pieces with your bench knife and fold dough in half so that half of the floured side is now facing up and the sticky side is concealed within the fold.
To form your dough into rounds, with the bench knife close to parallel to your work bench, lightly push the loaf under itself using a circular motion. This is creating tension on the top of the loaf which forms a smooth surface.
This can be tricky at first but you’ll soon get used to it. See this AMAZING repurposed instagram story for reference. This was my first loaf that I had baked in a while so you can tell my shaping is rather rusty, which should inspire you to give it a go.
Cover with a tea towel & let rest for 30 minutes.

Stage 4 | Forming Loaves
Background
During this process we are setting the stage for the final shape or the loaves and developing the gluten further.
Method
Flour the top of each loaf and use your bench knife to flip it over. Perform a series of folds as shown in the video: bottom to top, left to right, right to left, top to bottom.
Twist the loaf against your work surface with your hands a few times to seal the bottom and create more tension along the top of the loaf.
Dust a lined proofing basket with rice flour, or line a clean kitchen towel with rice flour and place into a colander.
Pick up the loaf by scooping it up with your bench knife and flip it upside down into your proofing basket lined with a towel that has been floured with rice flour & cover with a clean towel.

Stage 5| Final Rise
Method
Cover loaves and let rest for 3-4 hours on your countertop, or overnight in the fridge. If you must speed up this final rise you can turn your oven on for a minute or two, then turn it off and store your loaf in the closed oven.
You can slow down the process by doing a slow, cold fermentation, also called retarding the dough, by proofing the dough in the fridge overnight which leads to a more flavorful dough due to a slower fermentation.
Stage 6 | Bake
Place dutch oven or combo cooker in oven and preheat to 500 degrees.
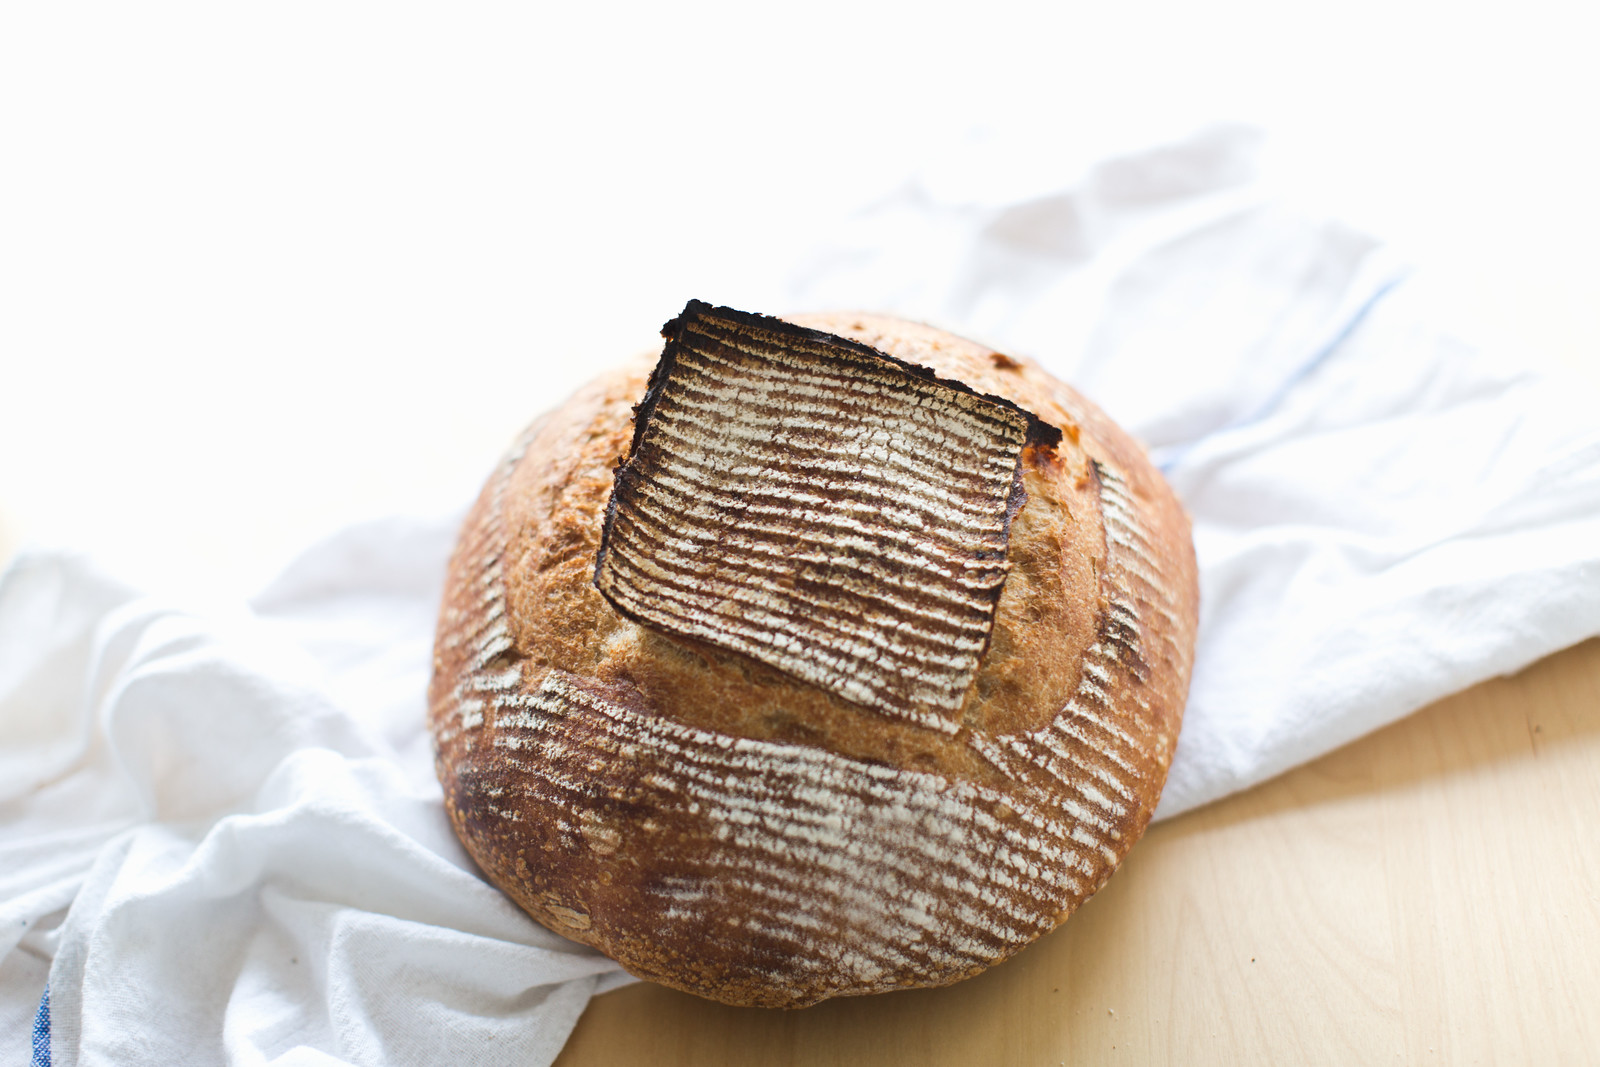
When preheated, take loaf out of fridge (if using) and flip loaf over into dutch oven. CAREFULLY score top of loaf with lame or razor blade, cover with lid and place in oven. Reduce heat to 450 degrees. Bake 20 minutes covered, and 20 minutes uncovered.
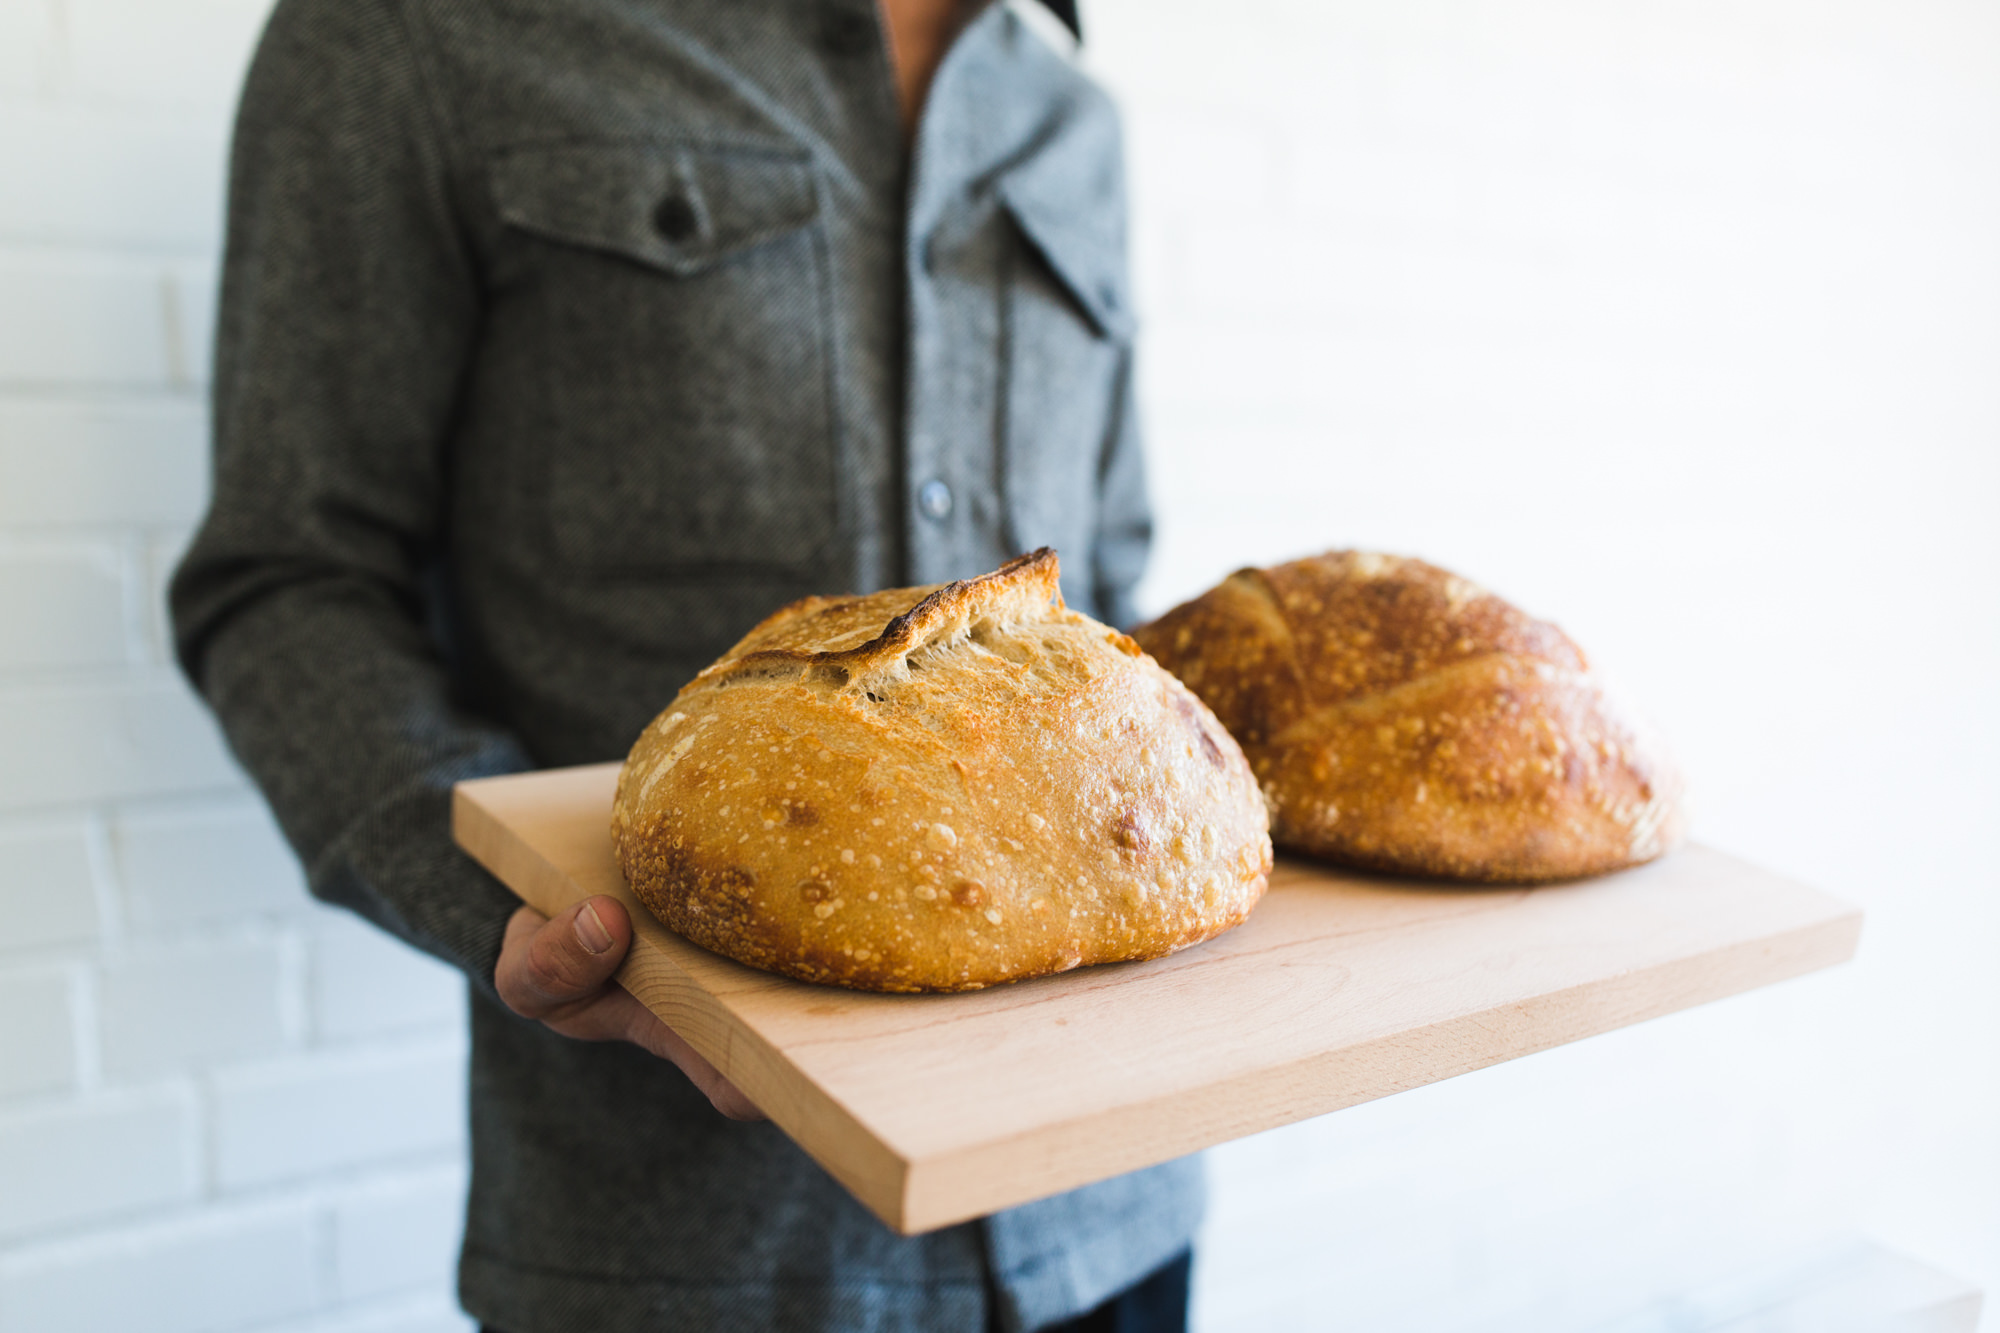
Remove loaf from oven and place on cooling rack to cool.
How To Make Homemade Sourdough
Step by step instructions for making sourdough bread from the comfort of your own kitchen.
ingredients
- Bench Knife
- Bread Baskets with Linen Liners -or- Colanders Lined with Lint-Free Kitchen Towels
- Large Bowl
- Kitchen Scale
- Dutch Oven or Combo Cooker
- Razor blade or Bread Lame
- 50g mature starter
- 100g white flour
- 100g wheat flour
- 200g water
- 800g White Flour
- 200g Wheat Flour
- 750g + 50g Water
- 200g Leaven
- 20g Salt
- Rice Flour For Dusting
instructions
- The night before you plan to bake you need to create your leaven, which is an offshoot of your starter. It’s a low concentration of yeast and a high concentration of flour and water, which results in bread with a mildly delicious sourdough flavor. Feel free to experiment with using a leaven, or your starter on its own.
- Place container on scale and add 50g of mature starter.
- Zero out scale and add 100g white, 100g wheat & 200g room temperature water.
- Mix thoroughly, lightly cover, and let develop overnight.
- The next morning, your leaven should be very active and be doubled in size.
- Autolyse is a process by which flour and water are added together without any other bread ingredients so that the flour fully hydrates and develops gluten without having to knead the dough. It also starts to break down the flour into starch that will feed your yeast. The benefit of this step that we’re letting time & water develop our gluten for us without so that we don’t over work the dough. The result is a dough that is easier to shape and work with.
- In a large bowl, combine your flours with 750g water. Use your hands to mix the dough until it just comes together in a shaggy ball and no dry bits remain. Cover and let set for at least 30 minutes and up to 3 hours.
- After the resting period, add 200g of your leaven, 50g of water and 20g salt to your dough. Incorporate it all together by squeezing dough with your hands, until water, leaven & salt have absorbed. Cover and let rest for 30 minutes.
- During bulk fermentation we are letting the yeast ferment the dough, while at the same time working our dough to develop gluten and create a strong internal structure that can hold the network of bubbles the yeast will produce.
- Every half hour for 3-4 hours, perform a series of stretching & folding “turns” with your dough. Gently pull the edges of the dough up an over itself, working your way around the dough and rotating your bowl as you go.
- Cover & let it rest for 30 minutes, & repeating every 30 minutes for 3-4 hours. The warmer your kitchen the faster your bulk. If you want to speed up the process you can store your dough in the oven with the light on or on near your dryer if it happens to be running.
- At the end of this process, your dough should have about doubled in size and have developed a smooth shiny surface.
- Lightly flour your work surface and pour your dough out into one solid mass. Cut your dough into to two equal pieces with your bench knife and fold dough in half so that half of the floured side is now facing up and the sticky side is concealed within the fold.
- To form your dough into rounds, with the bench knife close to parallel to your work bench, lightly push the loaf under itself using a circular motion. This is creating tension on the top of the loaf which forms a smooth surface.
- See video for reference.
- Cover with a tea towel & let rest for 30 minutes.
- During this process we are setting the stage for the final shape or the loaves and developing the gluten further.
- Flour the top of each loaf and use your bench knife to flip it over. Perform a series of folds as shown in the video: bottom to top, left to right, right to left, top to bottom.
- Twist the loaf against your work surface with your hands a few times to seal the bottom and create more tension along the top of the loaf.
- Video For Reference
- Dust a lined proofing basket with rice flour, or line a clean kitchen towel with rice flour and place into a colander.
- Pick up the loaf by scooping it up with your bench knife and flip it upside down into your proofing basket lined with a towel that has been floured with rice flour & cover with a clean towel.
- Cover loaves and let rest for 3-4 hours on your countertop, or overnight in the fridge. If you must speed up this final rise you can turn your oven on for a minute or two, then turn it off and store your loaf in the closed oven.
- You can slow down the process by doing a slow, cold fermentation, also called retarding the dough, by proofing the dough in the fridge overnight which leads to a more flavorful dough due to a slower fermentation.
- Place dutch oven or combo cooker in oven and preheat to 500 degrees.
- When preheated, take loaf out of fridge (if using) and flip loaf over into dutch oven. CAREFULLY score top of loaf with lame or razor blade, cover with lid and place in oven. Reduce heat to 450 degrees. Bake 20 minutes covered, and 20 minutes uncovered.
- Remove loaf from oven and place on cooling rack to cool.
Did you find this article helpful? Pin the image below for easy recipe referencing


These flaky, buttery scones are a cinch to make at home and can be customized with your favorite dry or fresh fruit.