
How To Make Sourdough Starter From Scratch
Is starting & maintaining a sourdough starter as hard as it sounds? Today I’ll be showing you how to make your own from scratch and how to maintain it for all of your baking needs.

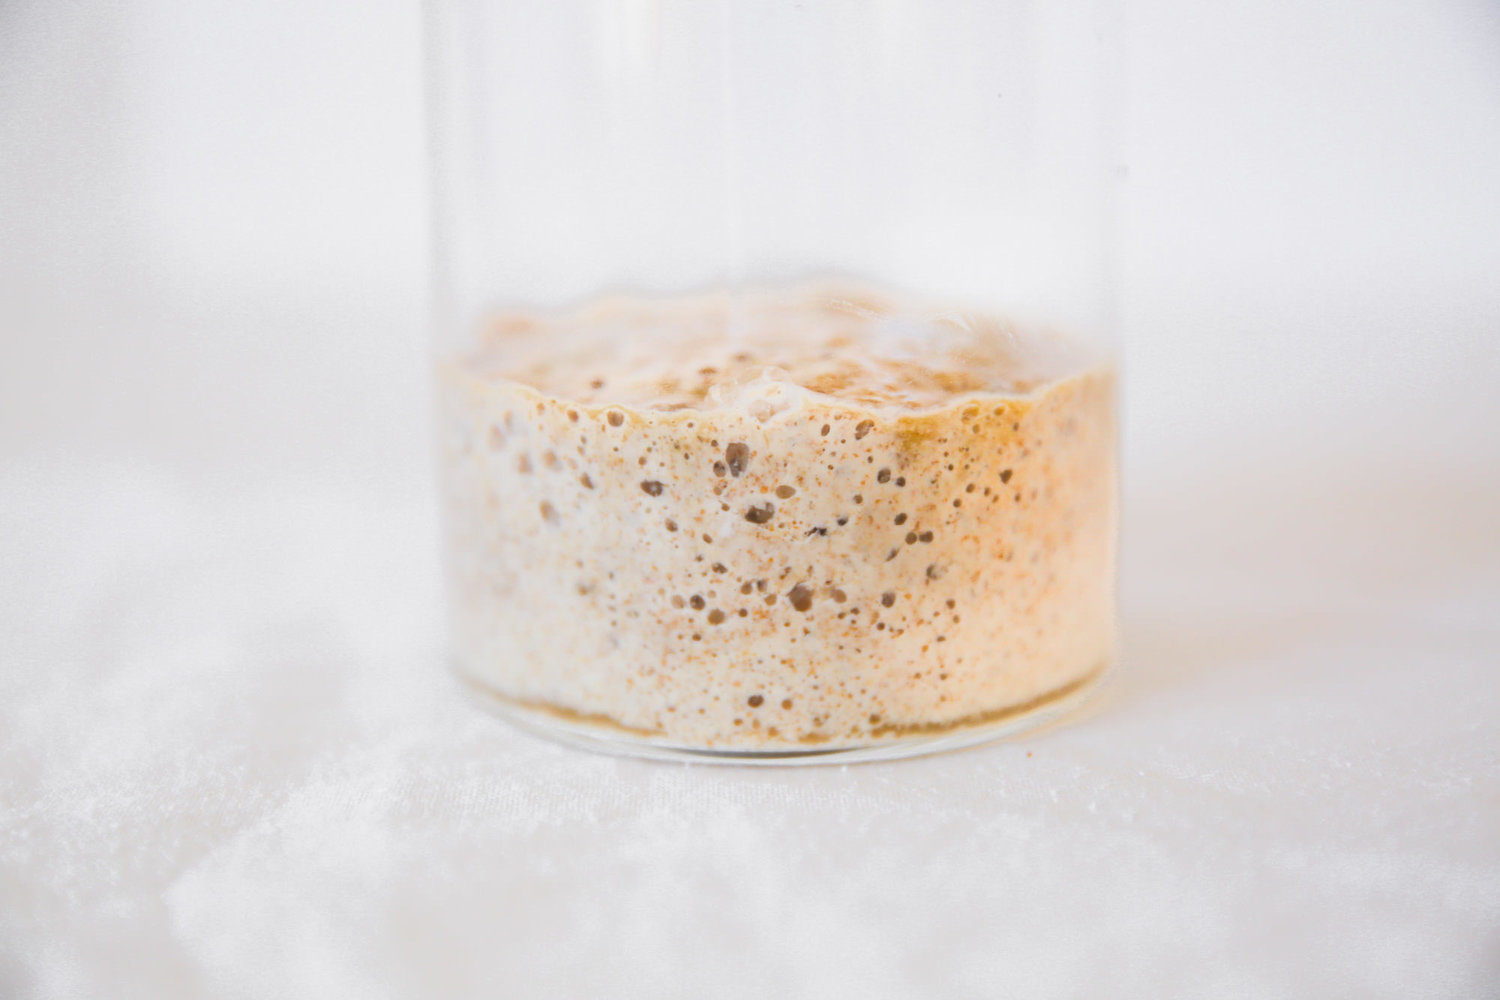
Starter, a day after feeding. The holes are from air bubbles coming to the surface.
Over the past few years, sourdough bread has been sweeping the nation, thanks to the popularity of certain San Francisco bakeries and Netflix docu-series.
Sourdough is a type of bread named for … well … its slight sour flavor. Instead of using commercial yeast (you know the packets you find in the grocery store), sourdough uses a starter, another word for a mix of naturally occurring yeast and bacteria, to make the bread rise.

A white and whole wheat loaf.
Not only has the sourdough method of bread leavening been around for thousands of years, it was the only way to bake bread before commercial yeast was made available early in the 20th century.
With the advent of instant yeast (a stabler and more convenient baking method), the use of natural yeast in bakeries and at home took a major downturn. Which is why odds are you’ve never baked or even eaten a loaf of bread that uses solely natural fermentation.
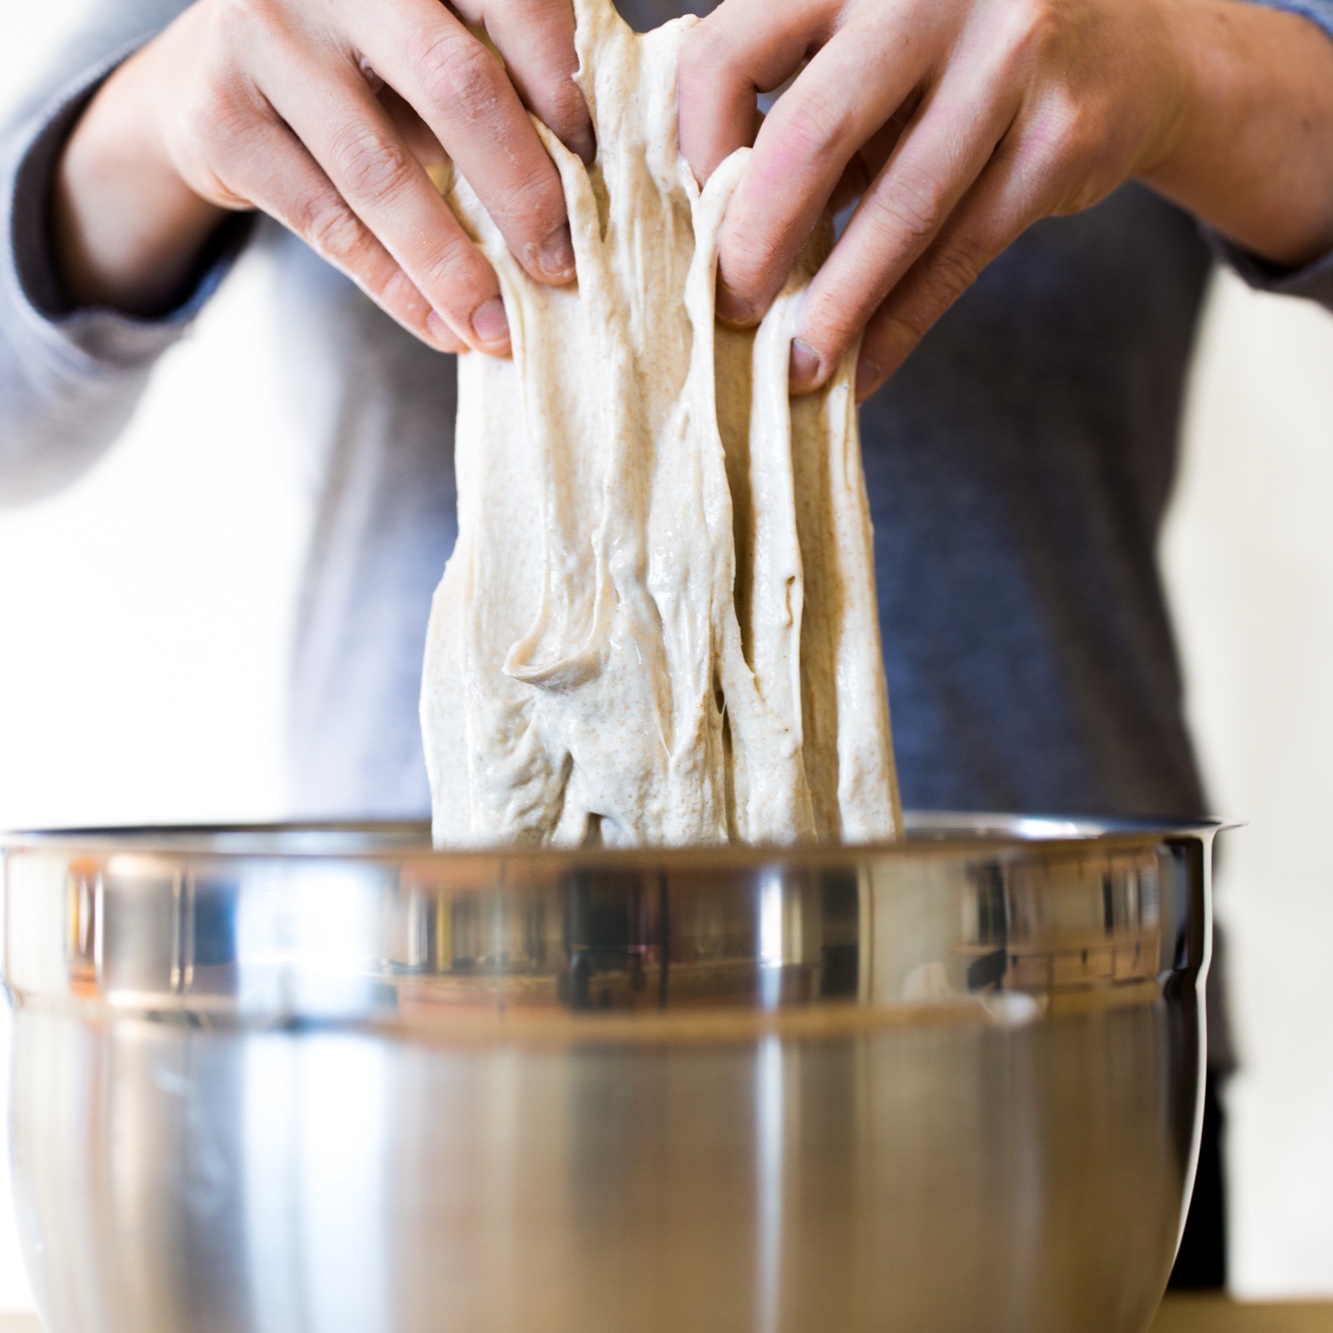
Stretching & folding a batch of sourdough dough.

The little bubbles mean the yeast are healthy and happy.
These days, breads that utilize a starter (naturally fermented yeast) are generally known as sourdough breads.
A starter contains yeast and bacteria that eat the wheat sugars and give off gas bubbles (and a host of other things like acids), which is why you see air pockets in loaves of bread. These gasses are integral in giving a naturally fermented loaf its rise.

Boules during bench rest. The bubbles mean that the yeast is at work and that the gluten is strong & elastic enough to trap the air bubbles.
Breads that are baked using this method are called naturally leavened or naturally fermented. So what exactly is a starter and how do you make one?

Interior crumb shot of a 80% hydration, white country loaf.
Today I’ll be explaining exactly what a starter is, how to make one, and how to maintain it for bread baking. My process is far from an authoritative guide, but an approachable introduction to get people baking their own bread.
What is a Sourdough starter?
At its core, a starter is a mix of flour and water that has been left to ferment. Over the span of a few days, naturally occurring yeast & bacteria develop in the mixture and begin to eat the wheat and give off gas.
But once bubbles begin to form in your starter, it requires attention before you can use it to bake. And you can use it to bake anything that calls for instant yeast and a lot of things that don’t: breads, croissants, cinnamon rolls, pancakes, waffles, tortillas and crackers, to name a few.
But left on its own, a starter will die off as quickly as it came to life. To nurture a starter that is healthy and active enough to produce a good loaf of bread, it requires daily feeding to replenish its food source. But don’t worry, once your starter is healthy, maintaining your starter is a lot easier: you can keep it in the fridge and feed it once a week. The cooler temperature of the fridge slows down the yeast’s activity, so frequent feedings aren’t necessary.


I began baking sourdough in 2015 (4 years ago now), and I like to think that, while I’m far from an expert, I’m past the beginner stage. I’ve gone through multiple iterations of starters (after letting many die off) and have baked quite a few types of loaves.I’ve experimented with strict starter regimens with designated feeding amounts and times (that I could hardly keep up with when life got hectic) and looser “go-by-feel routines,” which is what naturally works better for me.
Over the years I’ve developed a no-fuss, no special equipment starter method that will help you create & maintain a starter from scratch so you can use natural leavening in all sorts of baking.


From left to right: Whole wheat flour, unbleached white flour, glass container (preferably with straight sides), water
What You Need To Make Your Own Sourdough Starter From Scratch:
A Glass Jar, preferably with straight sides (mason jars work well)
Unbleached White Flour
Wheat flour
Container For Storing Flour For Feedings
Water, Room Temp Or Warm To The Touch
Small Spatula
Cling Wrap Or Loose-Fitting Lid For Jar

How to create your own sourdough starter from scratch
The principle is incredibly easy: combine flour and water in equal parts and let it sit out for a few days before feeding the mixture daily to jump start the yeast’s activity.
After a few days, you begin a feeding regimen where you discard a portion of the starter and add fresh water and flour. This keeps the population under control. If you just kept feeding the starter enough fresh flour and water to feed the yeast and bacteria, you wouldn’t be able to find a container big enough to hold it all.

A Step By Step Guide To Creating Your Own Sourdough Starter
scroll to bottom for printable recipe card
NOTES Before You Get STarted:
Yes, sourdough baking is a science, but it’s also an art form. Once you get the hang of using a starter to bake, you will get comfortable with your baker’s intuition. This method relies on using your senses, specifically sight and smell, instead of strict feeding times and amounts.
You also need to know that starters are rather forgiving. Go a few too many days without feeding it, and it will come back to life after a few days of feedings. If your starter is looking particularly sad you can feed it with a little bit of honey to jump start the activity.
The healthier your starter, the better your breads will rise and the tastier your recipes will be, so be sure to feed it frequently especially in the first week of its life.
There are a LOT of factors that come into play with a starter, which is why each one is different. The room temperature of your kitchen, humidity and type of flour can all affect how your starter activates.
Speaking of flour, this can affect your starter as well. Feel free to experiment with different types in your starter and bread baking. Just be sure to ease your starter into a new type of flour. It may not react well if it’s used to all white flour, but the next feeding you feed it only spelt. Rye is a great one to use and I’ve found that starters that use rye flour are incredibly active! Since I bake rather infrequently and rye flour is more expensive, I stick to white and wheat, which works perfectly well. But use whatever works for you.
Using a jar with straight sides is crucial. Starters are very sticky and tend to stick to the sides of your vessel after each feeding. Using a glass without straight sides makes it harder to stir the mixture together and harder to keep the jar clean. Ever couple of days I use a new jar to feed my starter to prevent build up from accumulating on the sides of the jar.
Some people recommend using distilled water, but I always just use plain ole tap. One thing to be aware of is water temperature. Warmer water will encourage yeast activity, while cold water does the opposite. So add water that is room temp or warm to the touch. But get too hot and you’ll kill off some of your yeast!
And lastly, don’t get discouraged. If you keep up with the feeding routine, your starter WILL get active.
Ingredients & Supplies
White Unbleached Flour
Wheat Flour
Lukewarm Water
Glass Container
Small Spatula
Instructions

I feed my starter using a 50/50 mix of white and wheat flour, so before I create my starter, I fill a medium sized container with half white flour and half wheat flour and give it a good mix. I also keep a scoop in there (which happens to be a ramen spoon) for easy flour portioning for feedings.

DAY 1: Mix
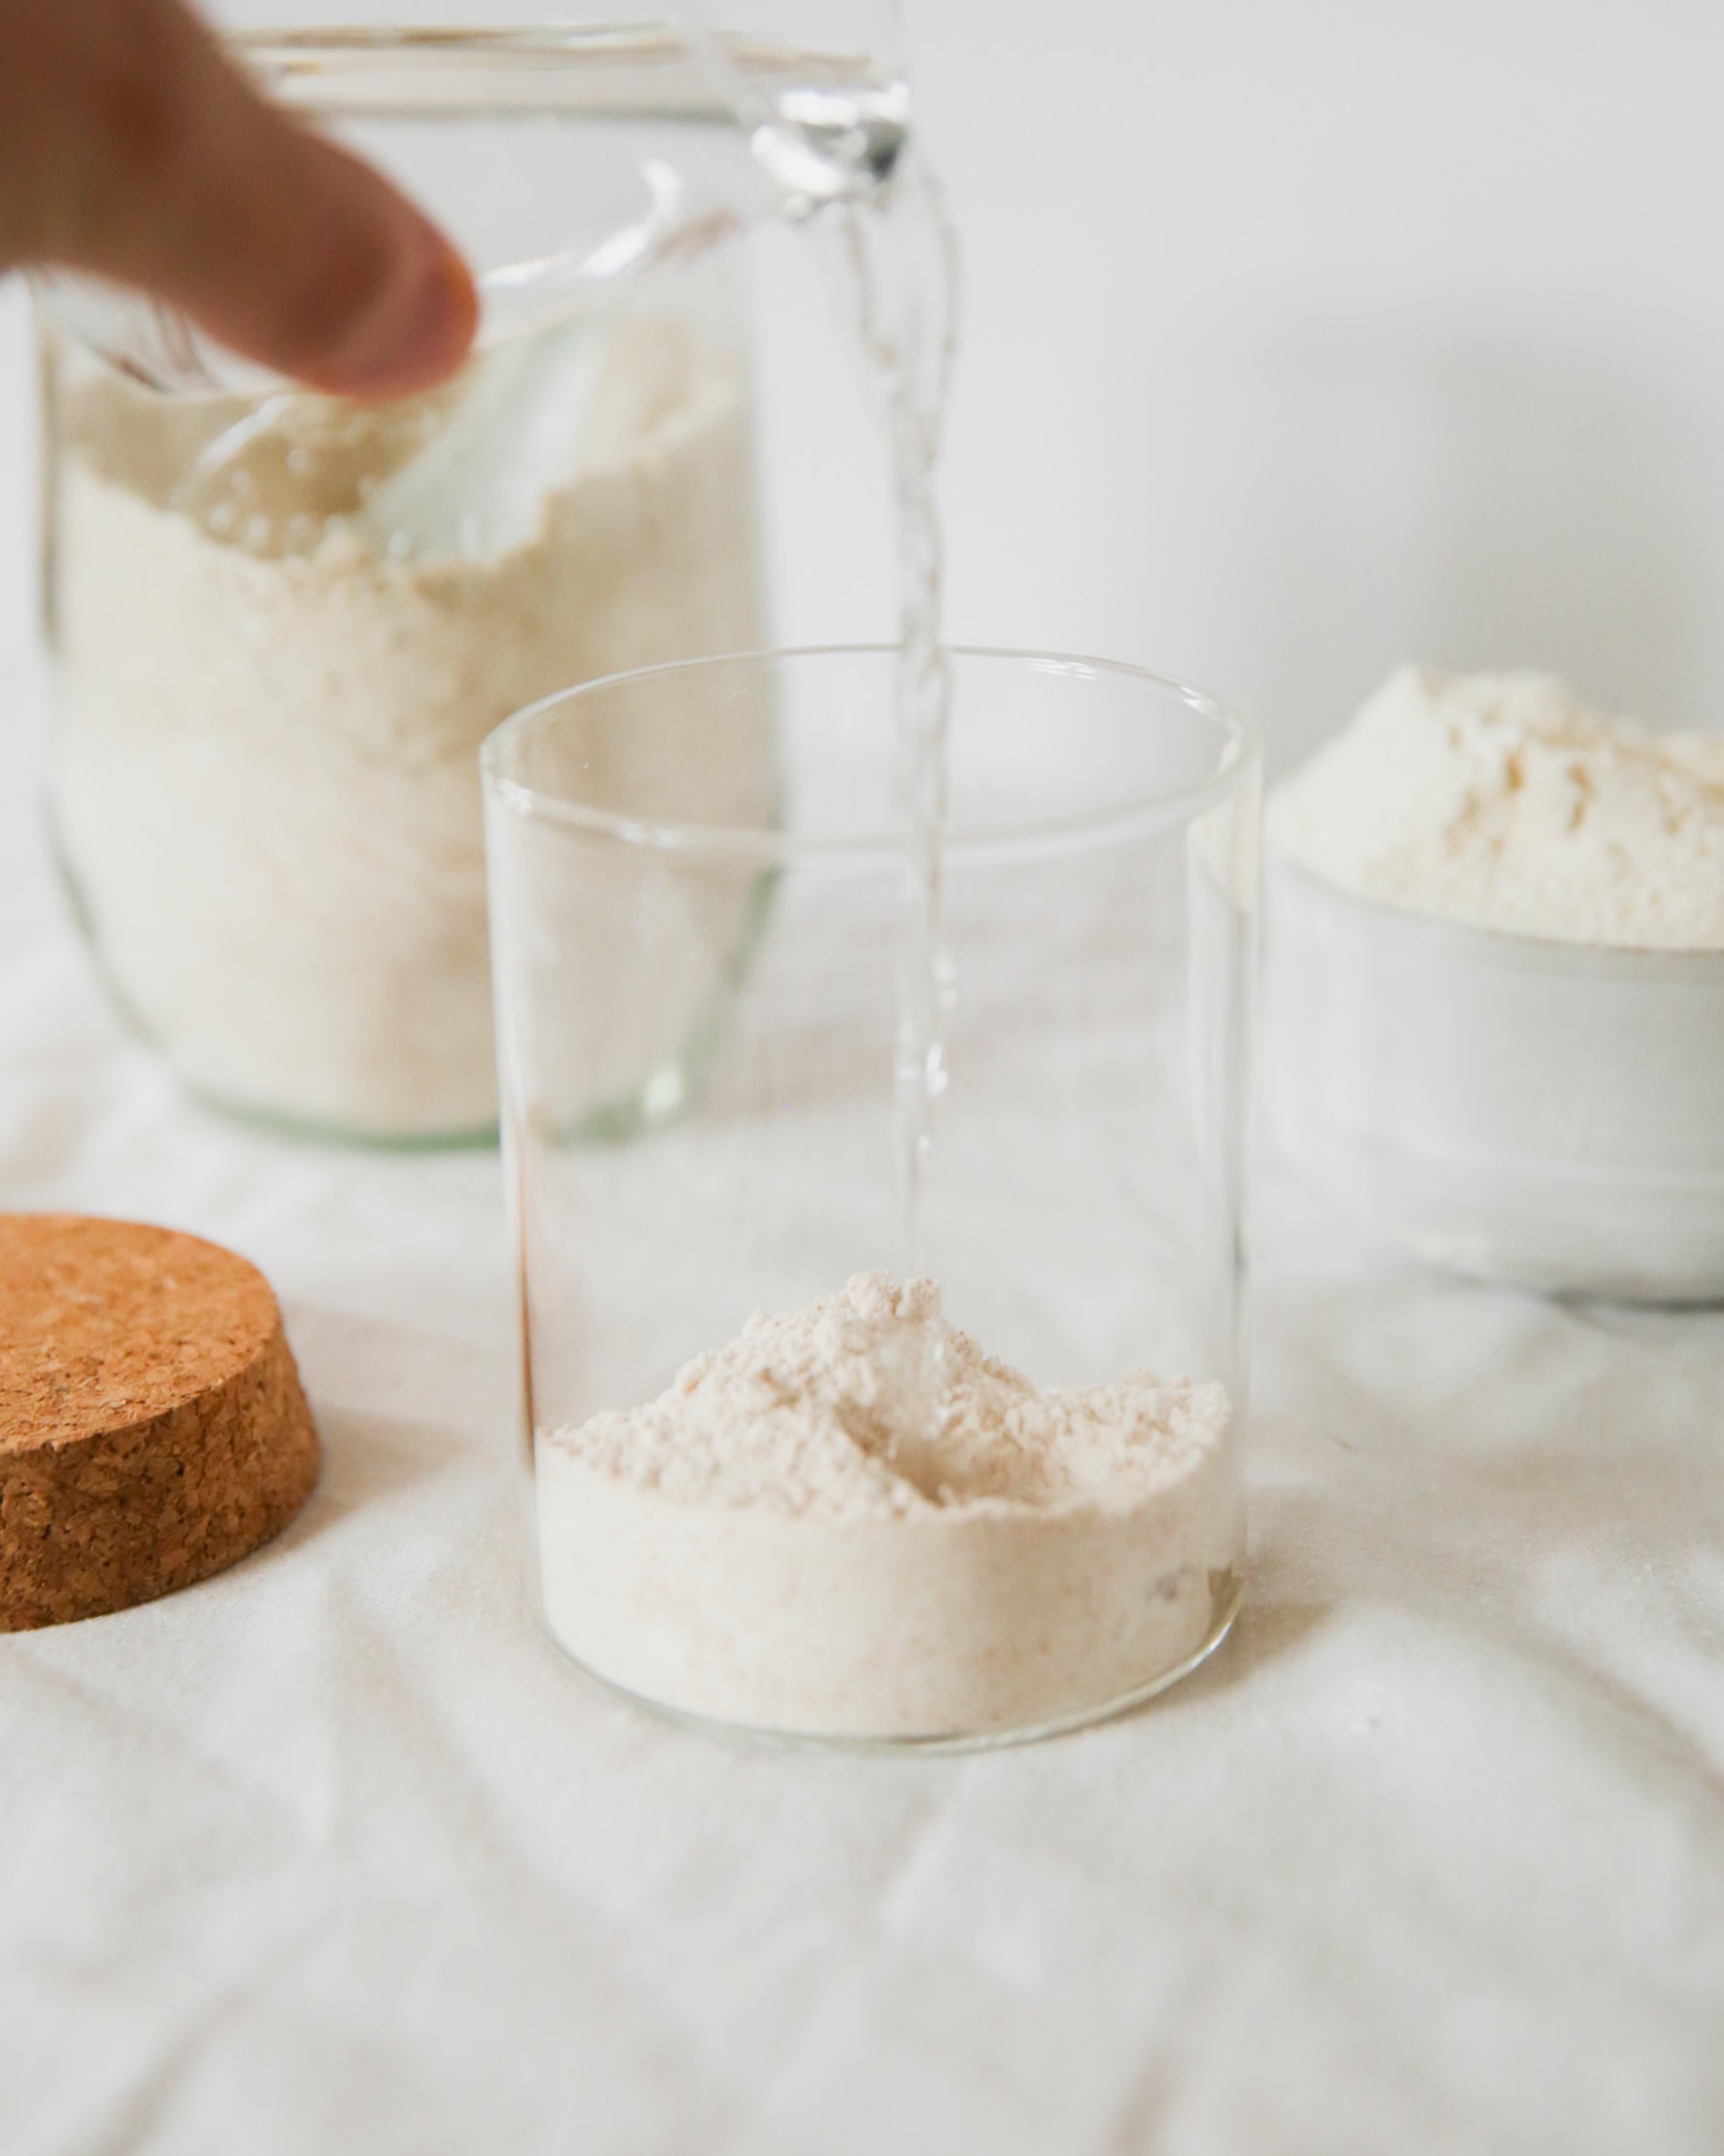
With sourdough feedings you want to go by a general rule for the mixture to be equal parts by weight Starter:Flour:Water. The same principle applies for the first mix. Water is heavier than flour, so you’ll need less water than flour to have equal proportions. The general rule of thumb is to add 2 teaspoons of water for each Tablespoon of 50% white / 50% wheat flour mix. Instead of going bananas, measuring everything exactly, creating and feeding your starter by feel will make you a better baker and will make feedings quicker and easier.
So, to create your starter, add equal parts water and flour to your glass container and stir it together until it is a thick, sticky mixture. When you tip the jar over, it should not quickly spill (like pancake batter) but slowly ooze like a thick cake mixture. This is the consistency your starter should be after each feeding. Add more water if it’s too thick and more flour if it’s too watery.
Cover jar with a lid not fully closed or loosely cover with plastic wrap so that the starter has a little bit of air flow, but not so much that a crust forms on the top.
Store your starter in a warm, dry place out of direct sunlight.

DAY 2-3: Wait
After 2-3 days, there should be a ton of bubbles and your mixture should have doubled or tripled in volume. It also should smell like fragrant cheese (mine usually smells like parmesan) or like flowers that are a few days past their prime. This mean it’s time to do your first feeding. Resist feeding your starter until you see these signs.
Day 3: Feed
For the first feeding, stir your starter so it comes back together into solid mass, incorporating any liquids that may have pooled at the top.
Then add flour and water in equal parts in proportion to your starter and stir together to combine. The consistency should be VERY thick and not runny (like image below) without any visible dry flour. If it’s too runny, add more flour, if it’s too thick, add water a 1/4 teaspoon at a time.

Day 4-10: Discard & Feed
Its from here on out that you’ll want to discard some of your starter and feed it daily. The sourdough bread recipe I use requires a Tablespoon of active starter to work, so I like to keep my batch small to decrease waste and keep the task more manageable. If you want to keep a voluminous batch of starter going, the same principles apply at each feeding: equal parts starter, new flour and new water.
Feed your starter by doing the following:
Remove & discard all but a few tablespoons of starer (or however much you want to maintain). Compost bins LOOVE starter, but I usually just end up tossing the few tablespoons. You can also use it in other recipes.
Add flour and water in equal proportions (about 2t water per 1T of flour mix), stir thoroughly, cover loosely and store.
Repeat every day for 7-10 days.
24-48 hours before you plan to bake with your starter, feed it 2x daily.

How You Know when to feed your starter
The general rule of thumb is to feed it once per day. The optimal feeding time for a starter is right after it has reached it peak height, which means some people feed it twice a day: morning and night. I’ve never been able to keep up with this and my breads are perfectly delicious, but the more active your starter, the better your recipes will turn out.
How To Know Your Starter Is Healthy
When your starter is optimally active & strong it should bloom an increase in volume rapidly the first few hours after feeding, then plateau (the top will be domed) and then sink back down slightly with the top caving in a bit. You can put a rubber band around where the starter began so you can see how it grows throughout the day. It should have a network of small and larger bubbles that create a spiderweb effect. It should smell slightly sour, but not as pungent as it smelled before you started feedings.
What To do once your starter is active
When your starter is super active you can either use it in a recipe, store it in the fridge (feeding once / week), or feed it daily or even twice daily to keep it vigorous.
How To Create & Maintain A Sourdough Starter From Scratch
Step by step instructions for making & maintaining your own sourdough starter for all of your sourdough & baking needs.
ingredients:
- White Unbleached Flour
- Wheat Flour
- Lukewarm Water
- Glass Container
- Small Spatula
- Your 50/50 White/Wheat Flour Mix
- Lukewarm Water
instructions:
- I feed my starter using a 50/50 mix of white and wheat flour, so before I create my starter, I fill a medium sized container with half white flour and half wheat flour and give it a good mix. I also keep a scoop in there (which happens to be a ramen spoon) for easy flour portioning for feedings.
- With sourdough feedings you want to go by a general rule for the mixture to be equal parts by weight Starter:Flour:Water. The same principle applies for the first mix. Water is heavier than flour, so you’ll need less water than flour to have equal proportions. The general rule of thumb is to add 2 teaspoons of water for each Tablespoon of 50% white / 50% wheat flour mix. Instead of going bananas, measuring everything exactly, creating and feeding your starter by feel will make you a better baker and will make feedings quicker and easier.
- To create your starter, add equal parts water and flour to your glass container and stir it together until it is a thick, sticky mixture. When you tip the jar over, it should not quickly spill (like pancake batter) but slowly ooze like a thick cake mixture. This is the consistency your starter should be after each feeding. Add more water if it’s too thick and more flour if it’s too watery.
- Cover jar with a lid not fully closed or loosely cover with plastic wrap so that the starter has a little bit of air flow, but not so much that a crust forms on the top.
- Store your starter in a warm, dry place out of direct sunlight.
- After 2-3 days, there should be a ton of bubbles and your mixture should have doubled or tripled in volume. It also should smell like fragrant cheese (mine usually smells like parmesan) or like flowers that are a few days past their prime. This mean it’s time to do your first feeding. Resist feeding your starter until you see these signs.
- For the first feeding, stir your starter so it comes back together into solid mass, incorporating any liquids that may have pooled at the top.
- Then add flour and water in equal parts in proportion to your starter and stir together to combine. The consistency should be VERY thick and not runny (like image below) without any visible dry flour. If it’s too runny, add more flour, if it’s too thick, add water a 1/4 teaspoon at a time.
- Its from here on out that you’ll want to discard some of your starter and feed it daily. The sourdough bread recipe I use requires a Tablespoon of active starter to work, so I like to keep my batch small to decrease waste and keep the task more manageable. If you want to keep a voluminous batch of starter going, the same principles apply at each feeding: equal parts starter, new flour and new water.
- Feed your starter by doing the following:
- Remove & discard all but a few tablespoons of starer (or however much you want to maintain). Compost bins LOOVE starter, but I usually just end up tossing the few tablespoons. You can also use it in other recipes.
- Add flour and water in equal proportions (about 2t water per 1T of flour mix), stir thoroughly, cover loosely and store.
- Repeat every day for 7-10 days. 24-48 hours before you plan to bake with your starter, feed it 2x daily.
NOTES:
Sourdough is a science but also an art form. Since there are so many variables, each baker will have their own results. The goal is to get to know the process and make adjustments that work for you. So use this as a general guide, do your research, and find the routine that works for you!
Did you find this article helpful?
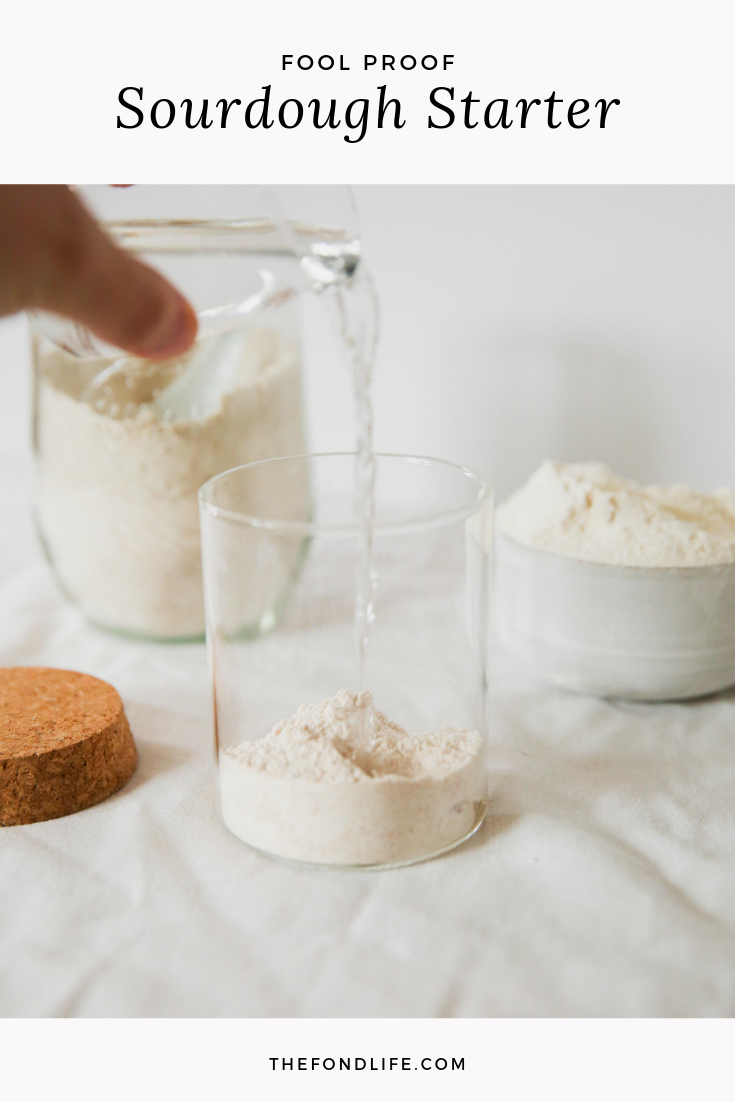
Pin this image for easy recipe referencing.
More Baking Recipes


These flaky, buttery scones are a cinch to make at home and can be customized with your favorite dry or fresh fruit.