
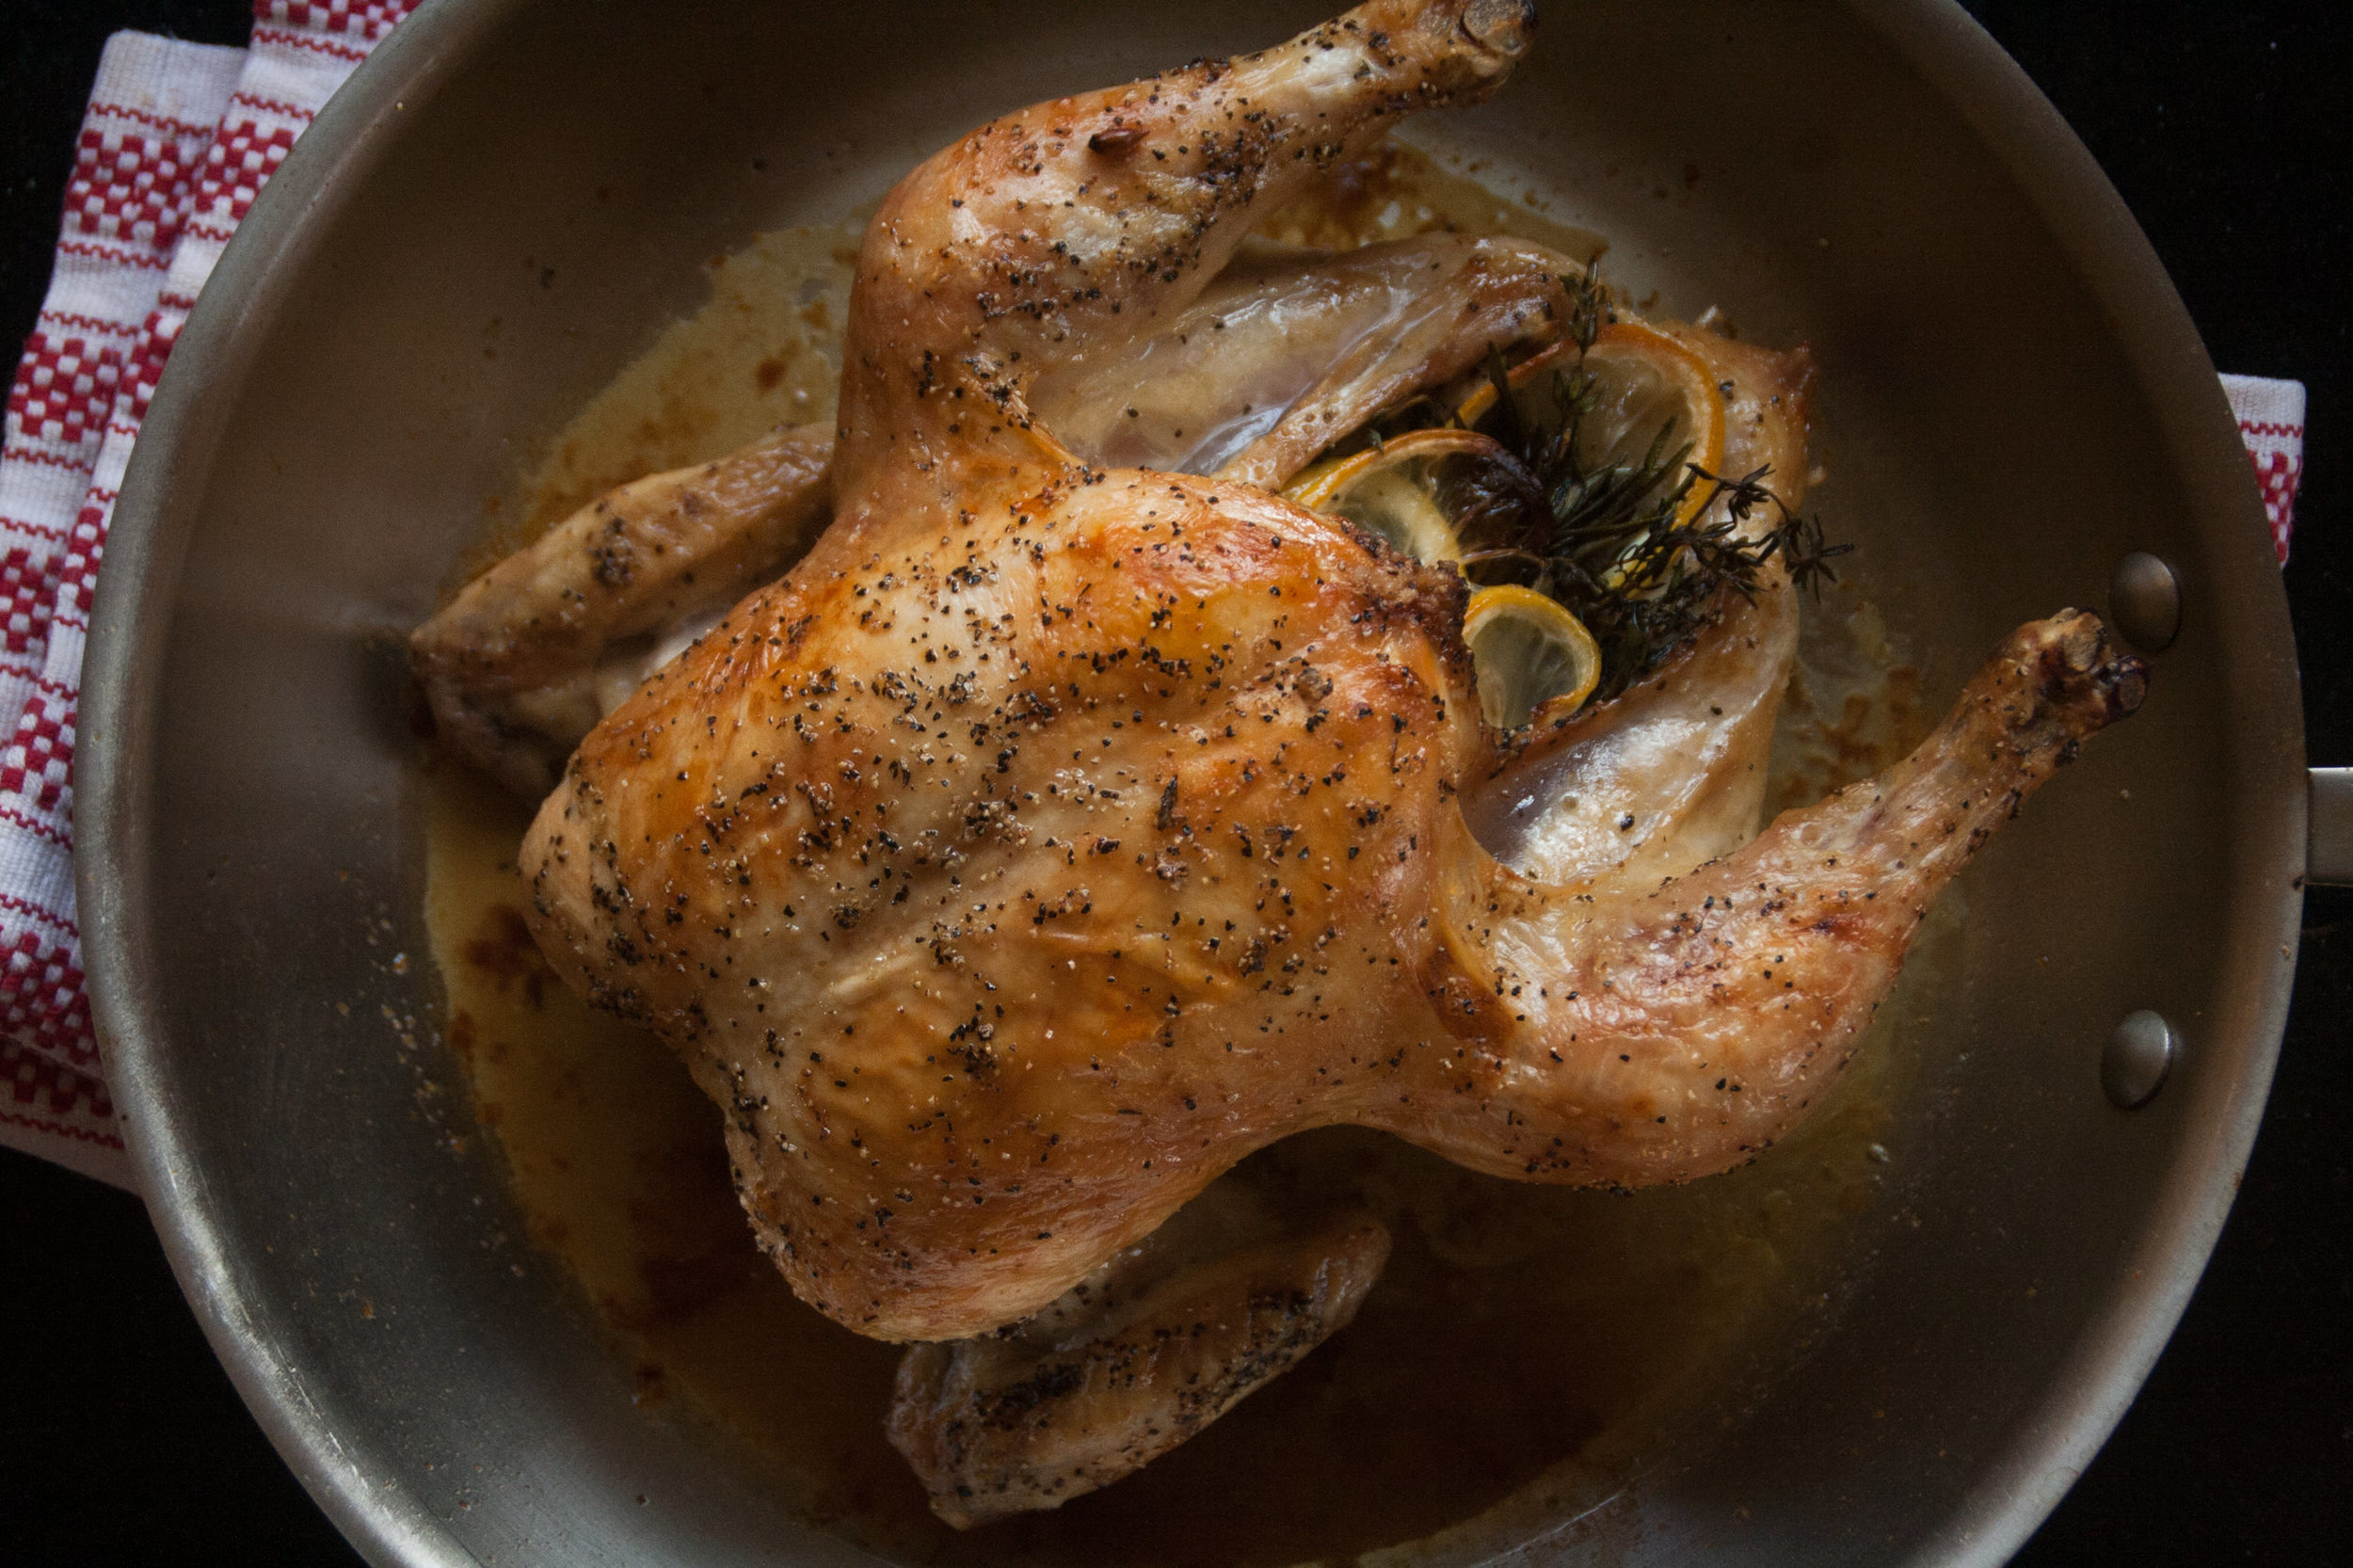
The Fond Life has existed for almost 4 years now, and boy has my style changed and evolved (just compare the two photos below). Over the years I've mostly made things up as I go, looking to food bloggers I admire for inspiration & ideas. I've found, not surprisingly, that practice is the best way to improve, even if you feel like you have no idea what you're doing at the beginning. I think my stubborn persistence, even when my work wasn't that great, has contributed to the style that is all my own.
I get asked a lot how I shoot, how I set up my lighting, and how I style my photographs. Well ... here are the basics! Regardless of your set up, whether you're shooting with an iPhone, a fancy DSLR, or film these principles should help you get the best images out of your equipment. I've tried to make this a brief but helpful overview and would love feedback or questions! Email me: hello[at]thefondlife[dot]com.
Once you have enough hours of shooting under your belt, setting up your shots becomes almost second nature, so take every opportunity you get!
My First post Ever in 2014
A 2017 Collaboration
Use Natural Light
The easiest way to get consistent images is by utilizing natural light. There's no hassle of setting up flashes, and it looks lovely.

Find a Large Window
You don't need fancy flashes, diffusers or bounces to take amazing food photos. My kitchen doesn't have the best direct light, so I take the majority of my photos on the dining room table close to a large window. You can also shoot in front of an open door! Shooting in a corner window would be the best scenario, but I get by just fine with one direct & diffused light source.

Diffuse your Light Source
Unless its cloudy and you have even light streaming through your window, you'll probably want to diffuse the light to get rid of any harsh highlights and shadows. This lets you get an even exposure without losing any details. I use scotch tape to adhere tracing paper to the window to even out any area where a harsh highlight is coming through. This gives the effect of a soft box, creating even, lovely light. In the photo above, you can see the tracing paper taped over harshly lit spots.

Take Note of Shadows
Since I work with one major light source and not a lot of fill light, I take special note of how larger objects cast shadows. In the photo to the left, you can see how the bowls are casting dark shadows to their left. So that details aren't lost, I space the bowls apart enough to let light in-between them so as to not obscure any details. You can also use a white poster board on the opposite side of your light to reflect light back onto the subject. I'm usually too lazy for that.
Setting Up & Styling
Not sure what your style is? Peruse Pinterest or Instagram, find a few images that speak to you, and use them as inspiration on your next shoot.

Simple Backgrounds
Pristine marble may be trendy right now, but you definitely don't need to splurge on new counter tops to create that neutral effect. Choose backgrounds that have a simple texture so that at the end of the day, your food is what stands out. I use a marble pastry board to fake a marble counter top, but when I'm in a hurry or shooting on the fly I just lay down fabric like cheese cloth in the image above. Easy peasy.

Layering
If I have a little more time on my hands, I'll layer a few different colors and textures. Start with your main background, whether its marble, linen from a local fabric store, or butcher block and then layer complementary materials on top. Play around with how the top layers overlap: have it angle in from a corner or peek in from the a side. Then get to placing your food items.
Placement, Scale & Contrast
Set up your images in a way that leads the eye into and around the photograph. In the image on the right the eggs and butter are angled in from the top and bottom to lead the eye through the scene, traveling from top to the main subject of lemon curd to the butter at the bottom. Since those three items have about the same visual hierarchy due to their similar size, I've spread them out throughout the image so that it is not too heavy in one area. The lemon slices act as a visual counterpoint. Their organic scattering further aids the eye to flow throughout the image and the contrast of their size compared to the larger items balances it out.


Frame Big
You want to give the effect of elements peeking into frame aka, you don't want a ton of negative space around the edge of your photo, which makes your images look sparse. In the image above, you can see how I've layered my marble and linen to create a larger backdrop. This allows me to create an organically sprawling scene where elements can spill out of frame.

Check Your Scene
From there, take a wide overhead and review it on your camera back. Don't like how a few things are interacting? This is your chance to tweak it before you're 20 images in.

Angles angles angles!
Overheads are nice and all, but make sure to shoot from multiple angles. Get up close, shoot details, move things around a bit and play. It helps your content go a lot farther on your blog or social media outlets not to mention adds way more visual interest to your posts. After you've cleaned up the mess you've made, you don't want to look through your images and wish you had taken a few more shots.


