What It Means To Say Yes

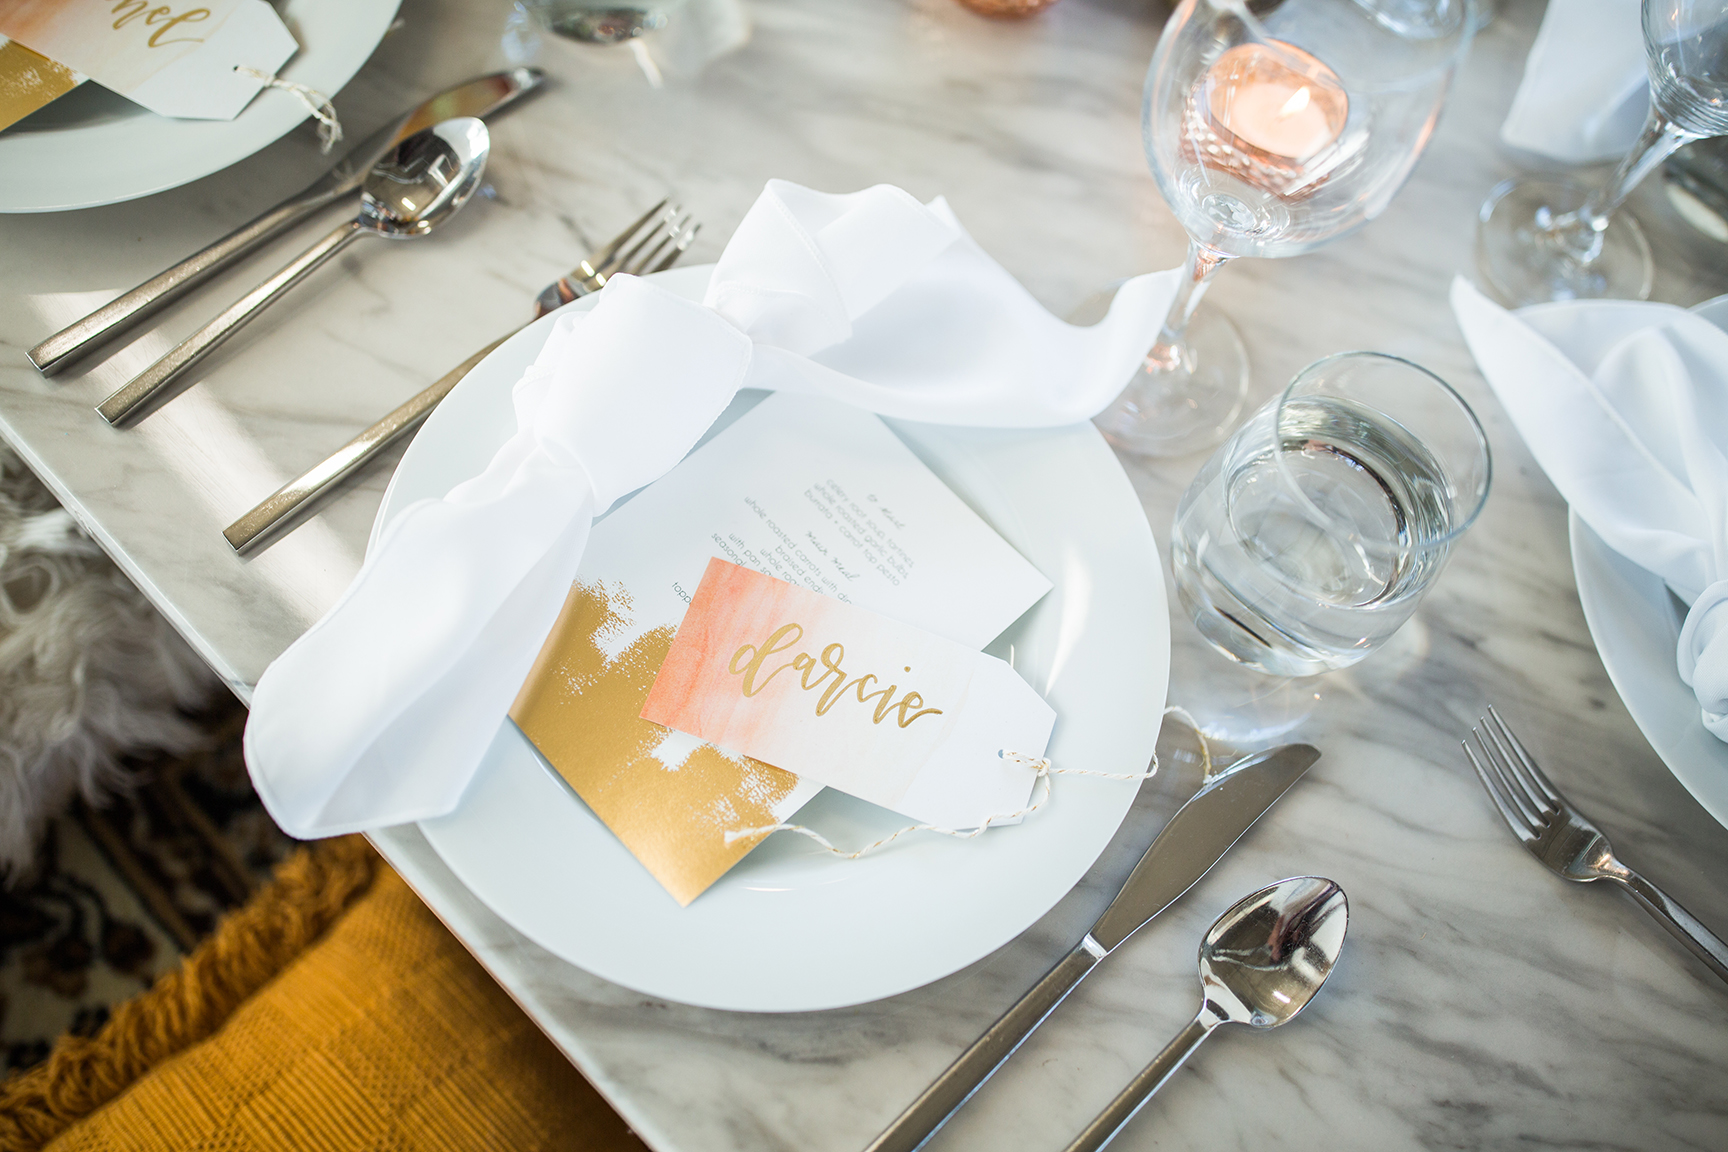
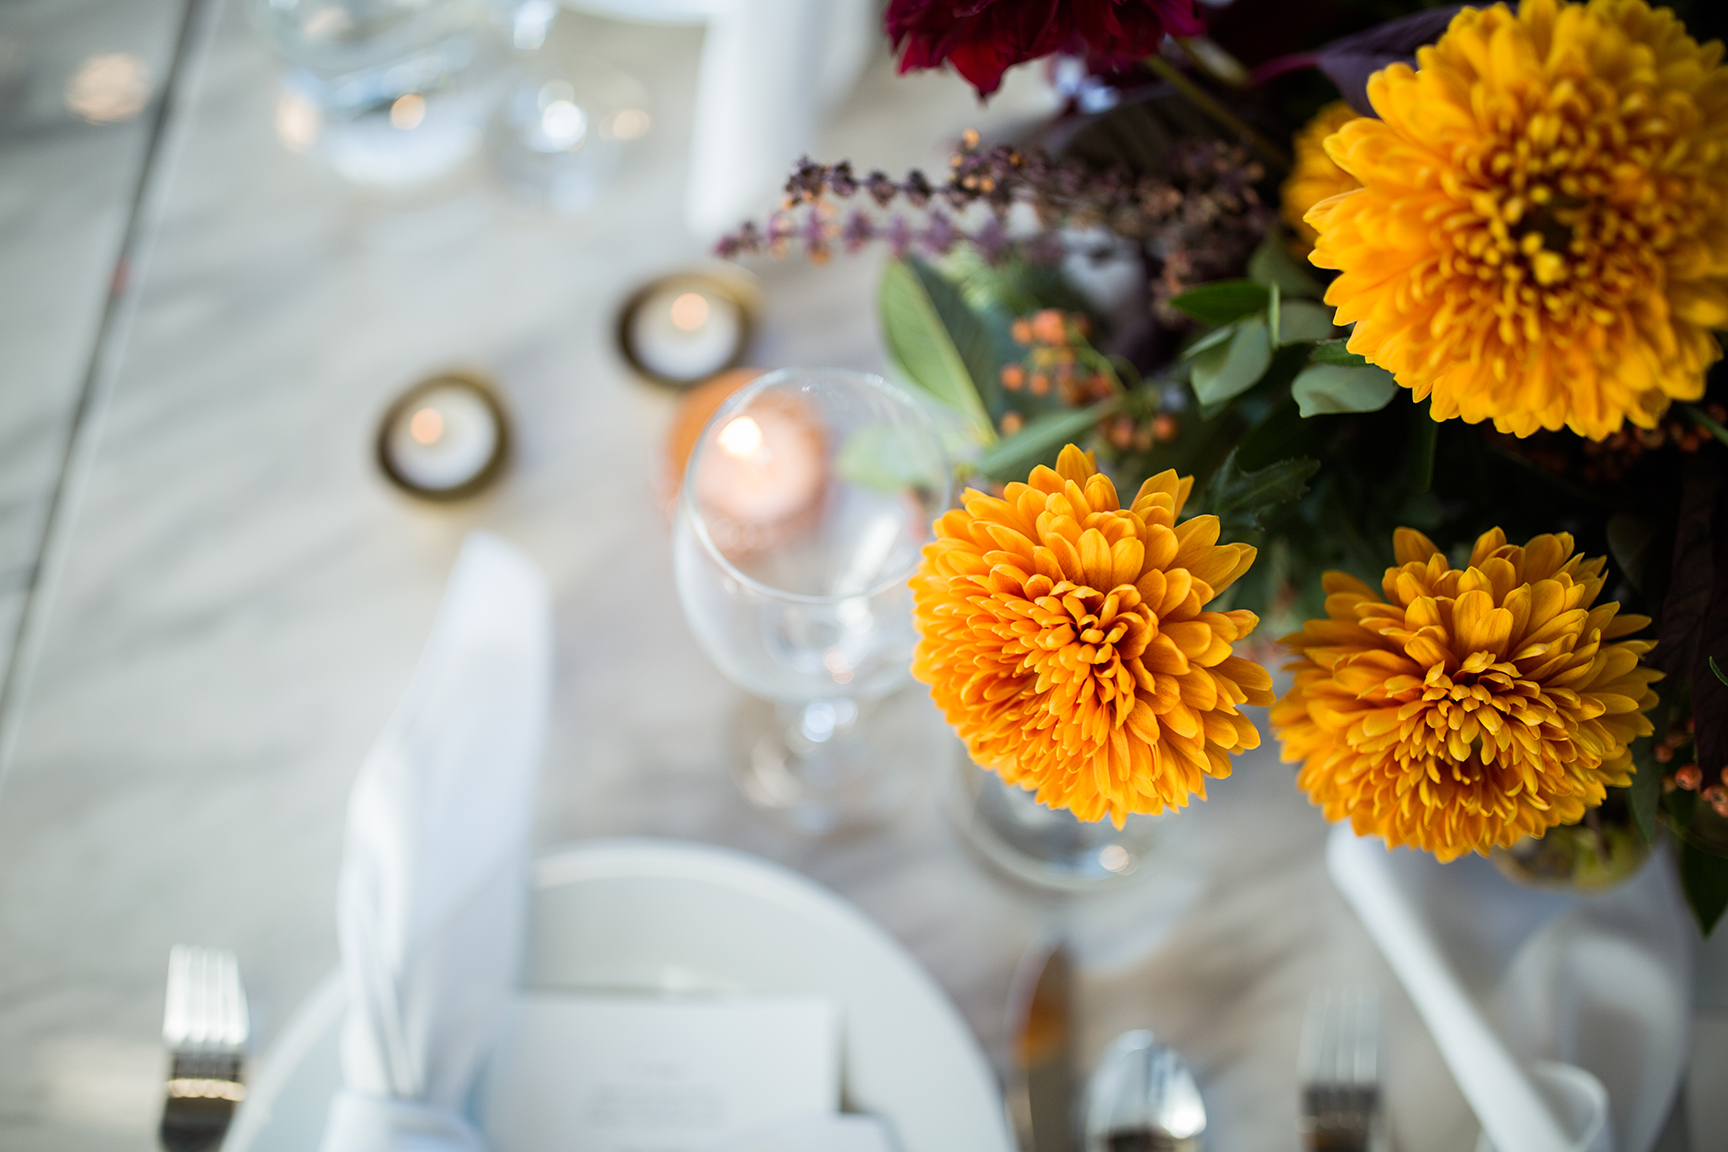
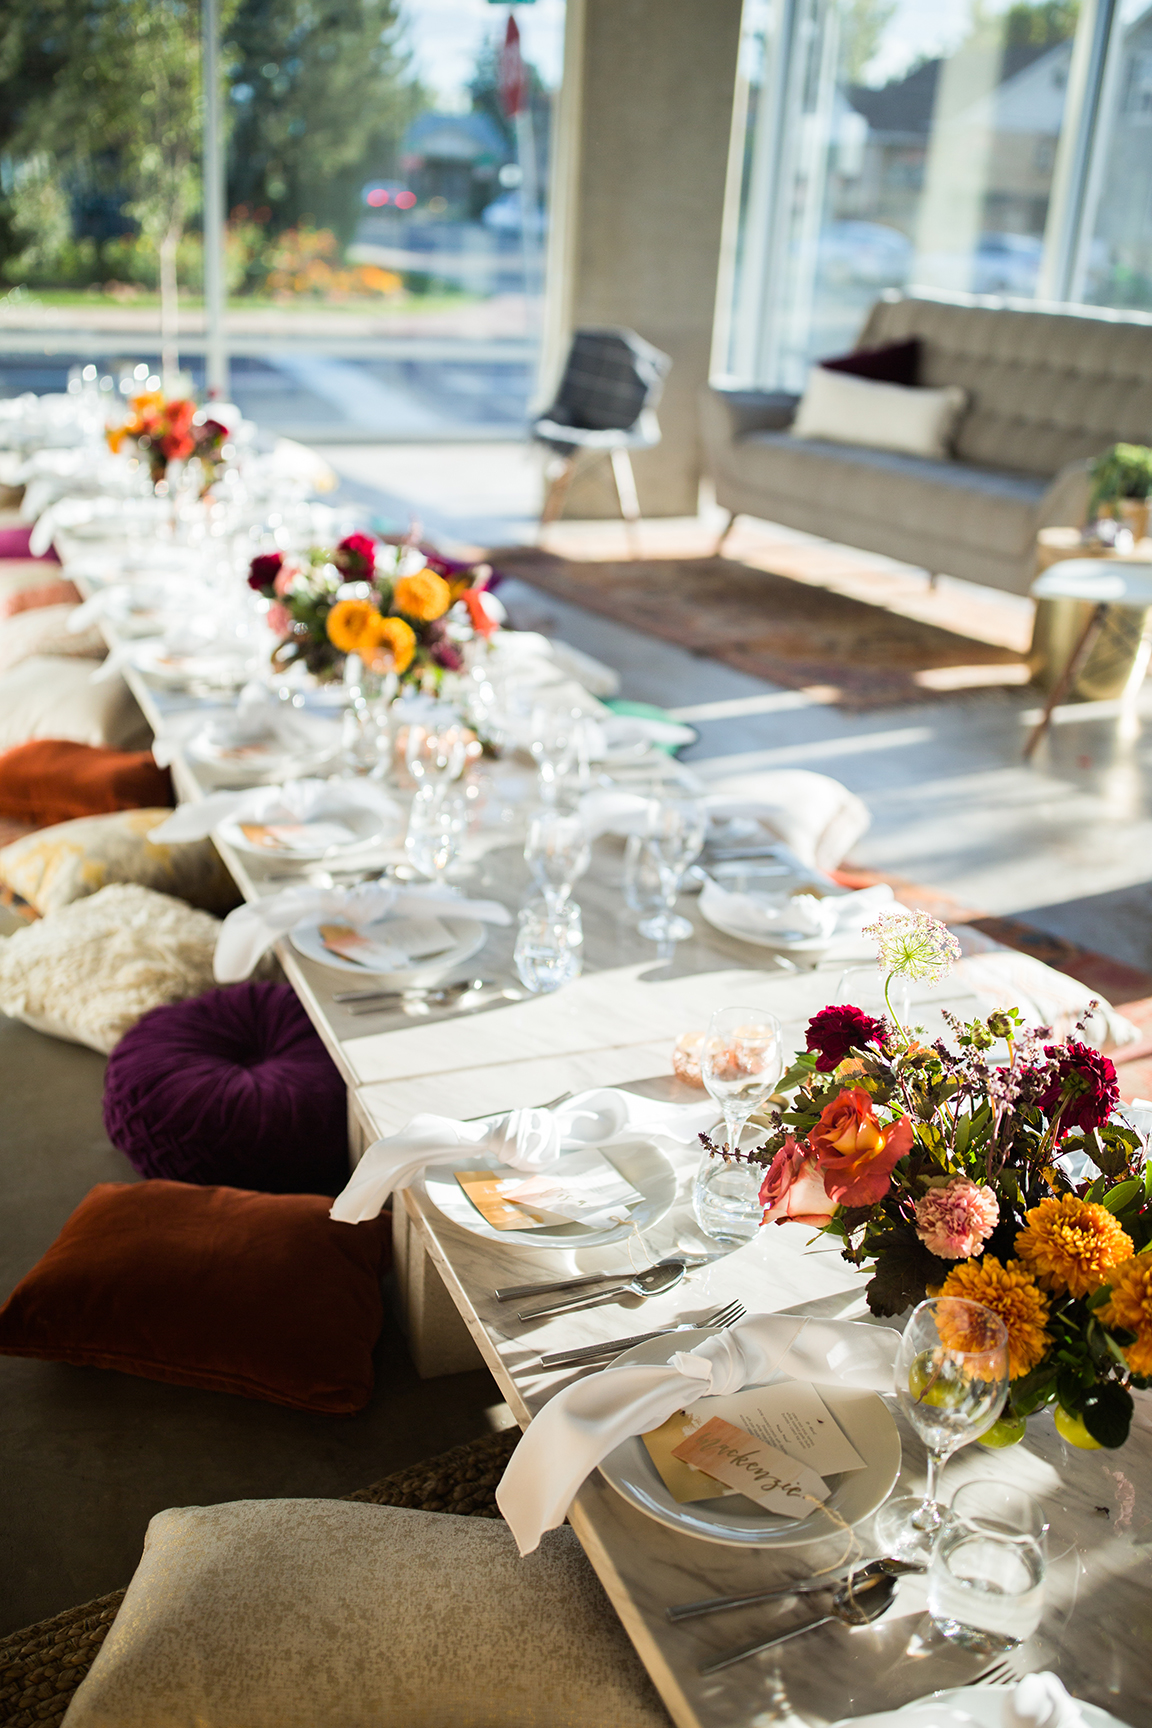
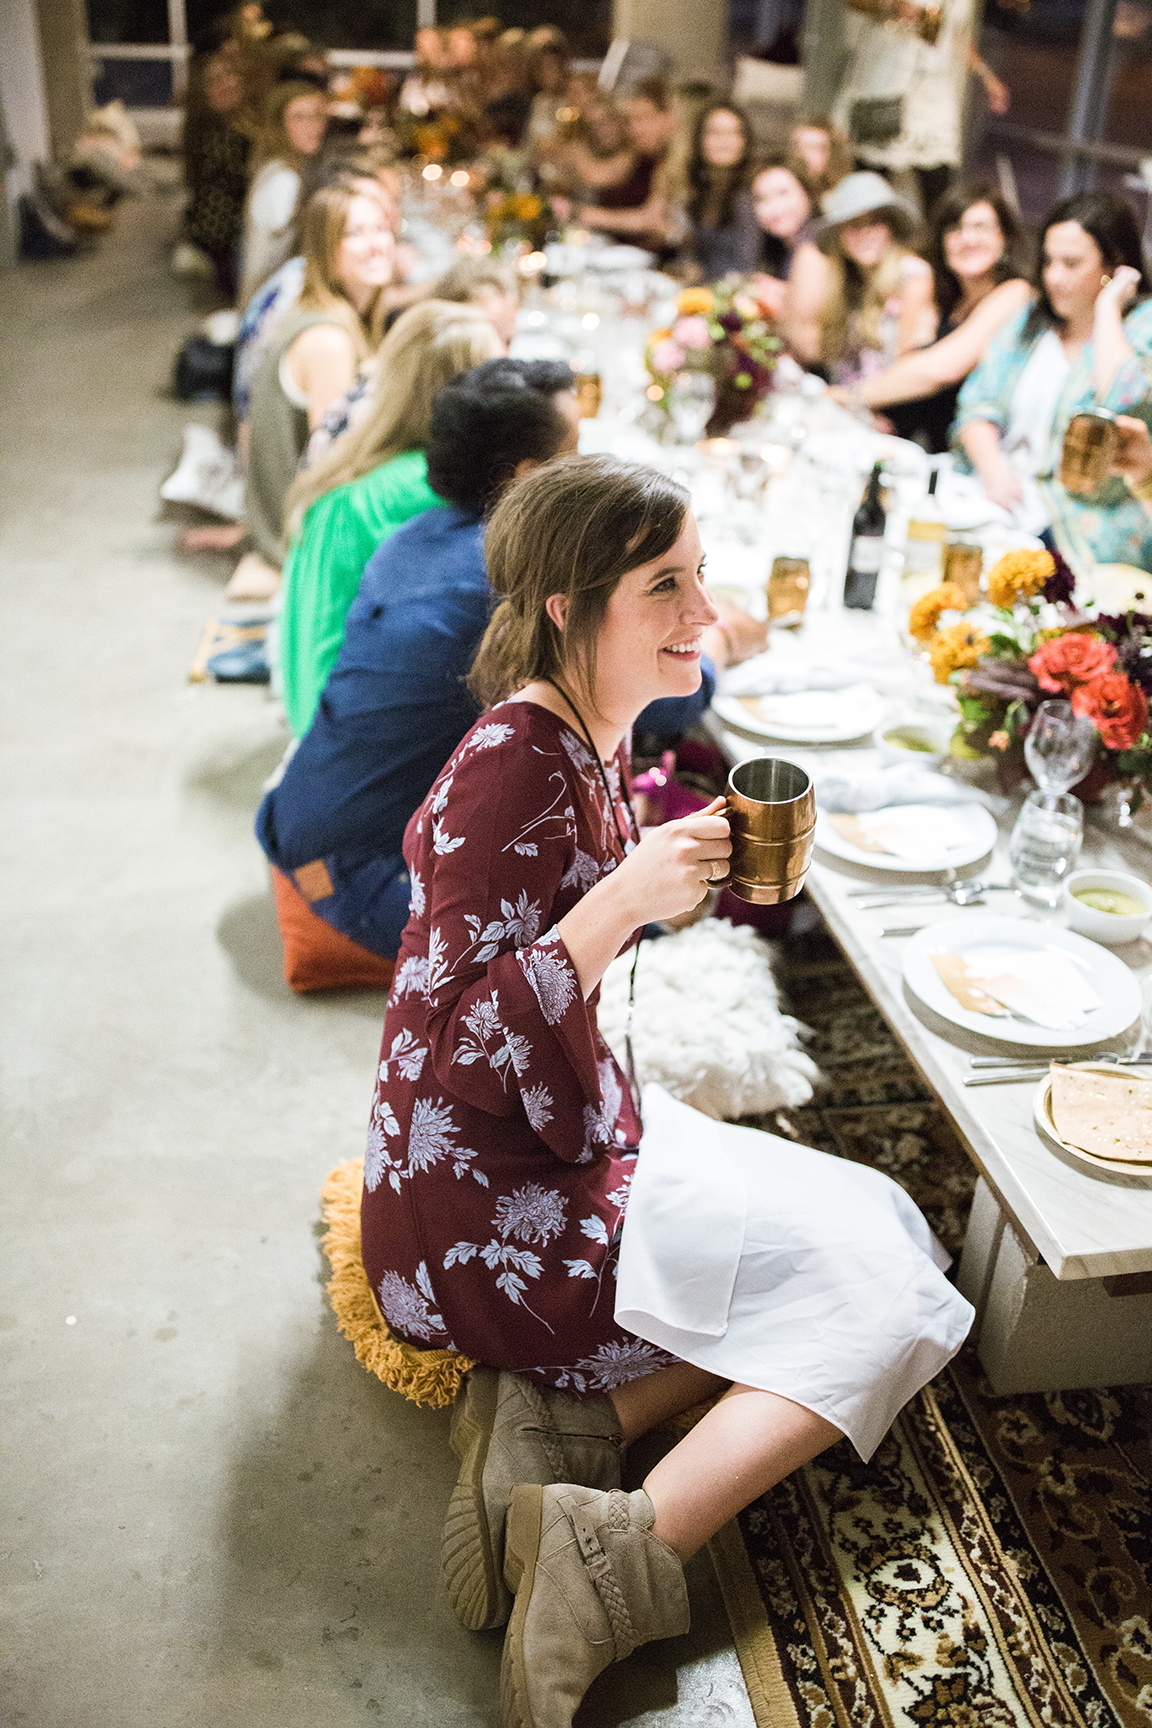
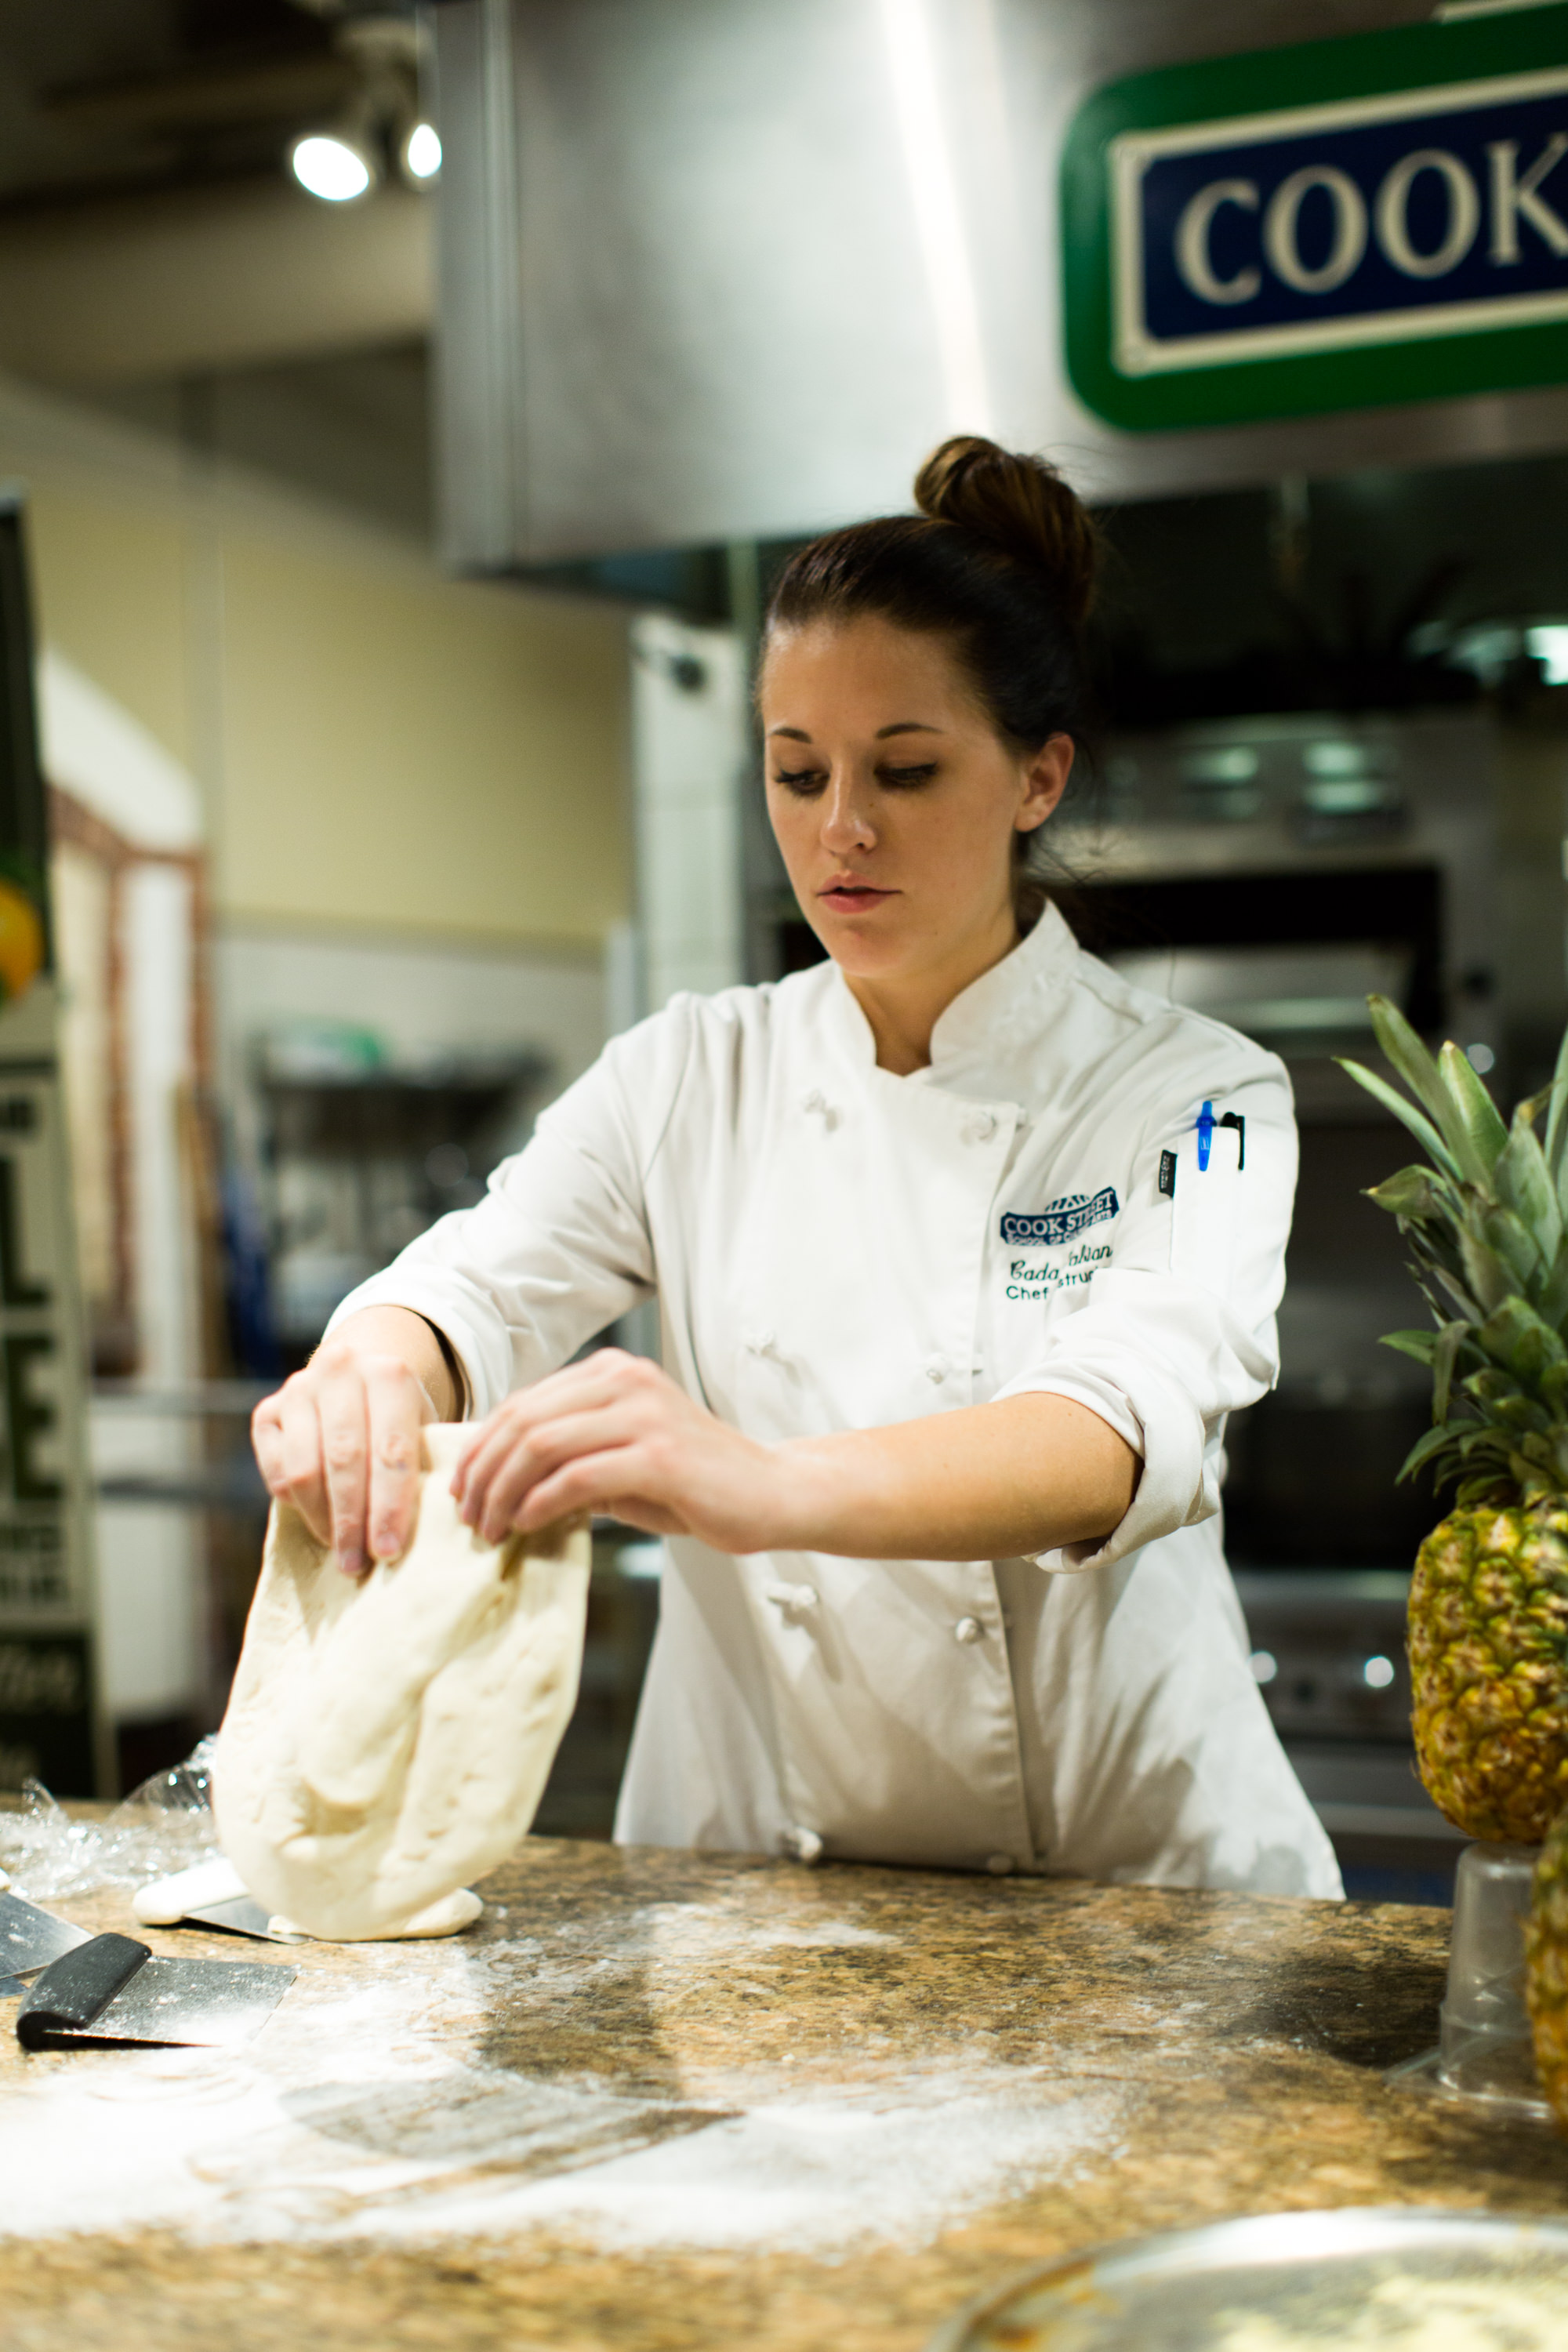
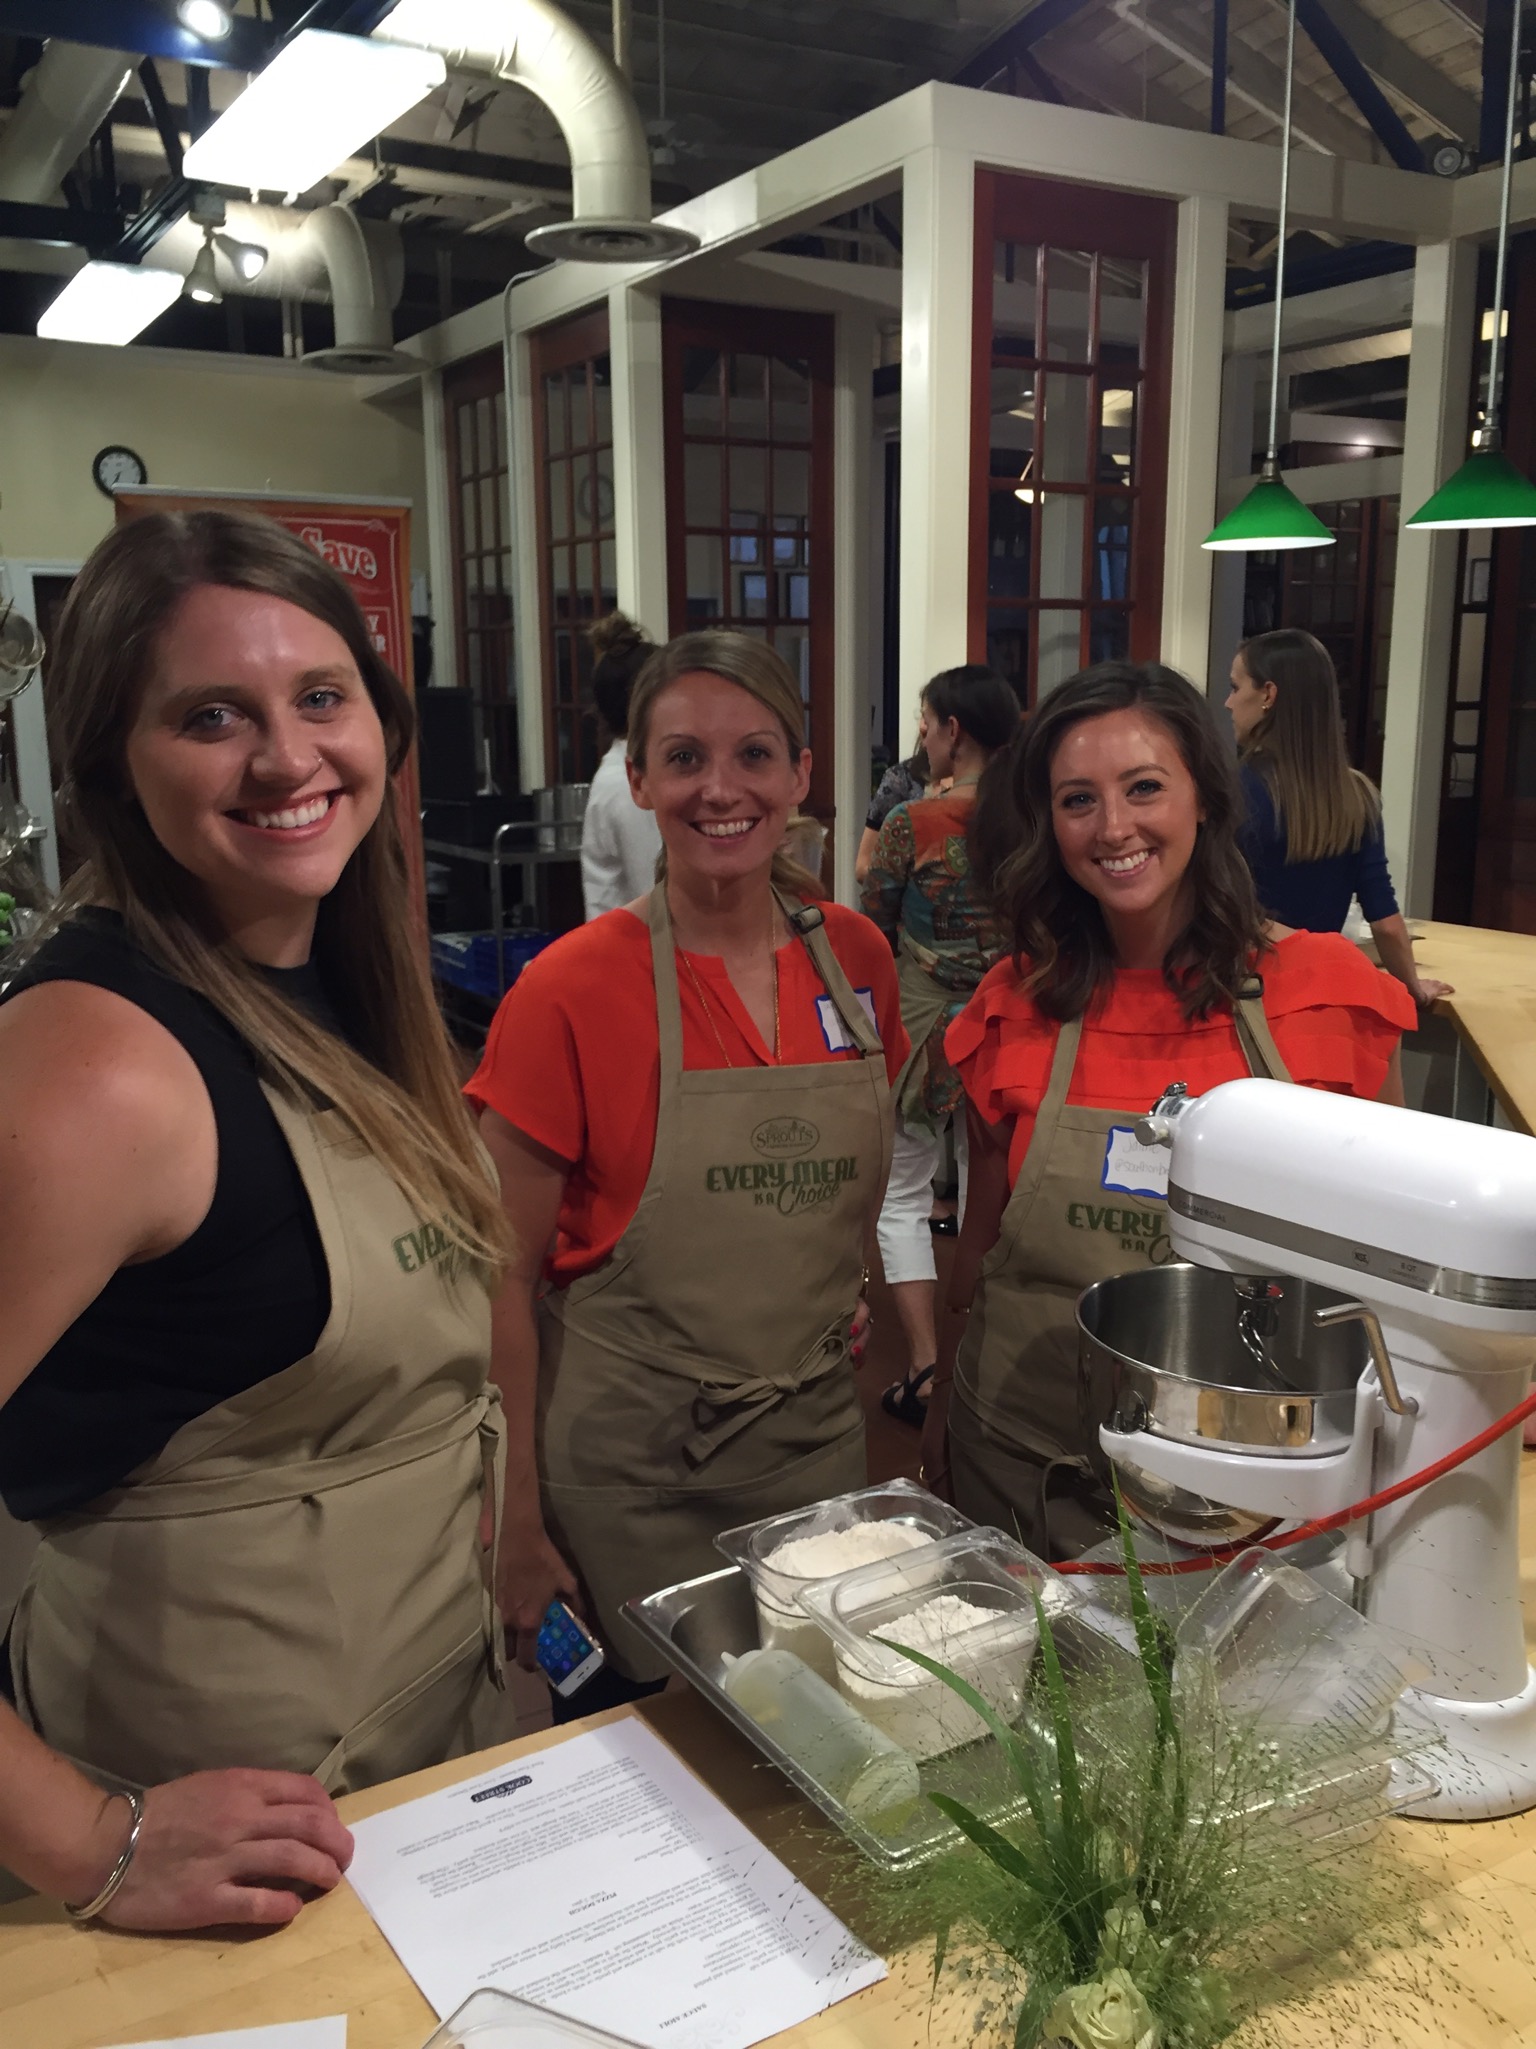
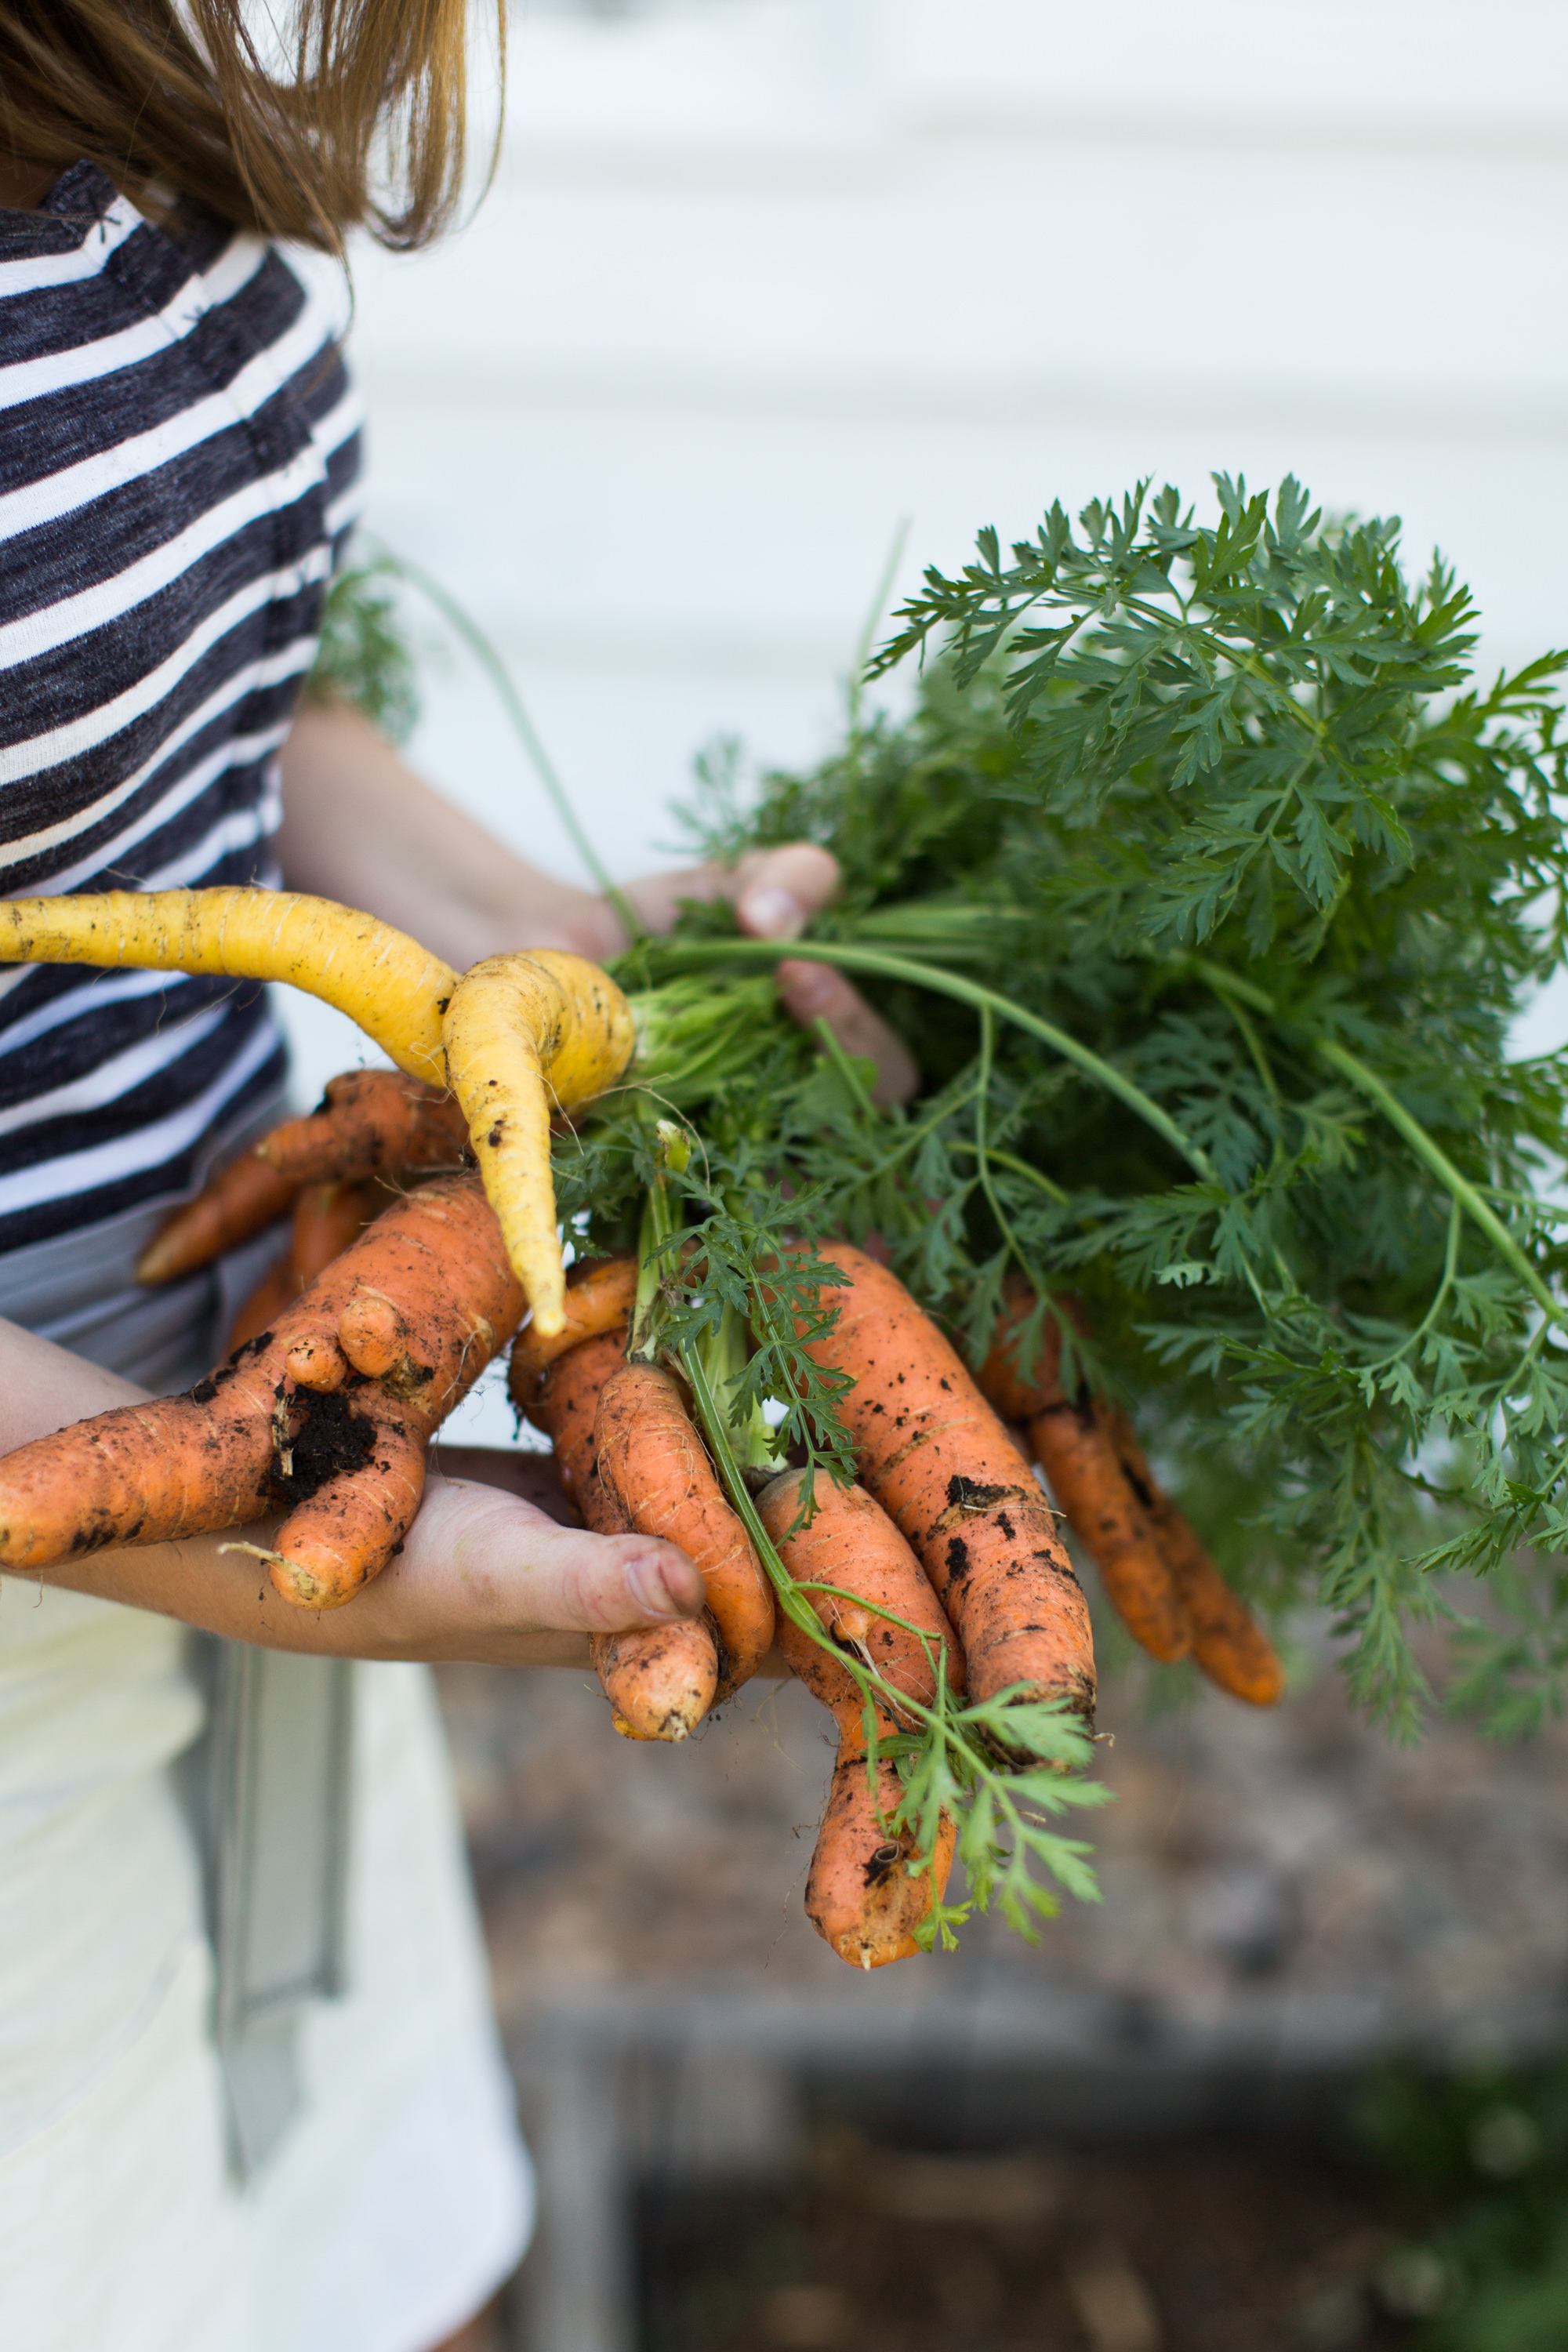
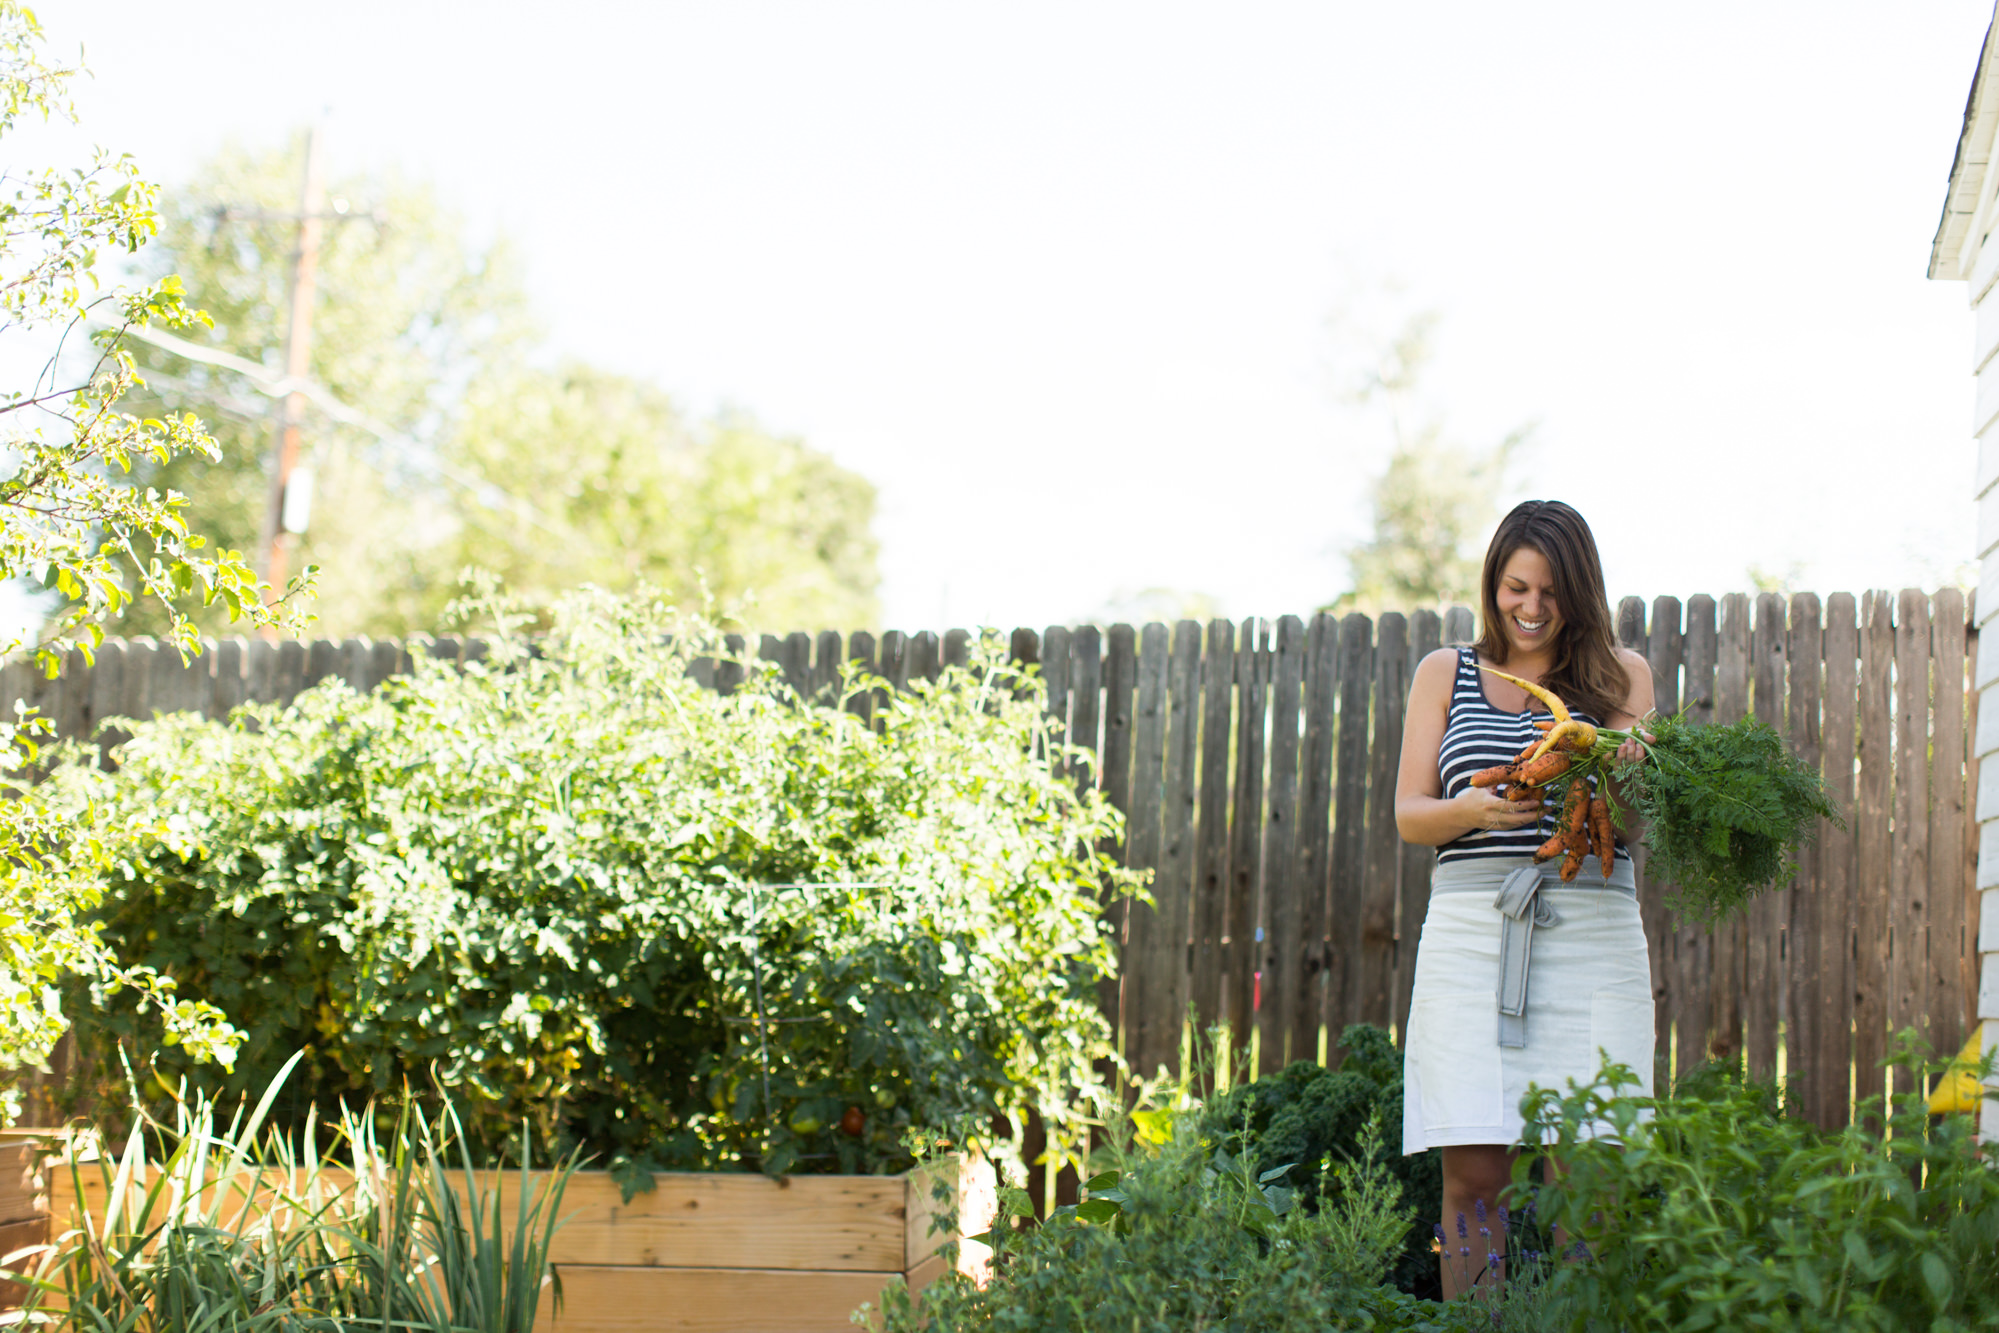
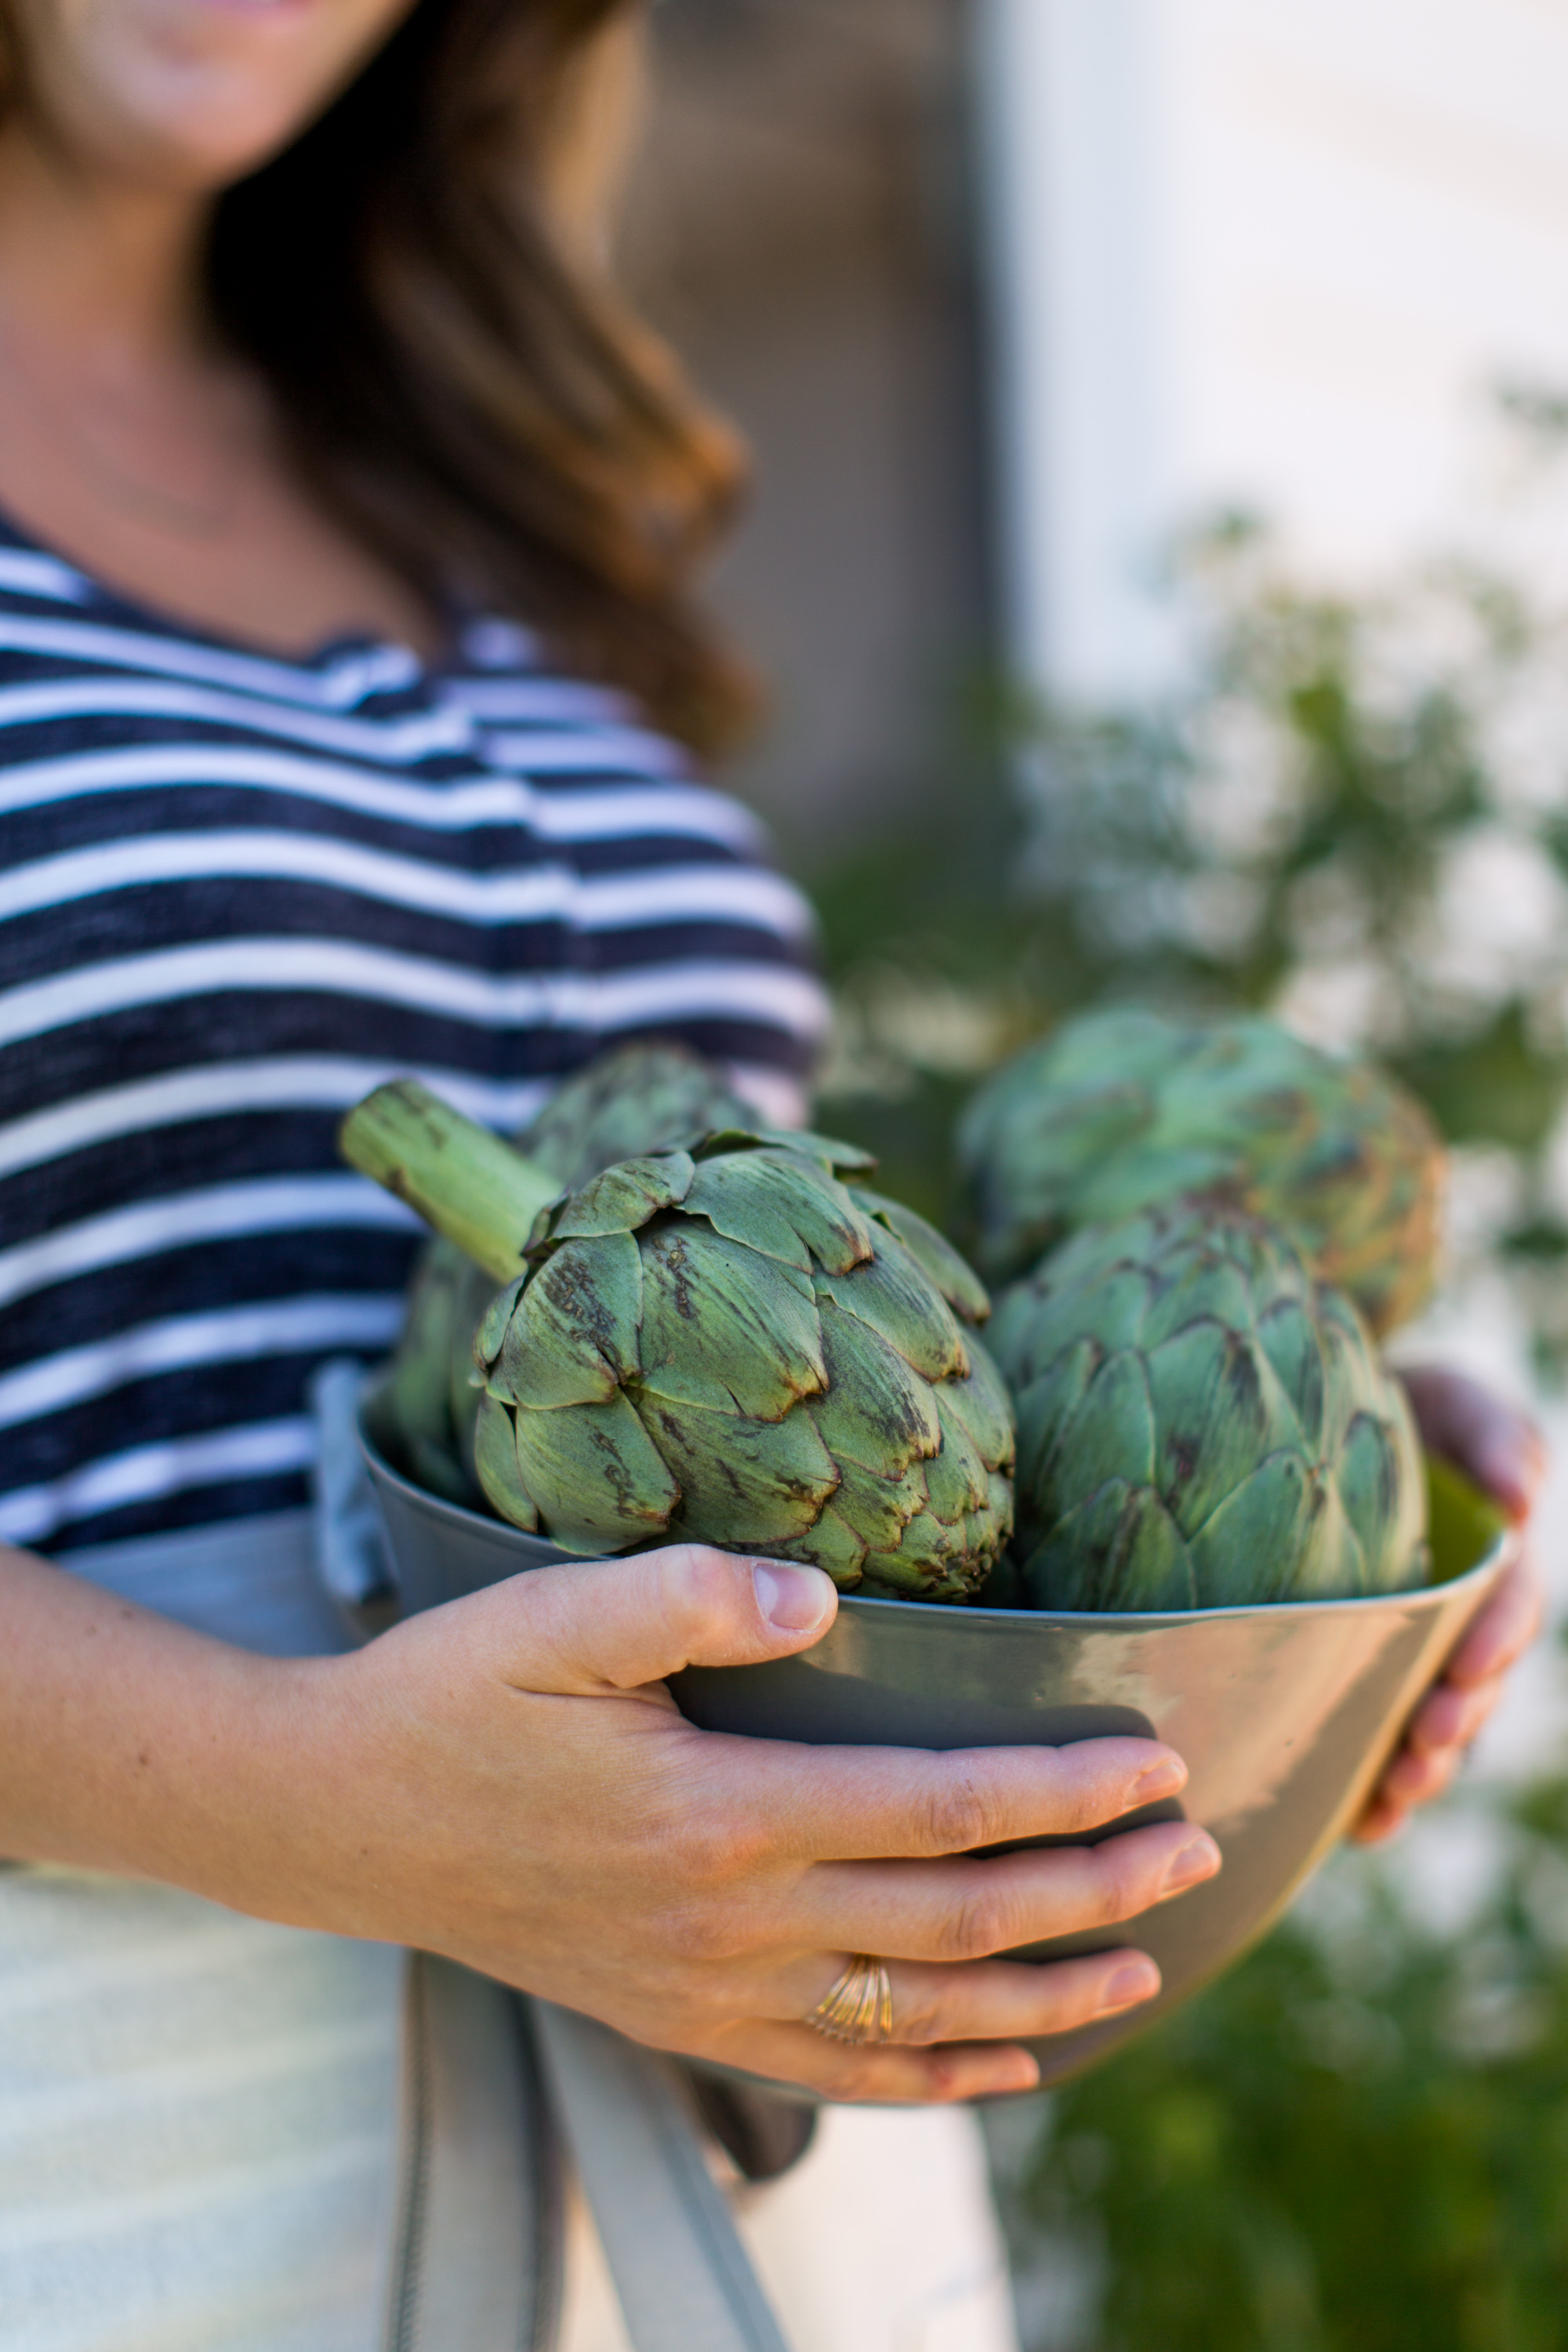
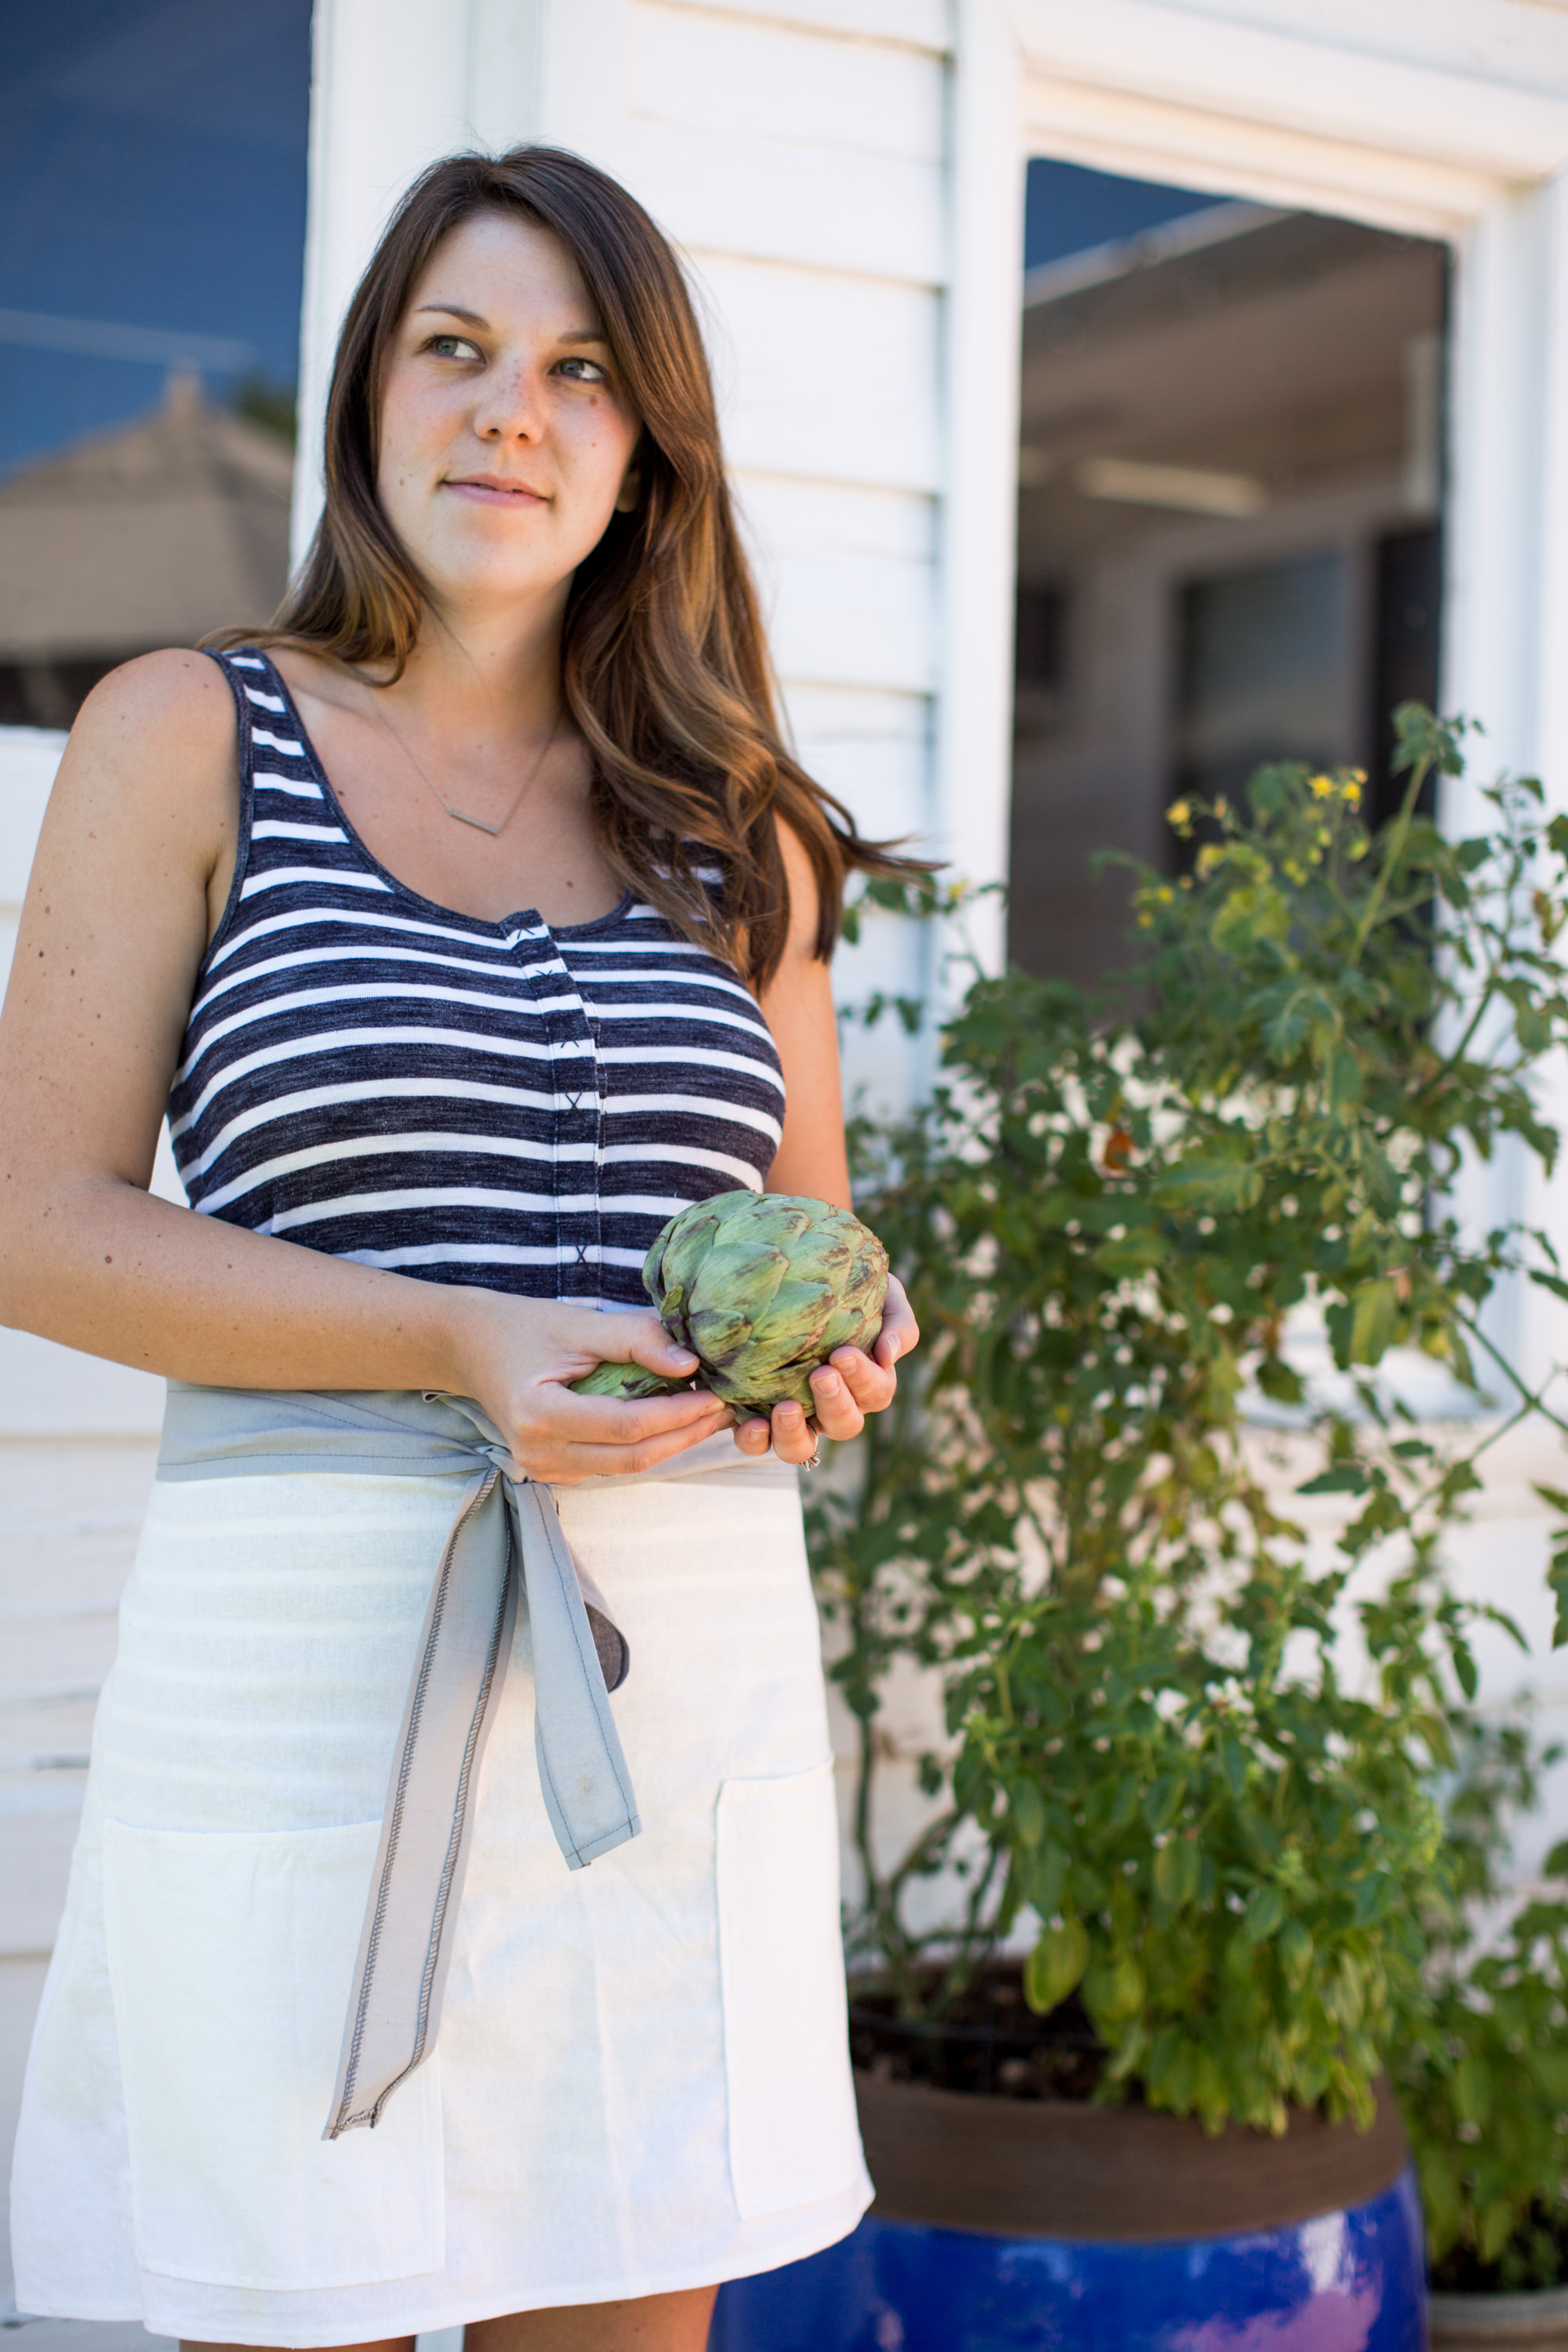
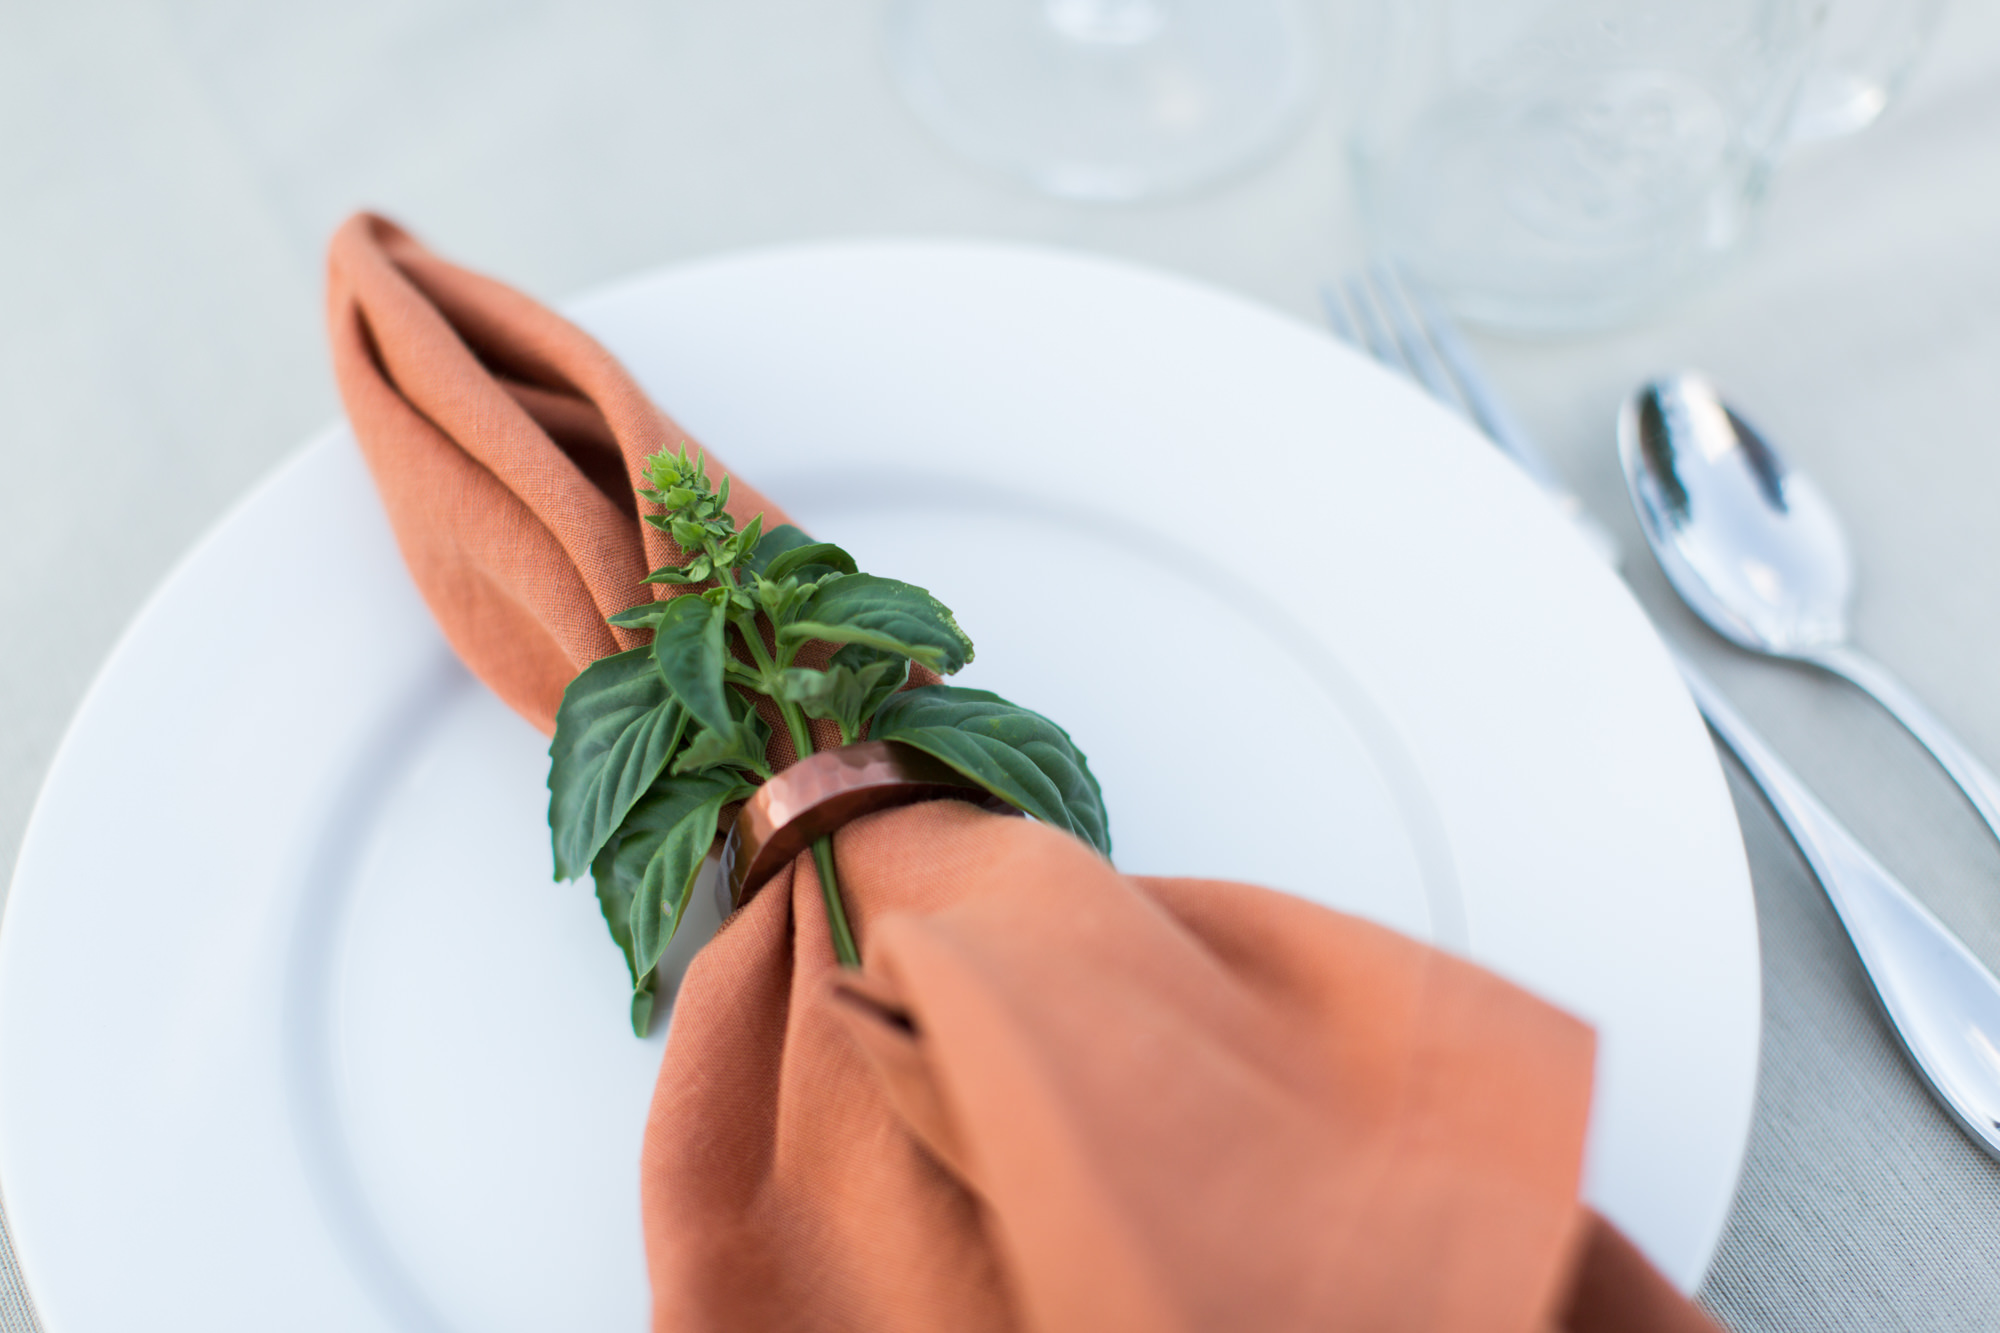
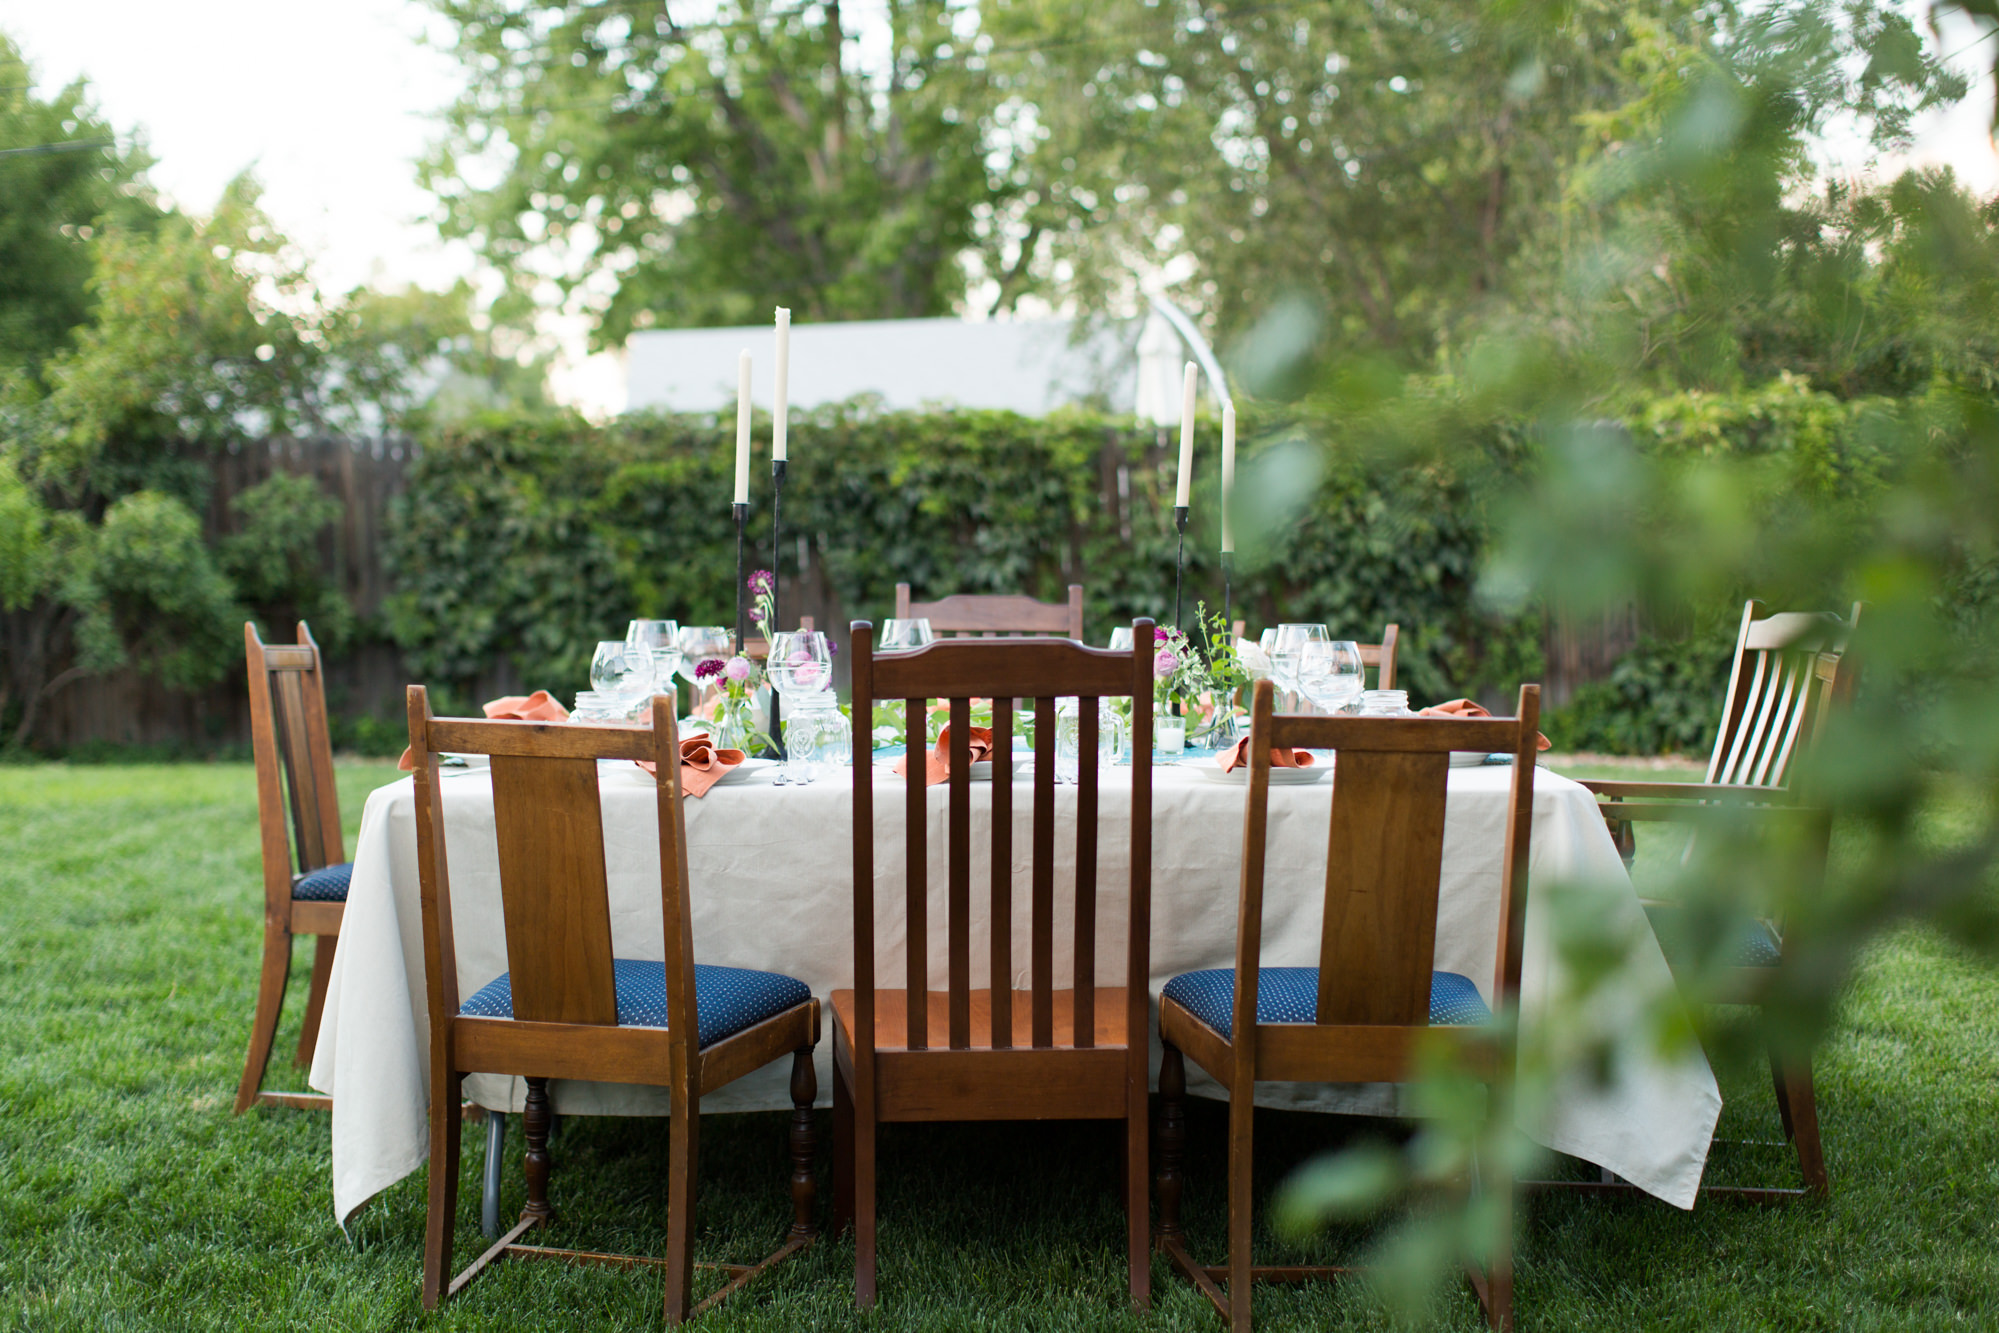
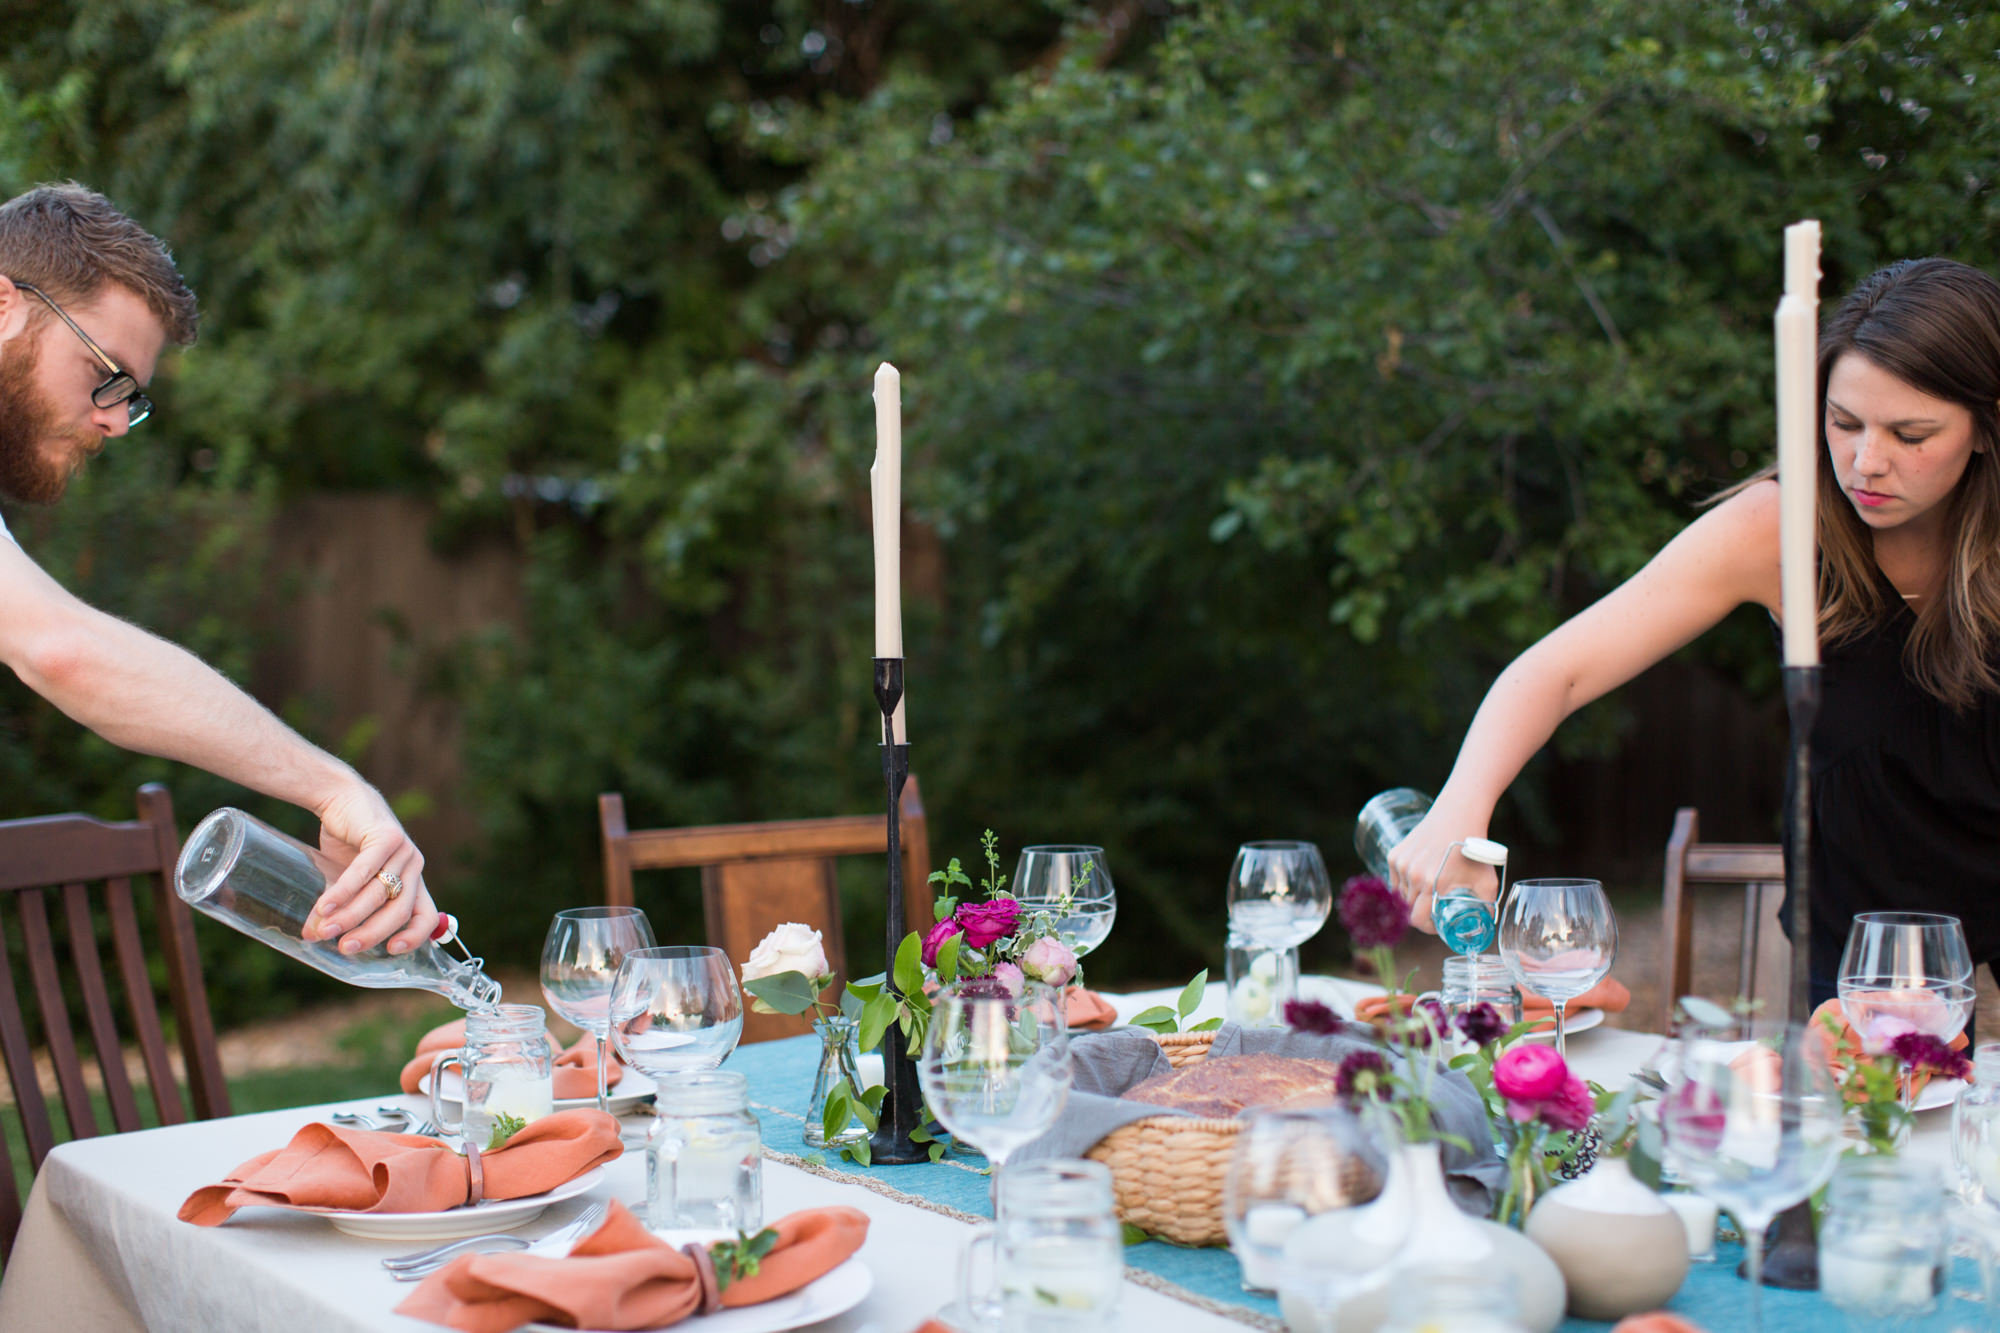
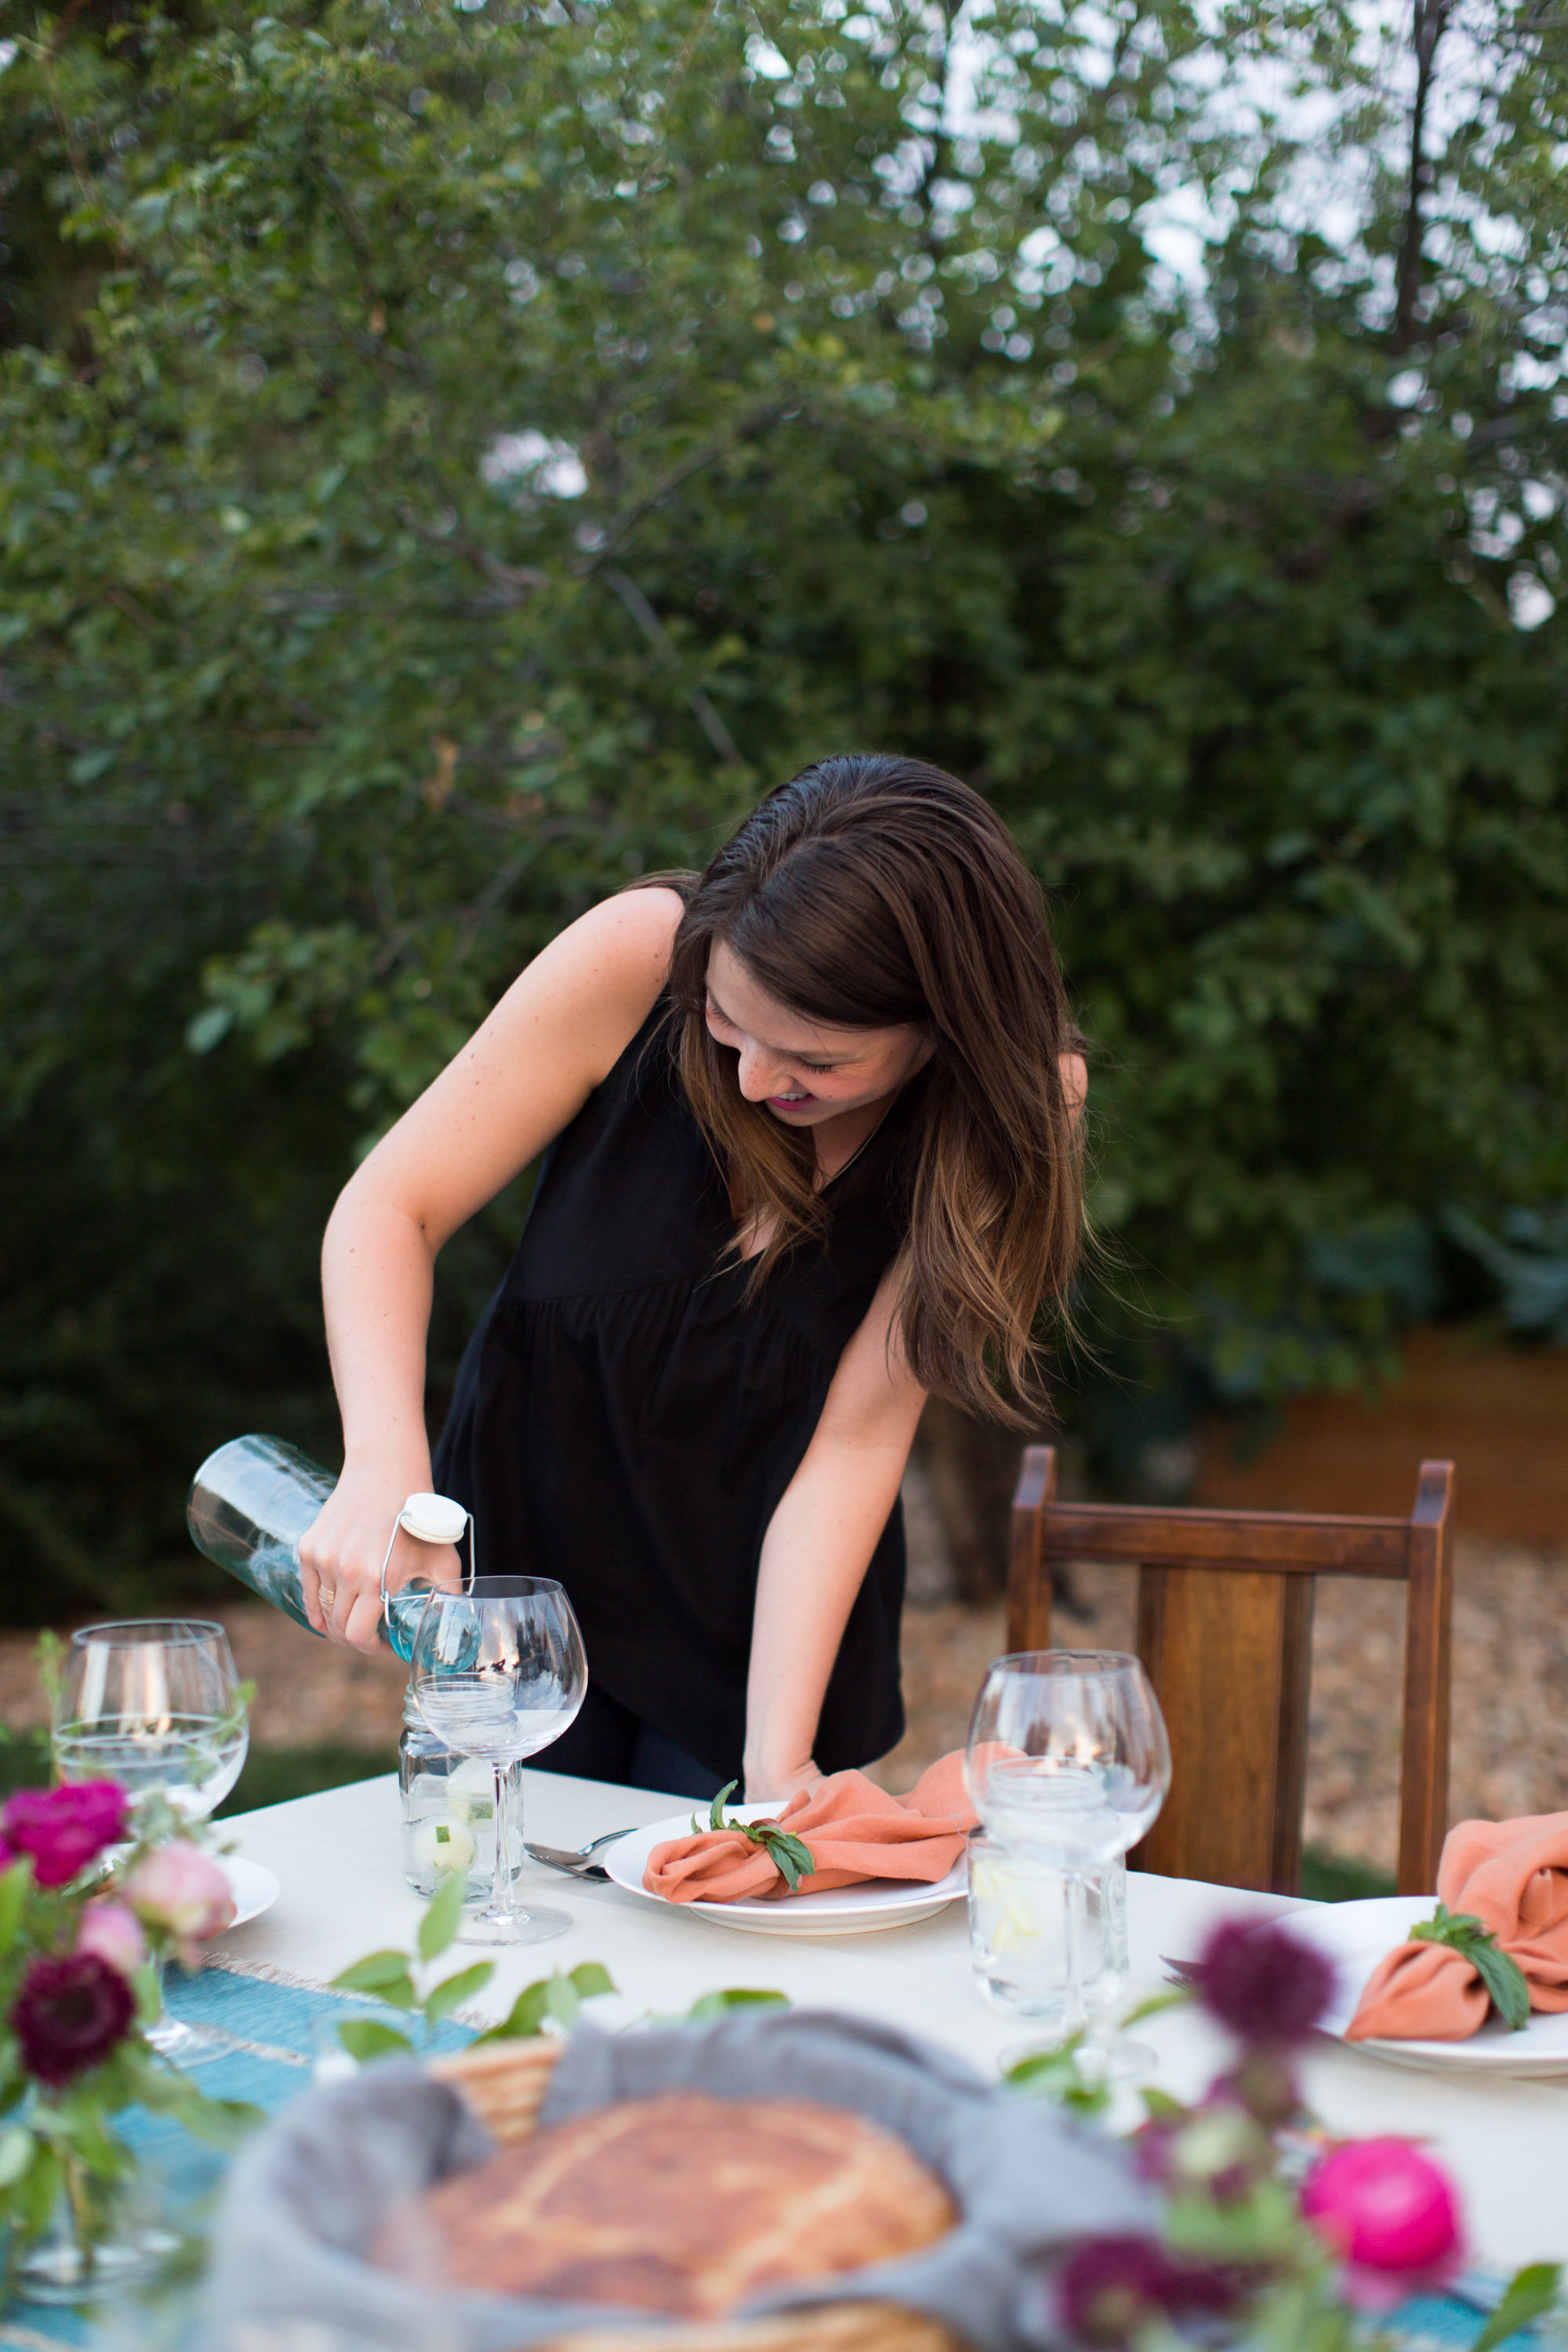
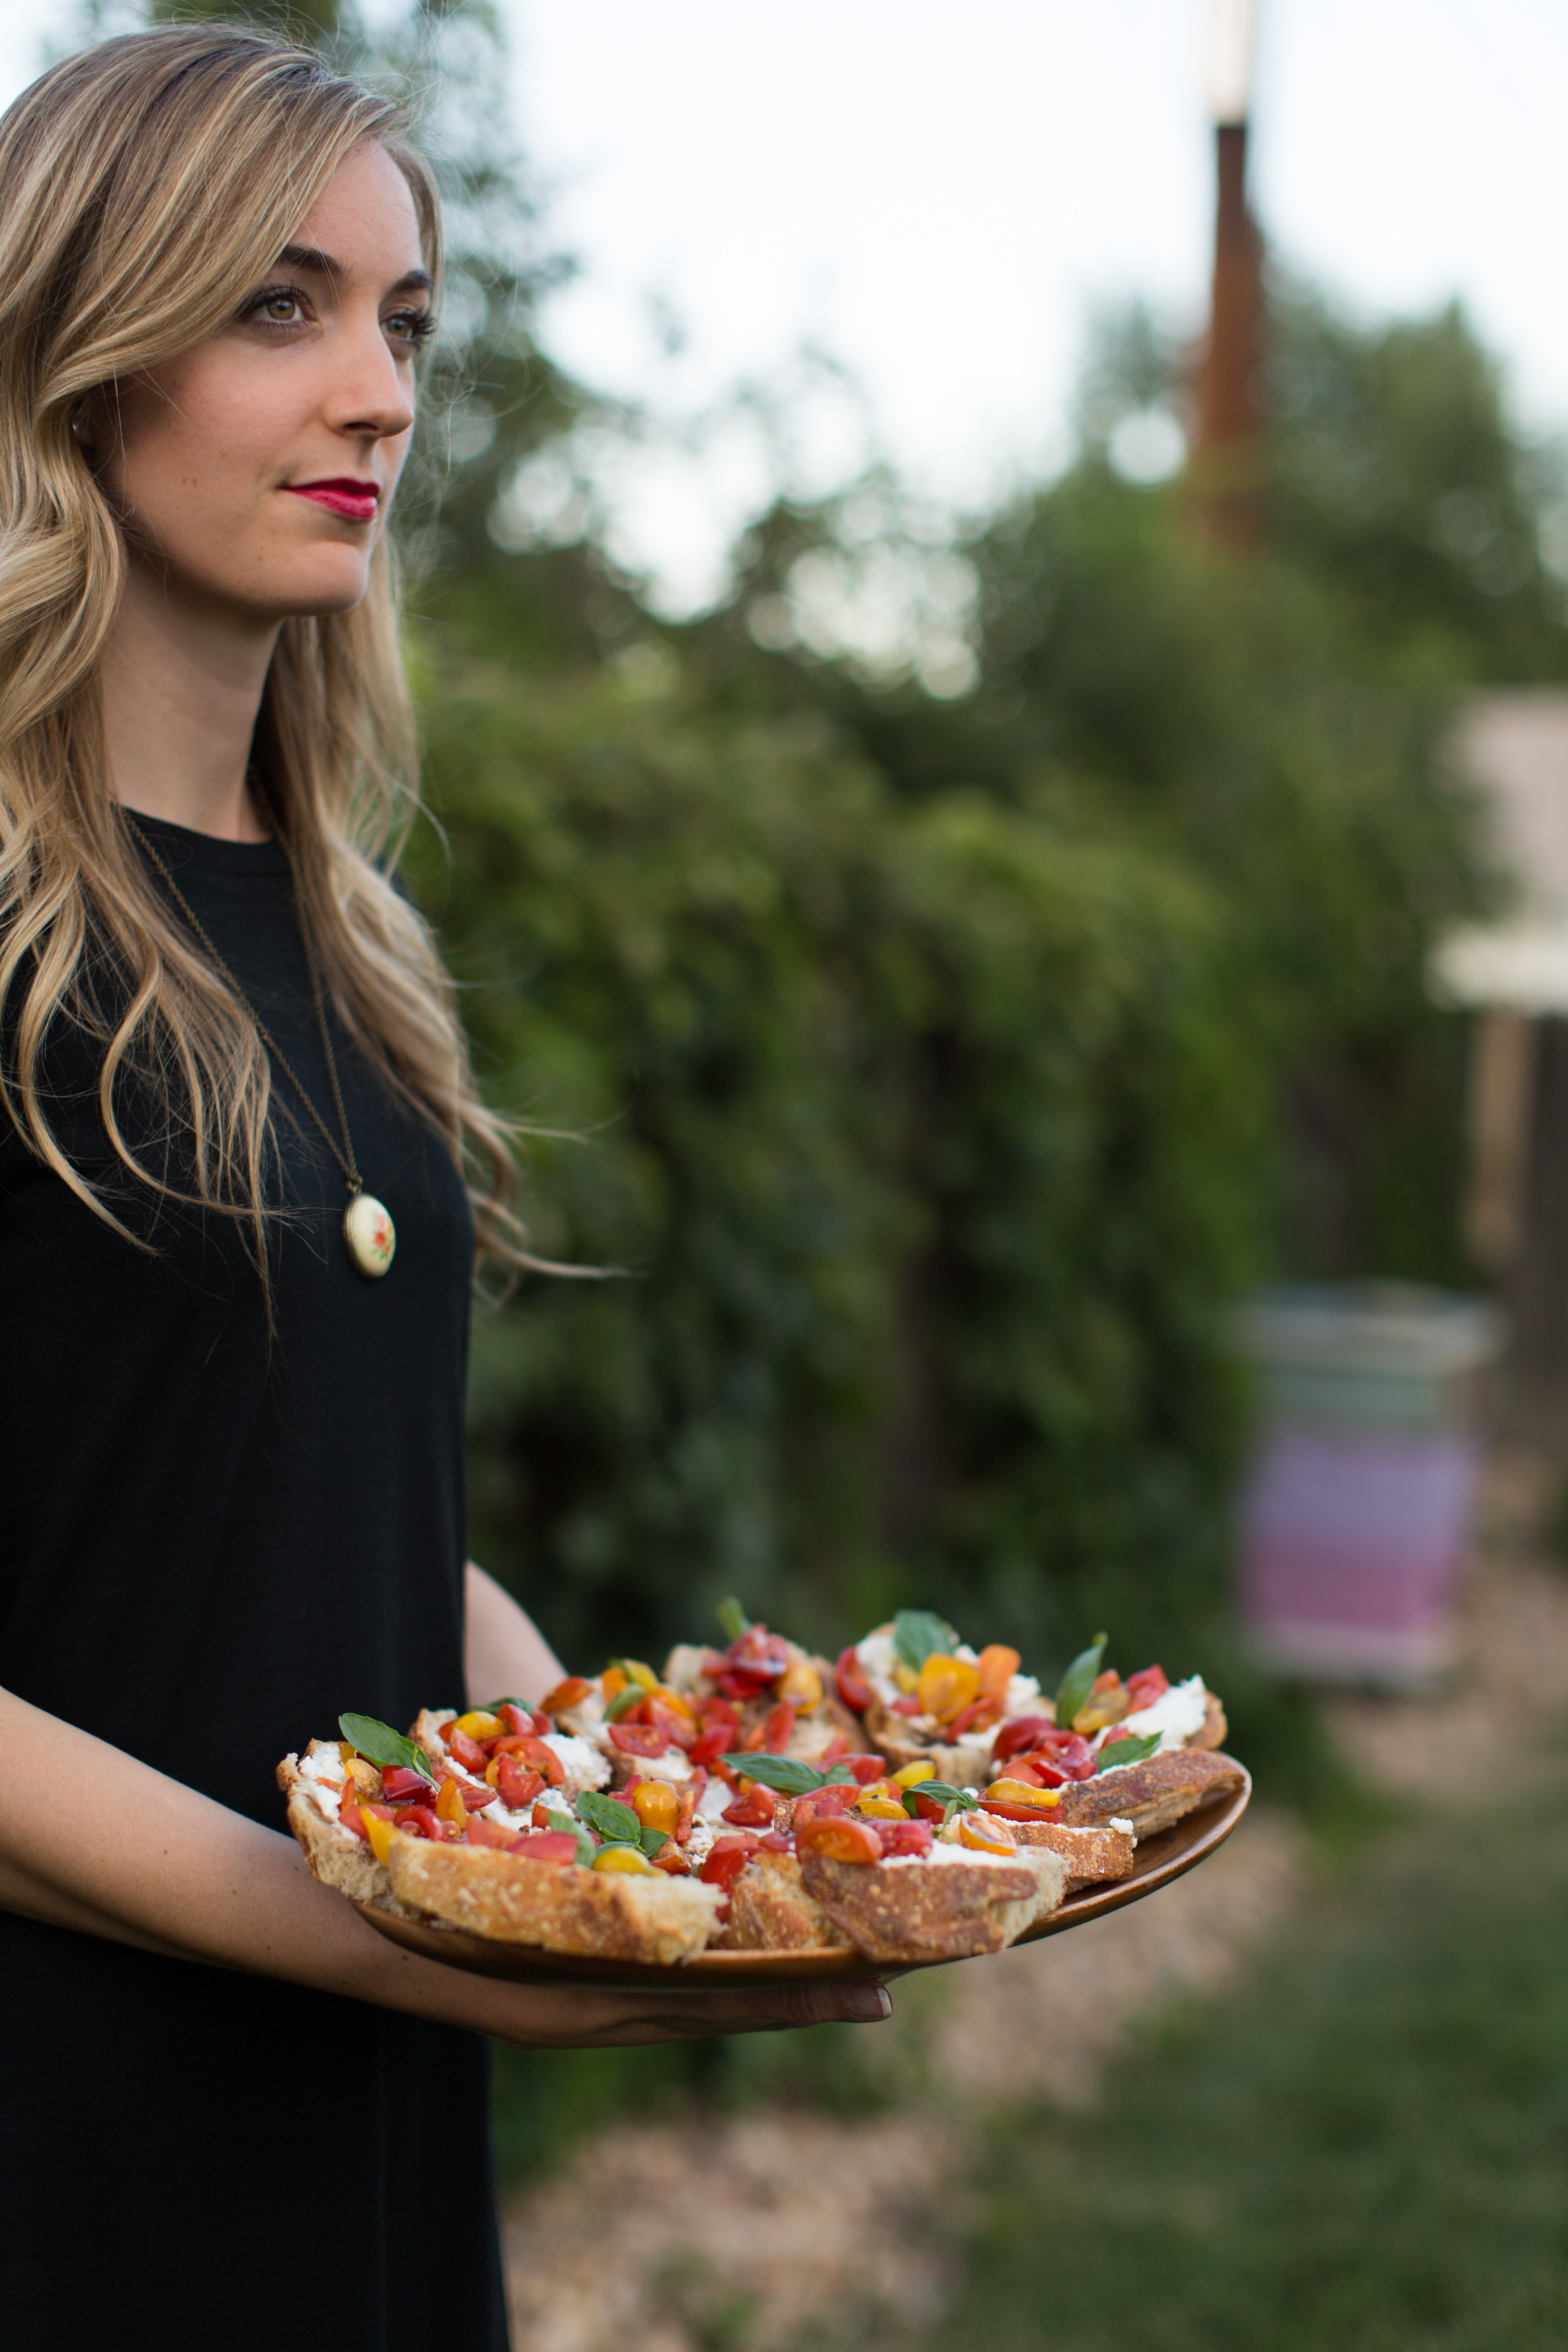
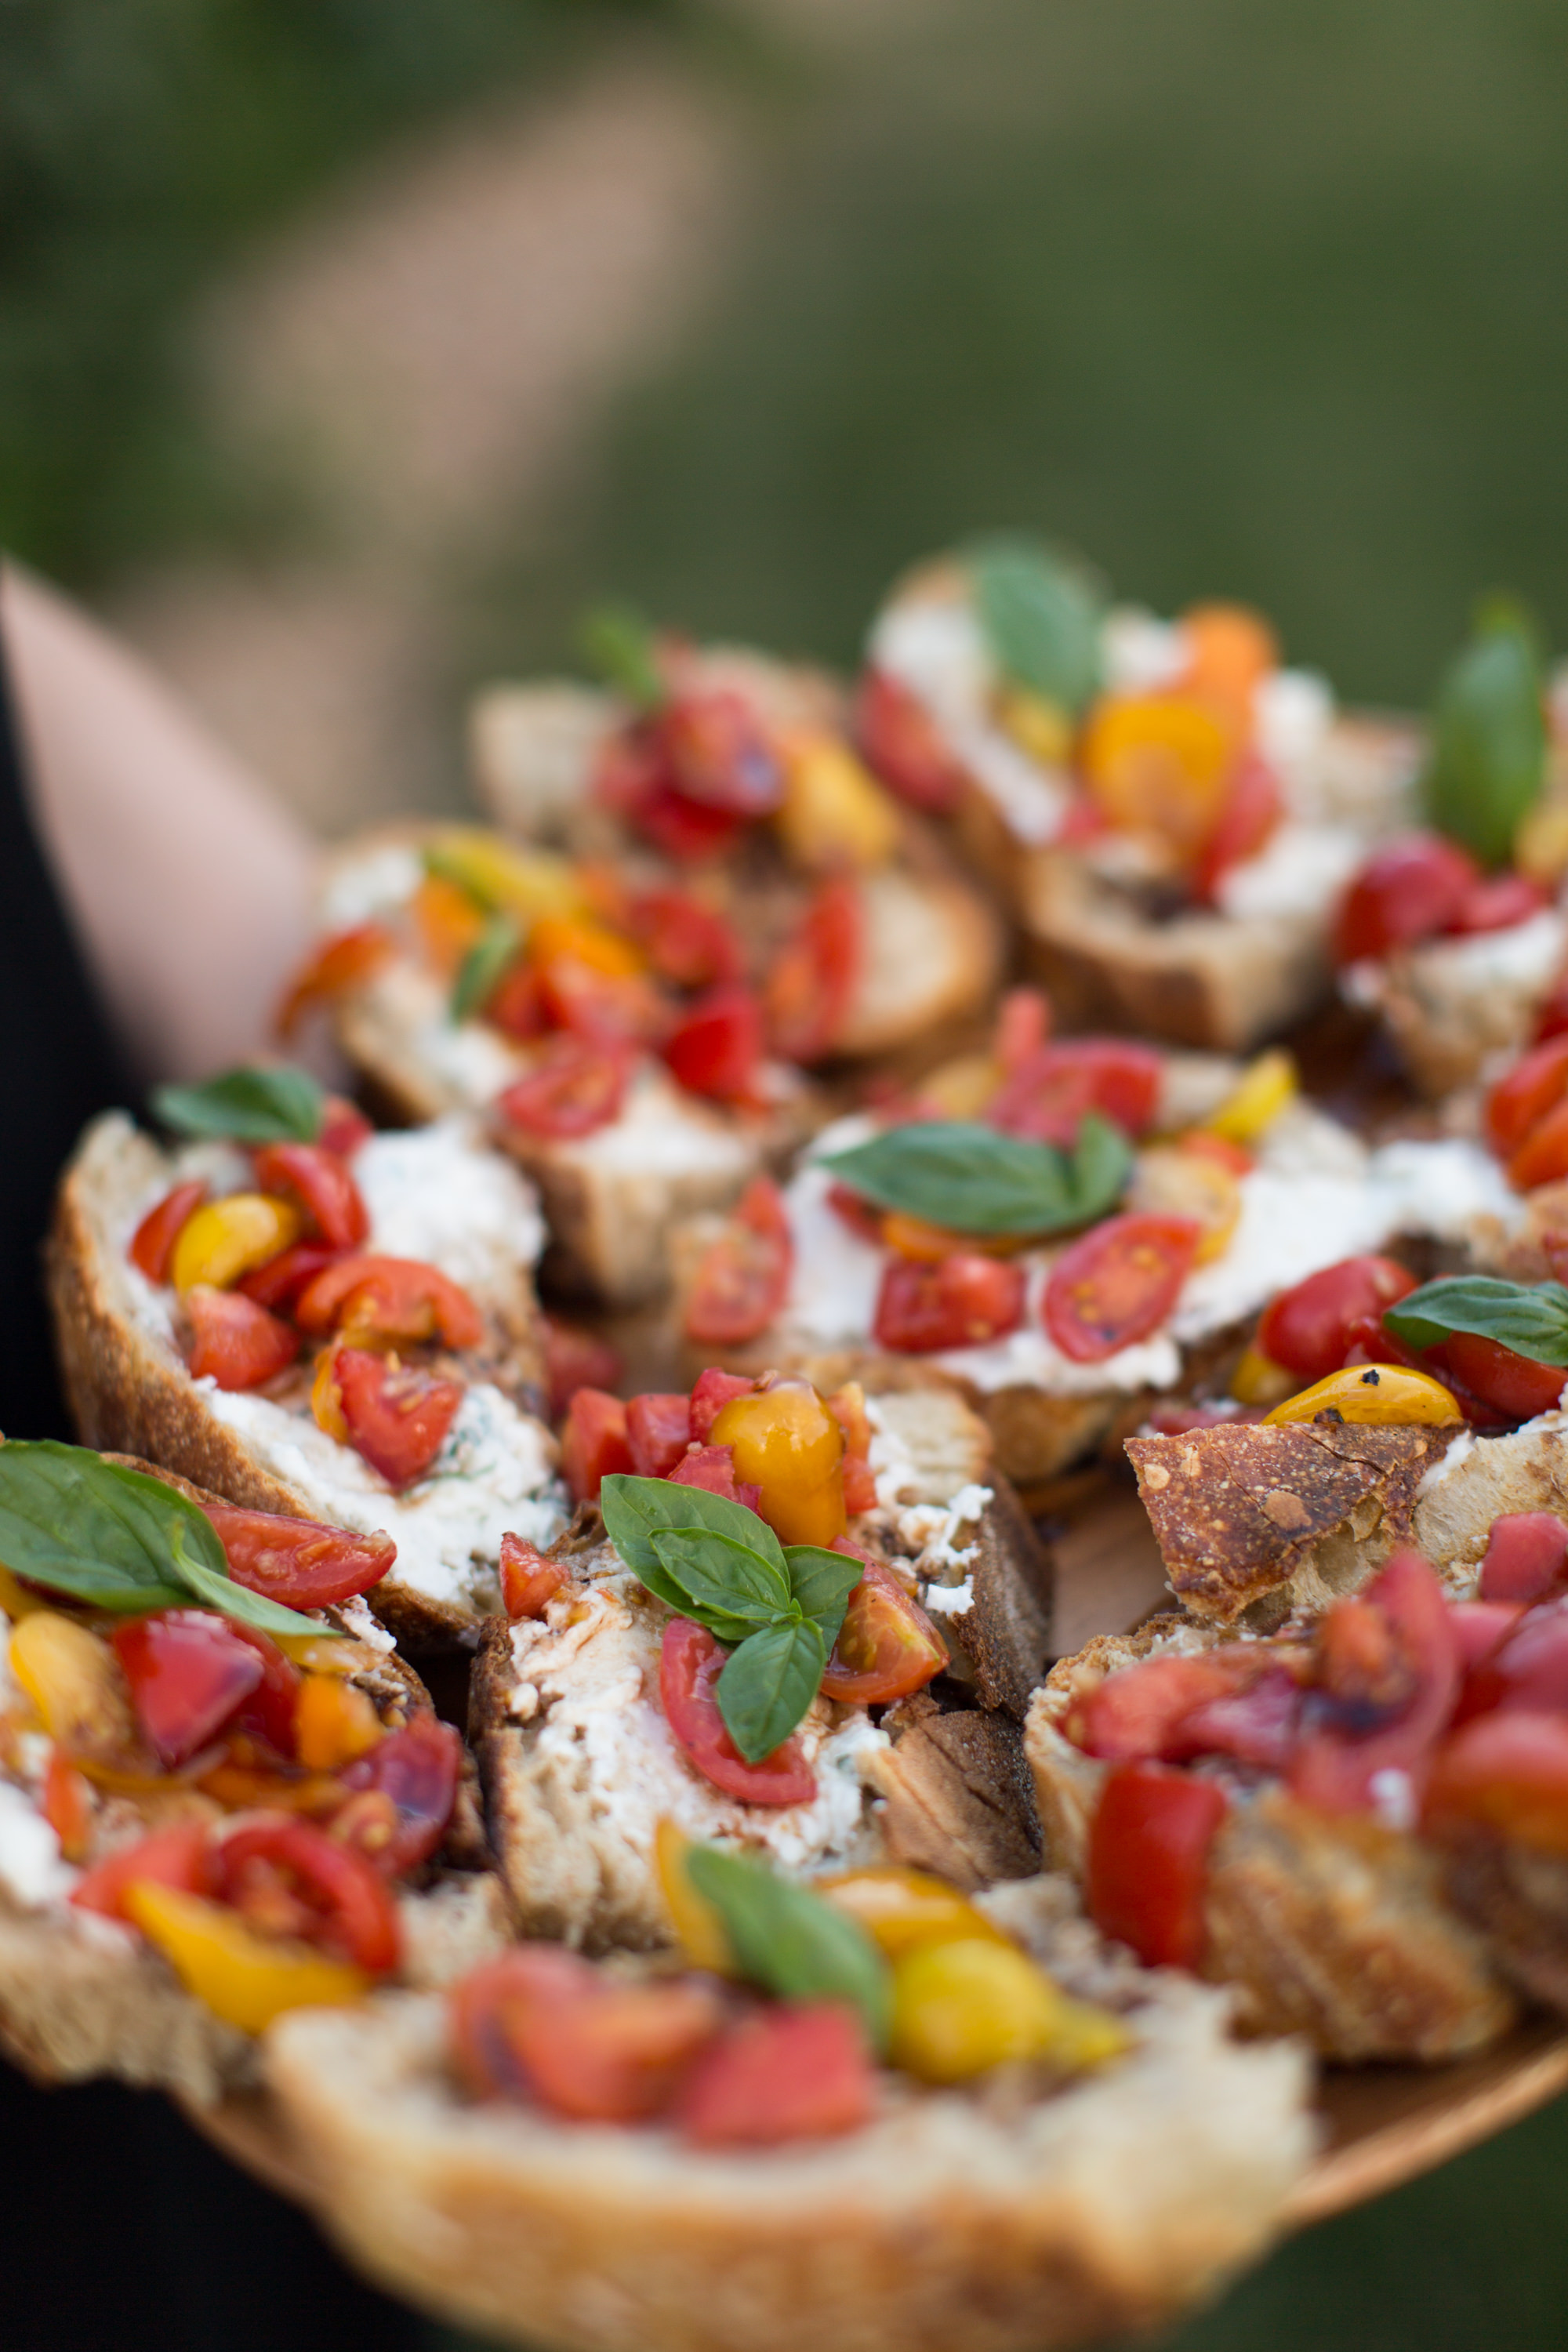
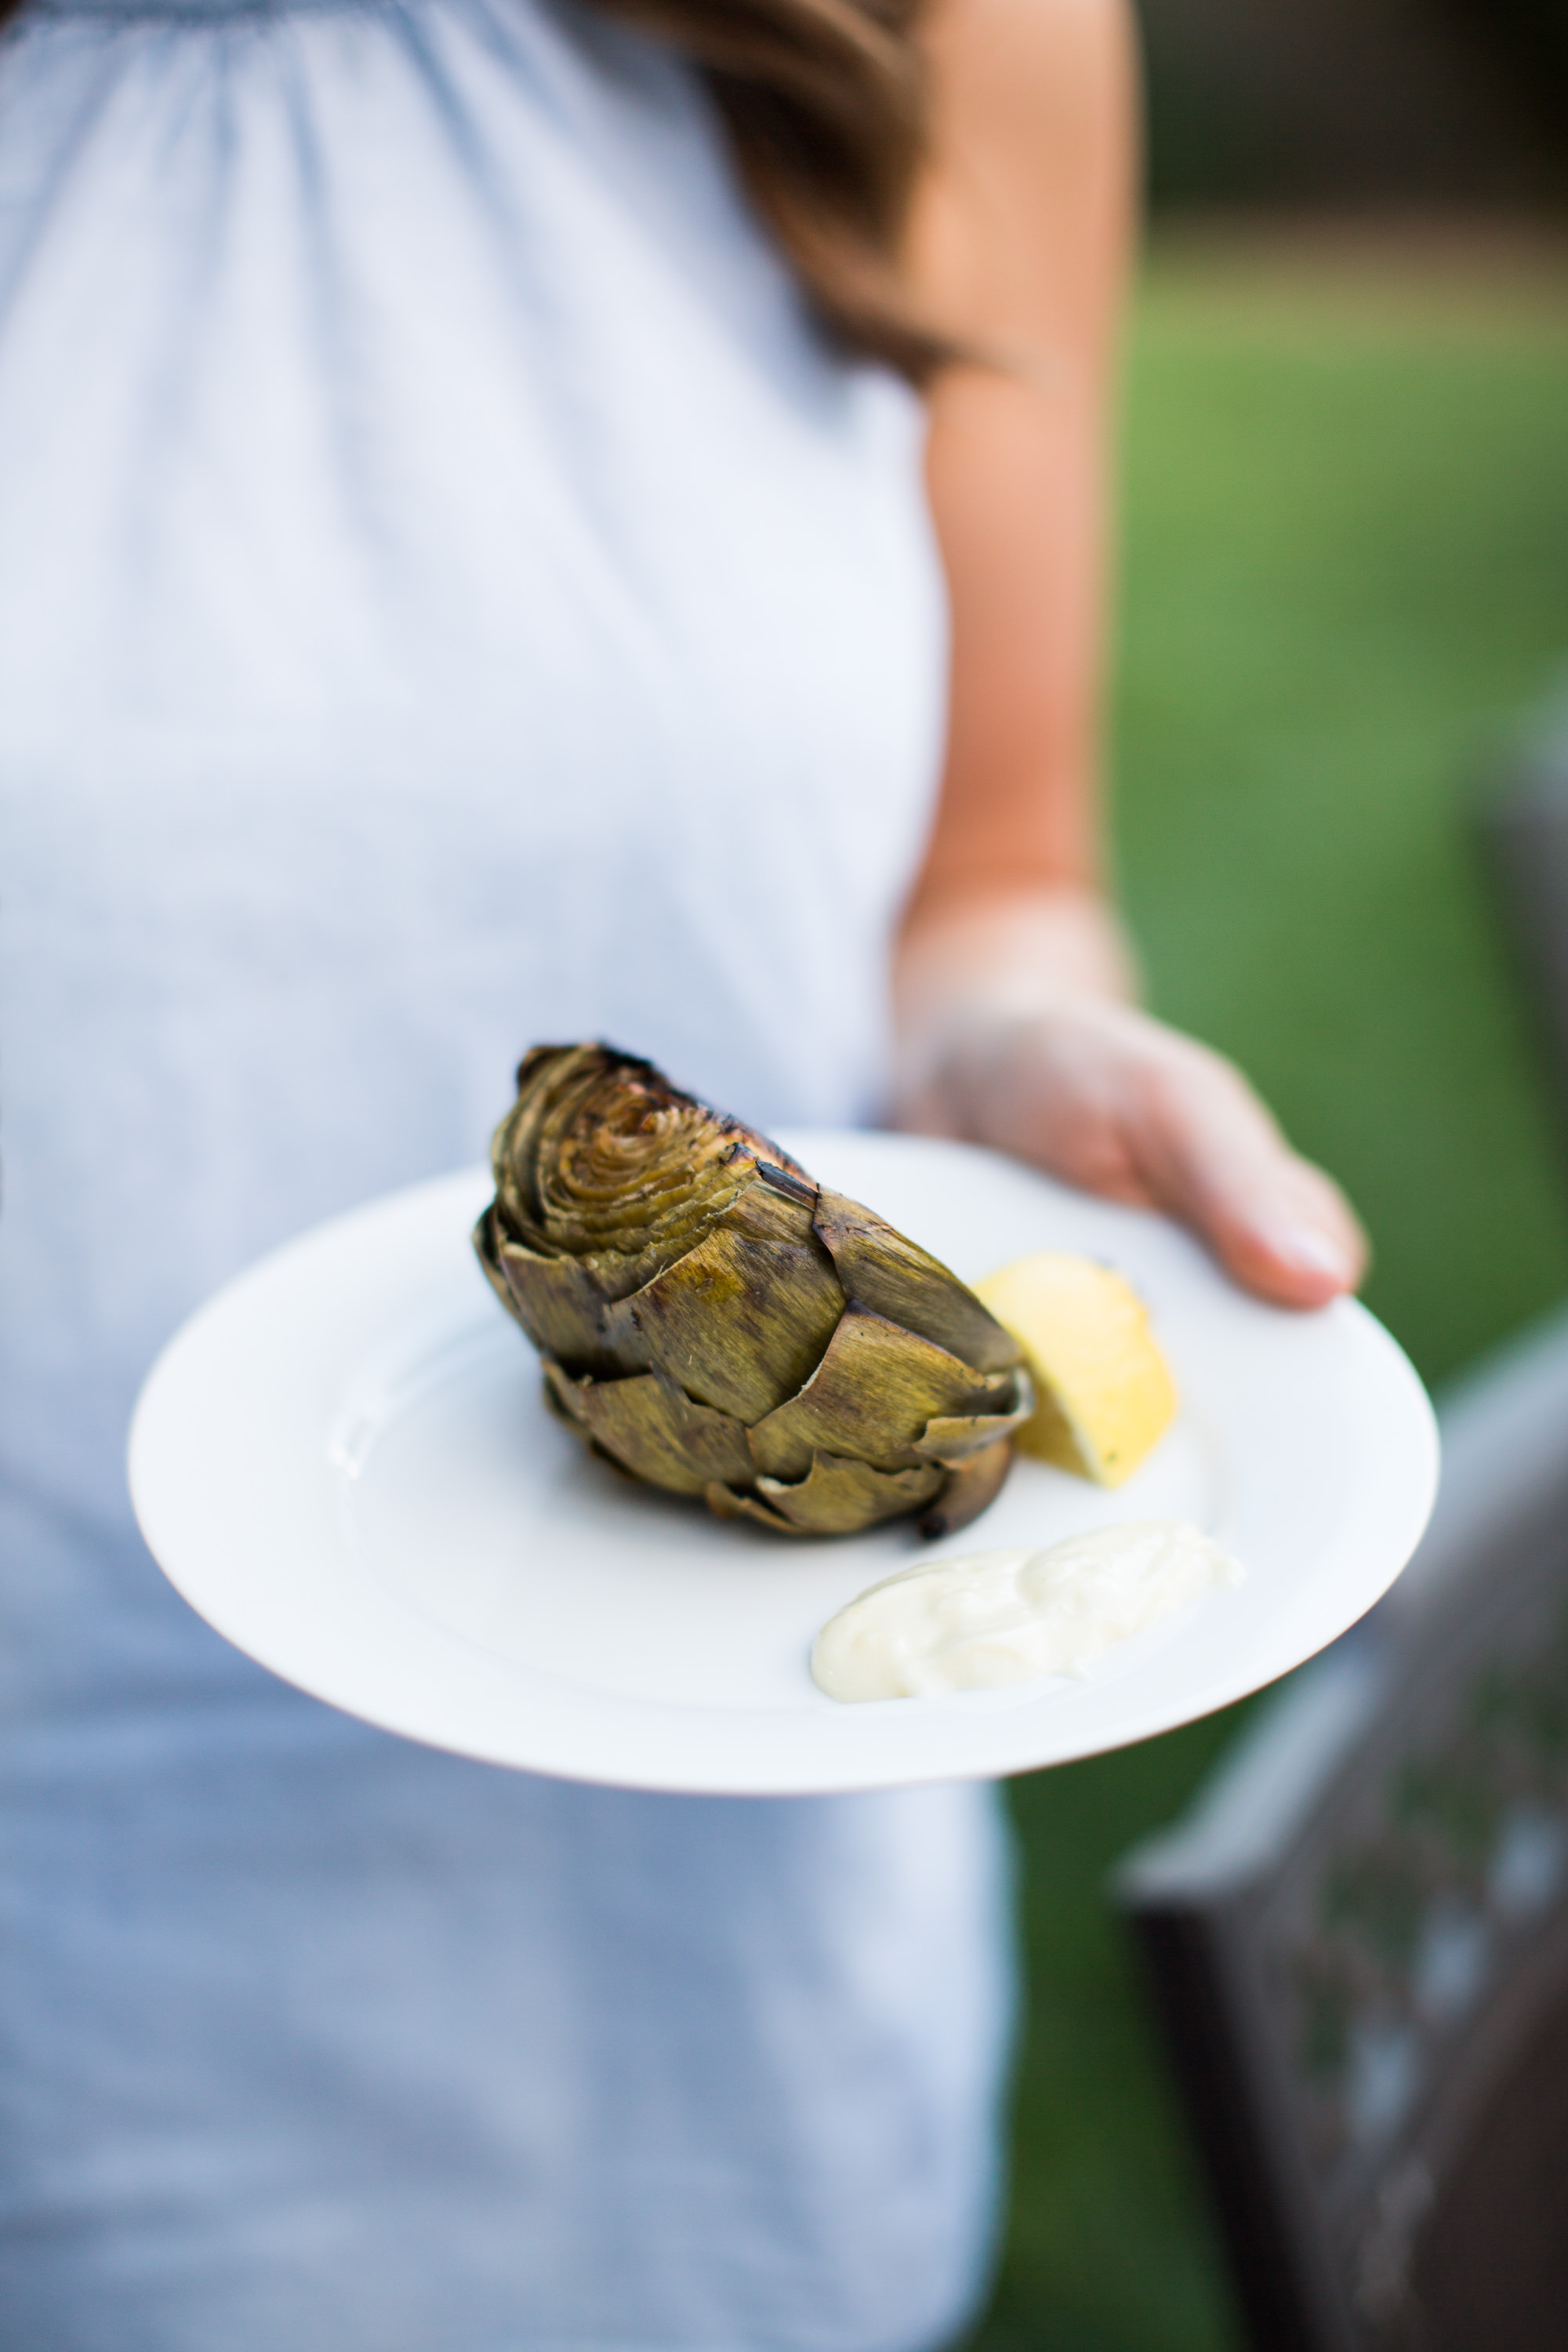
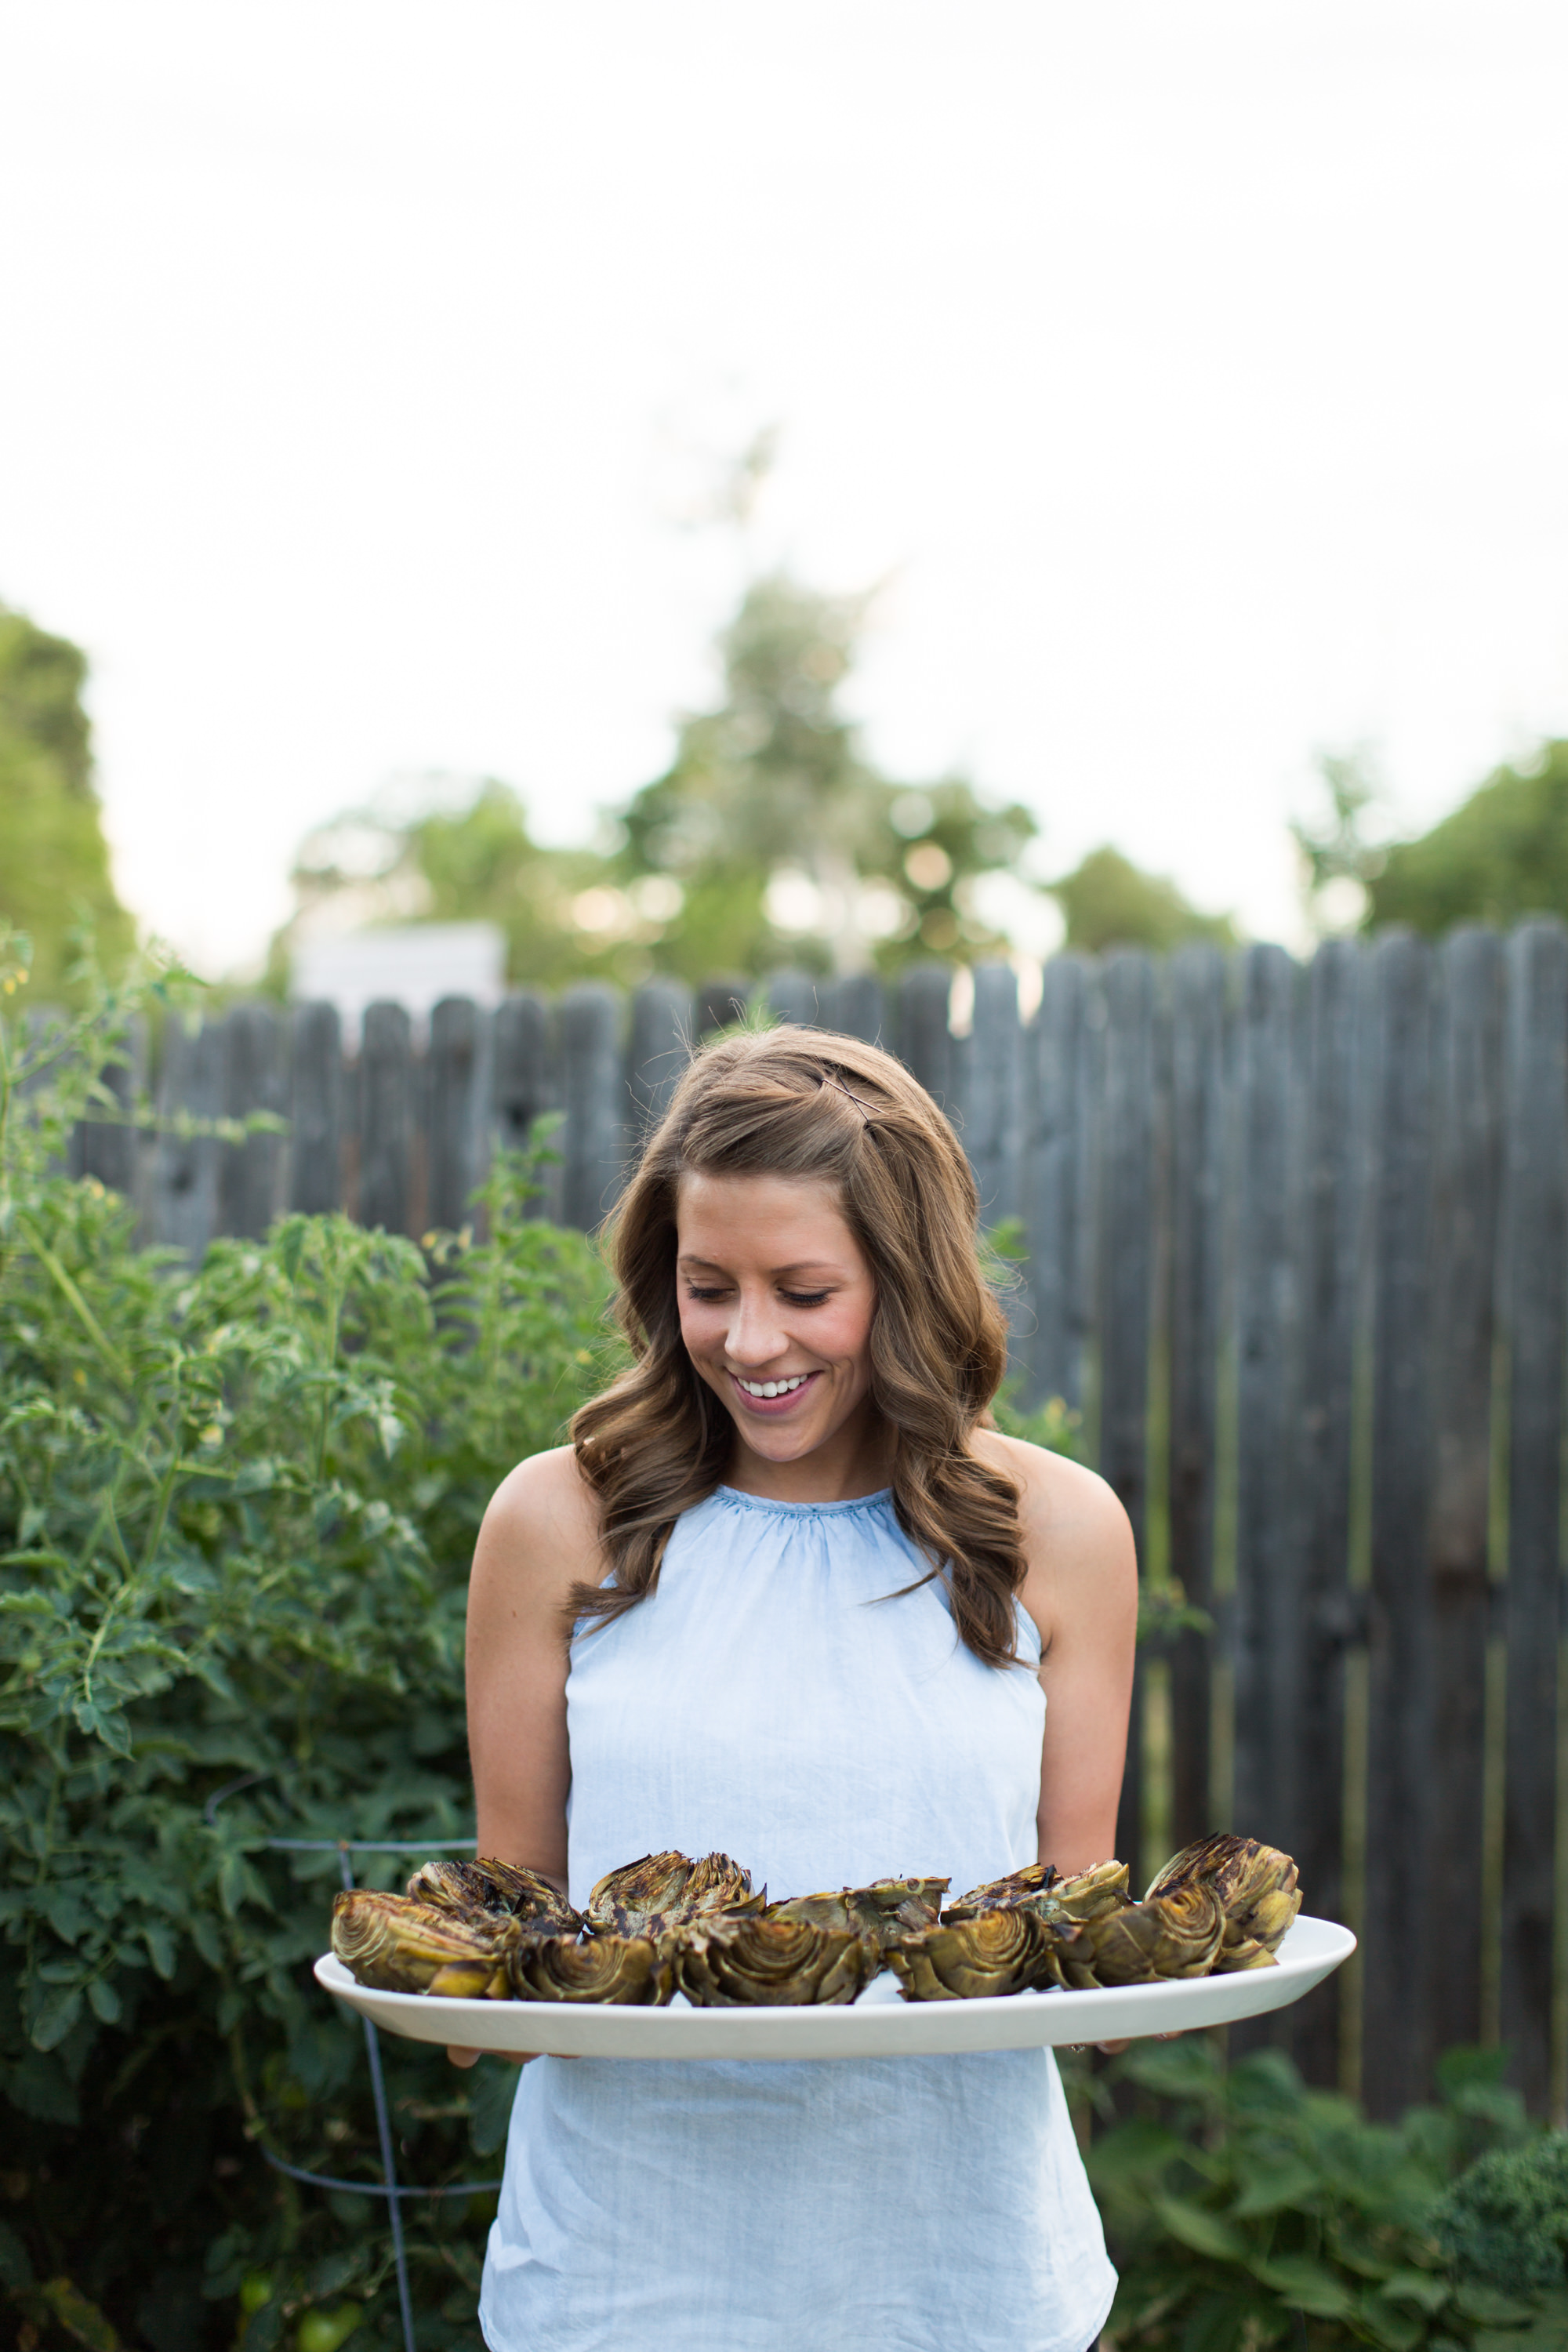
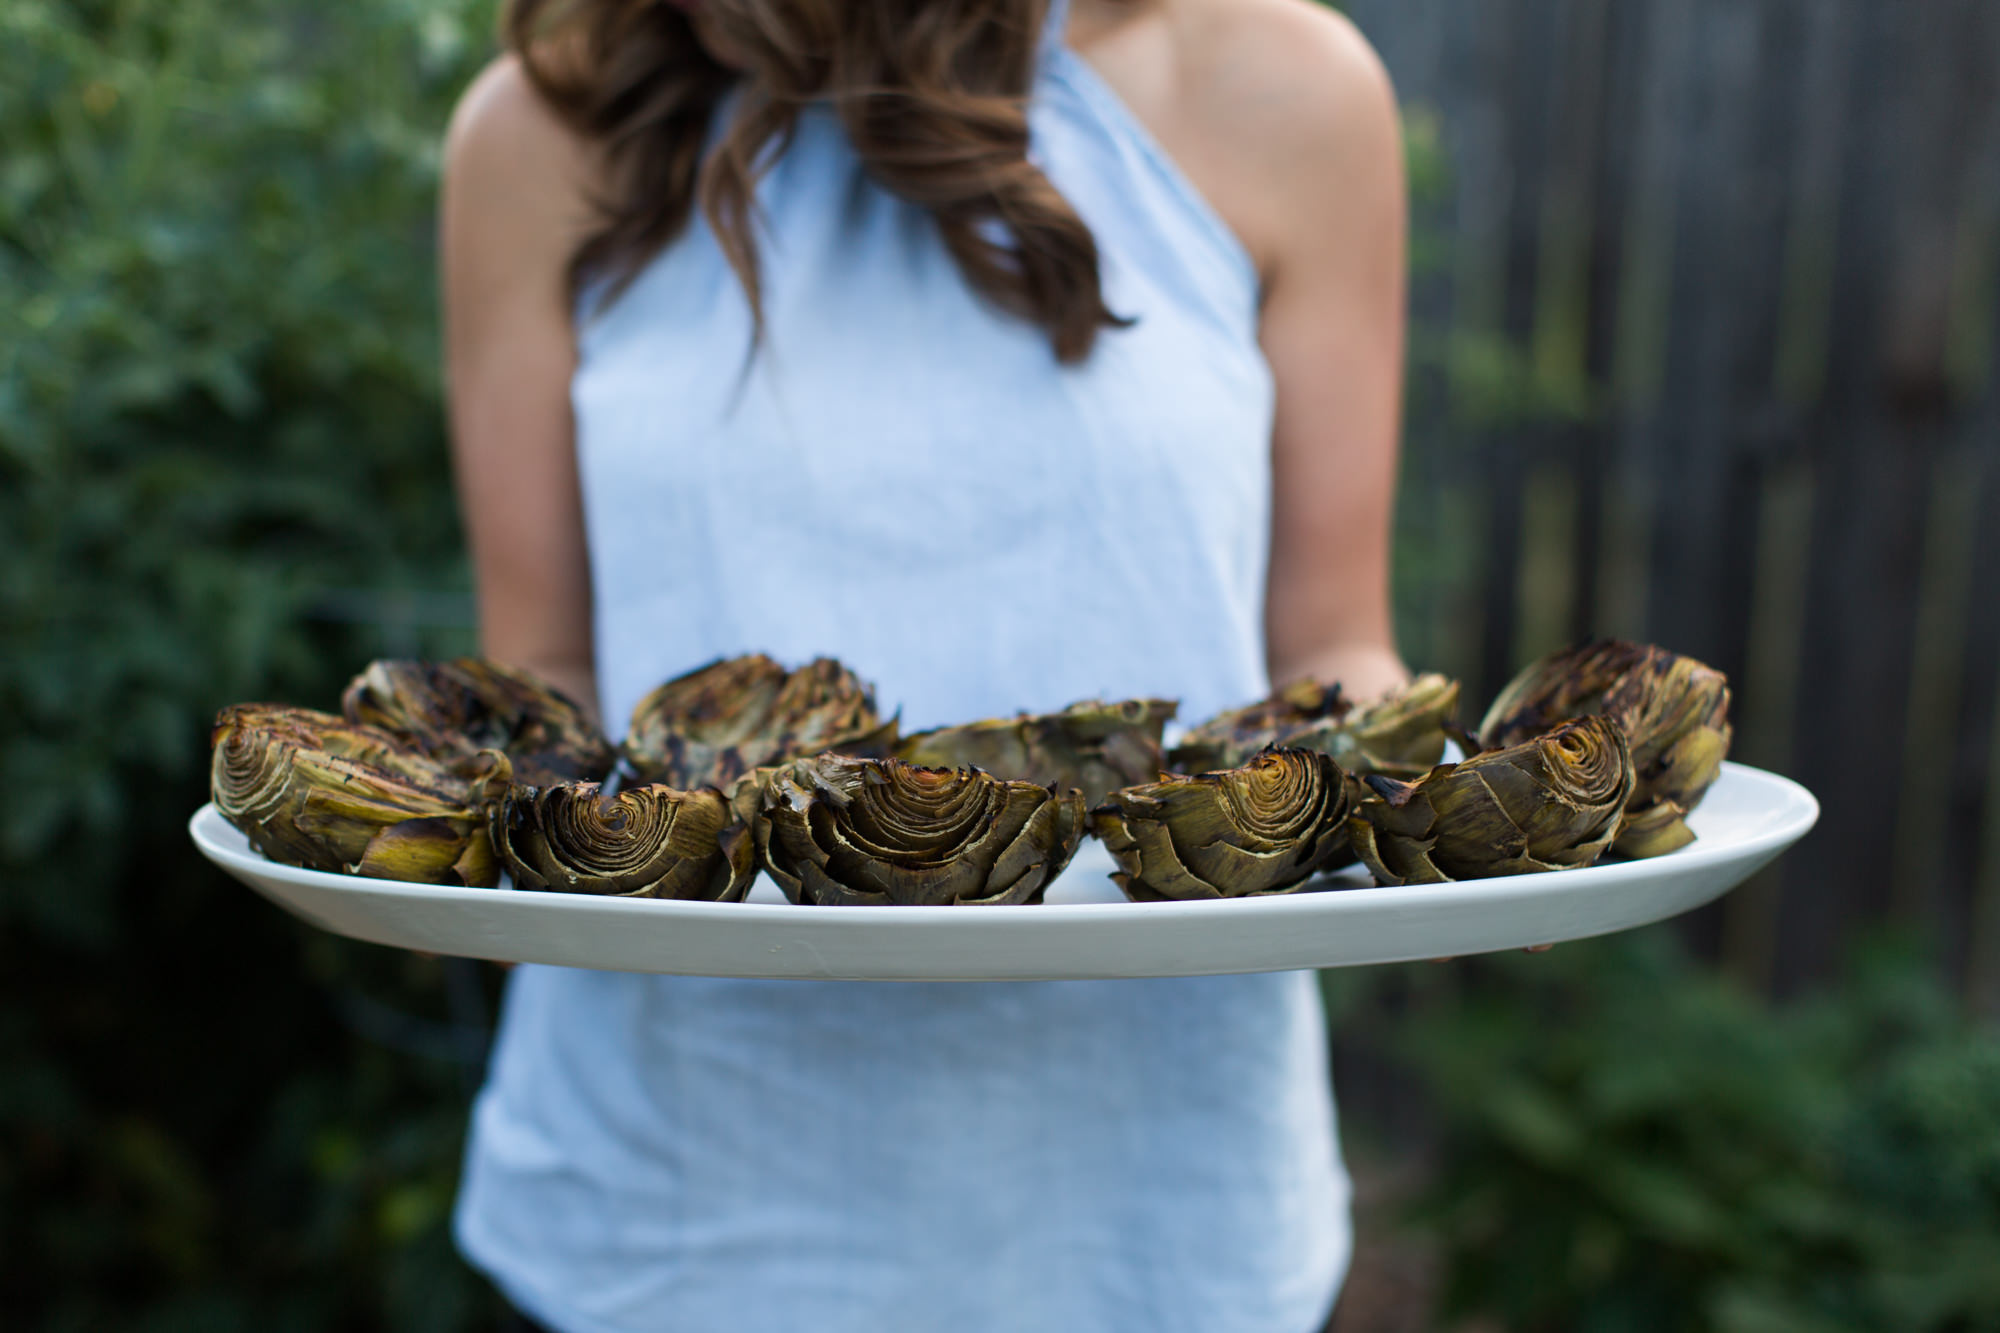
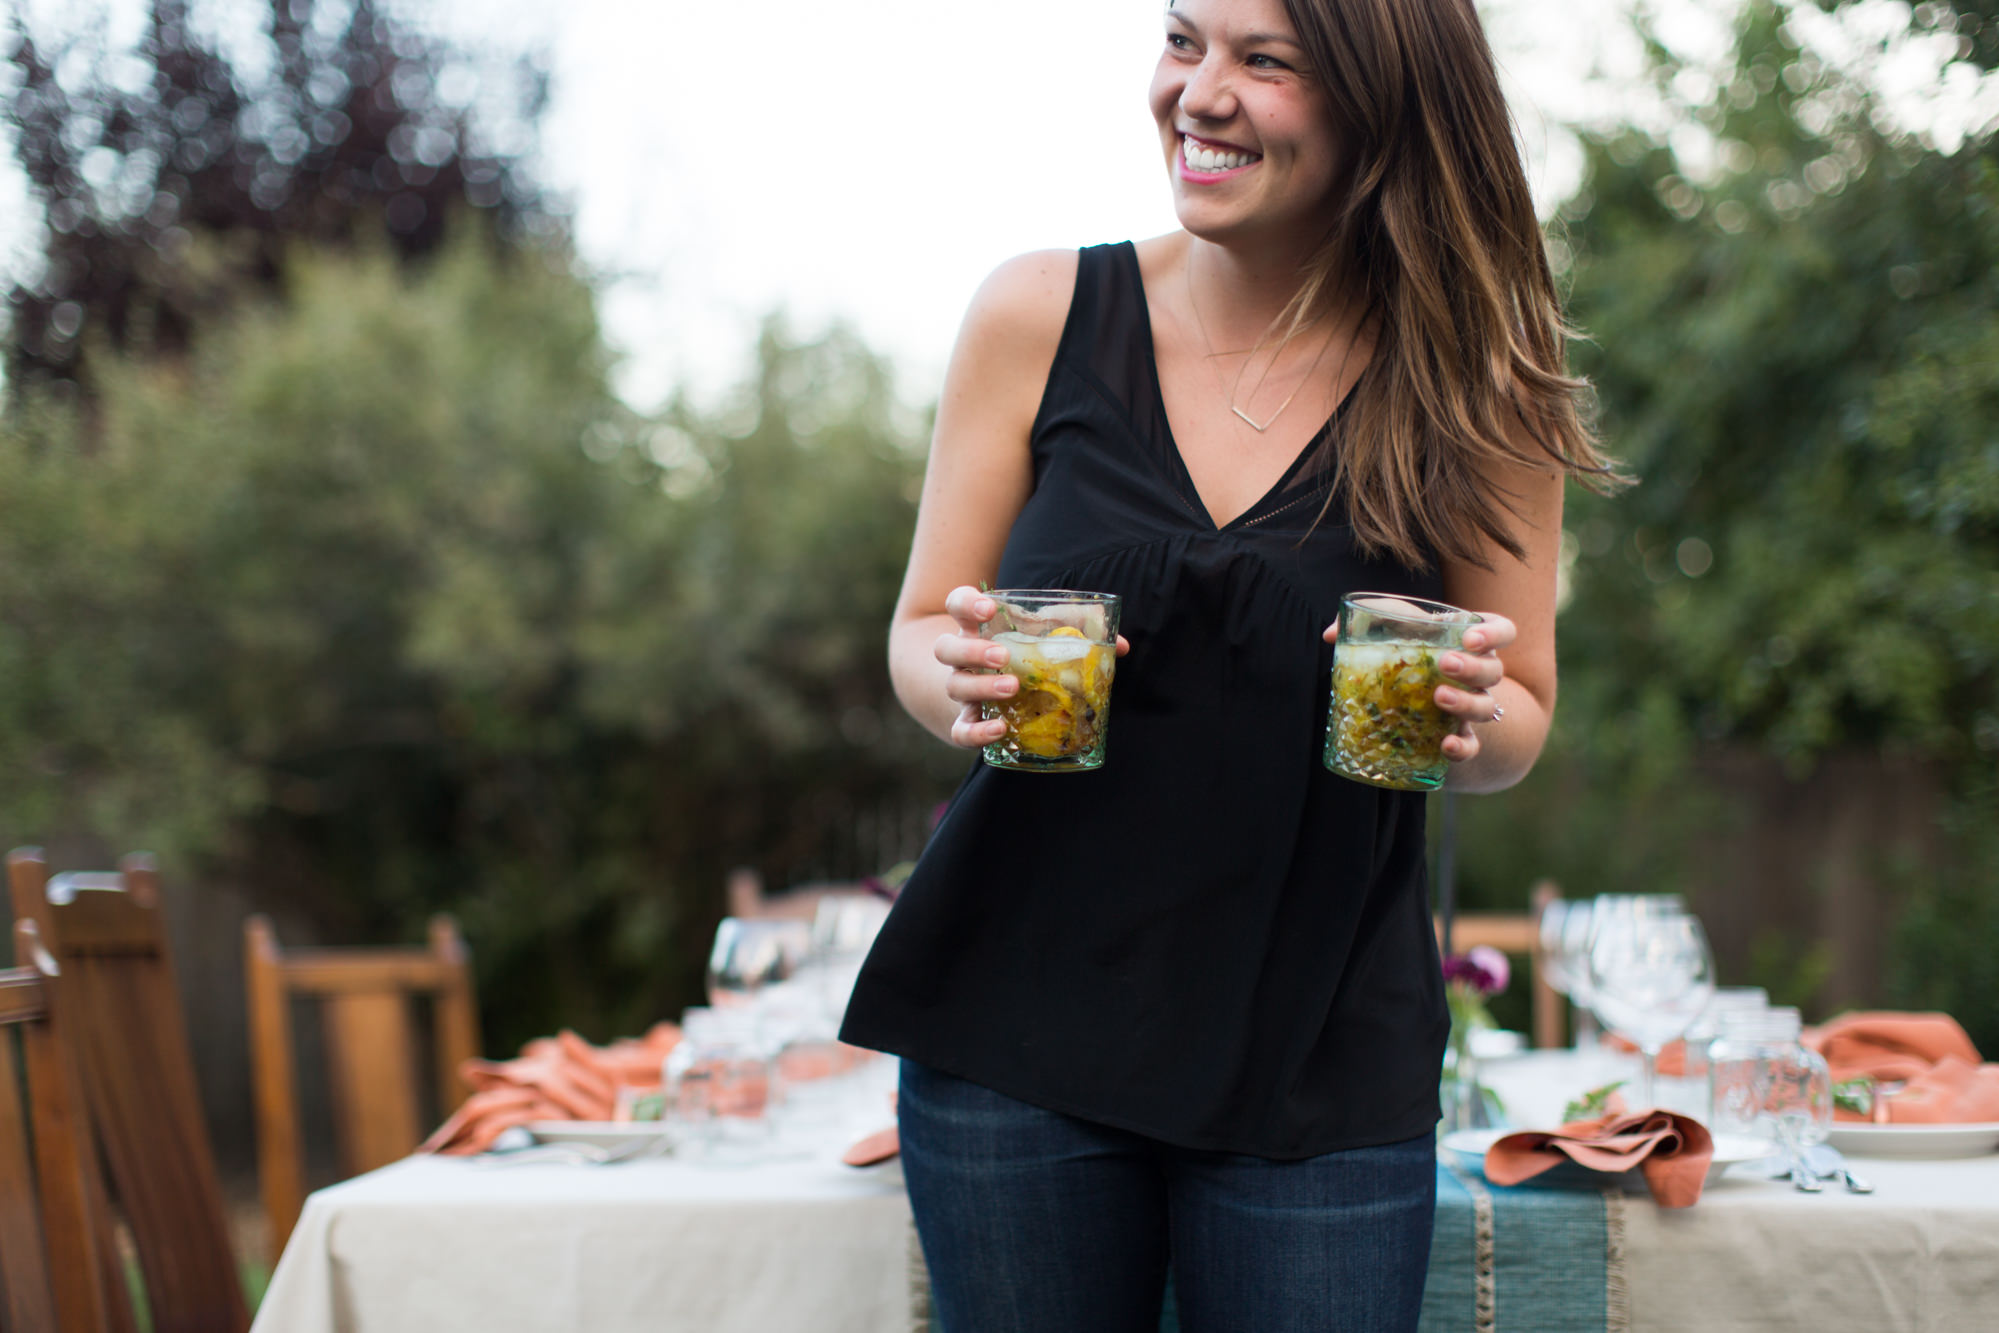
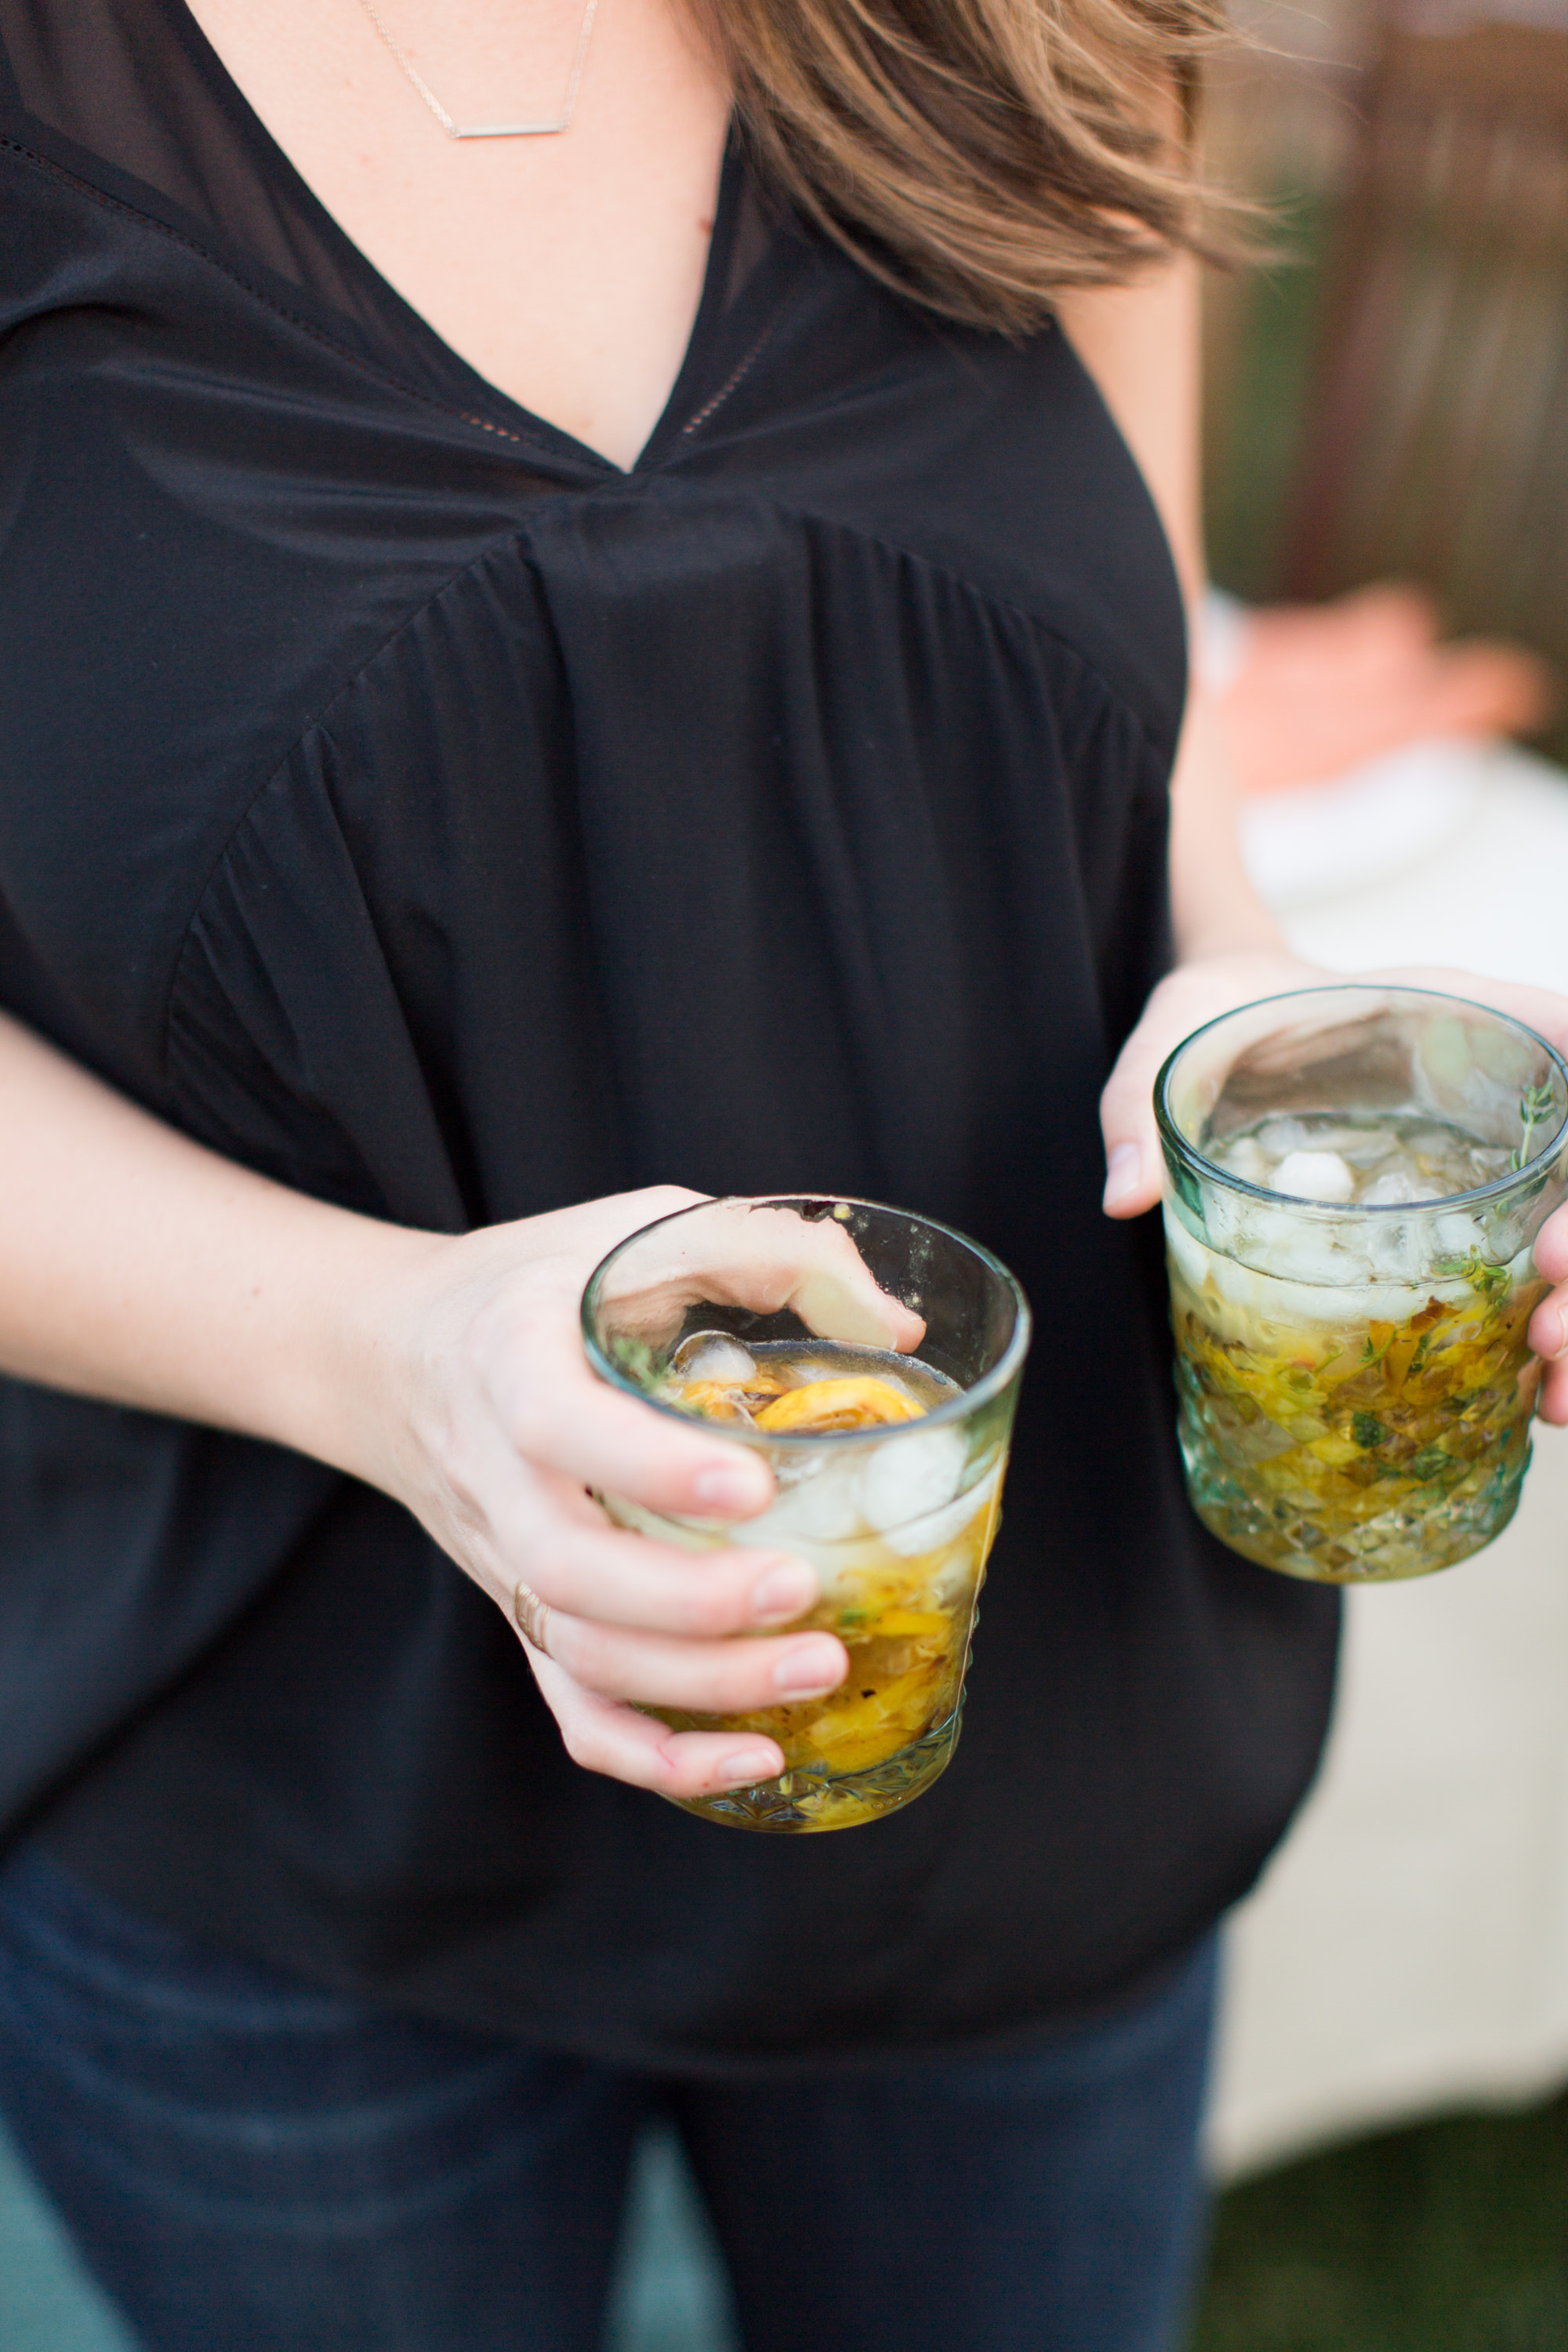
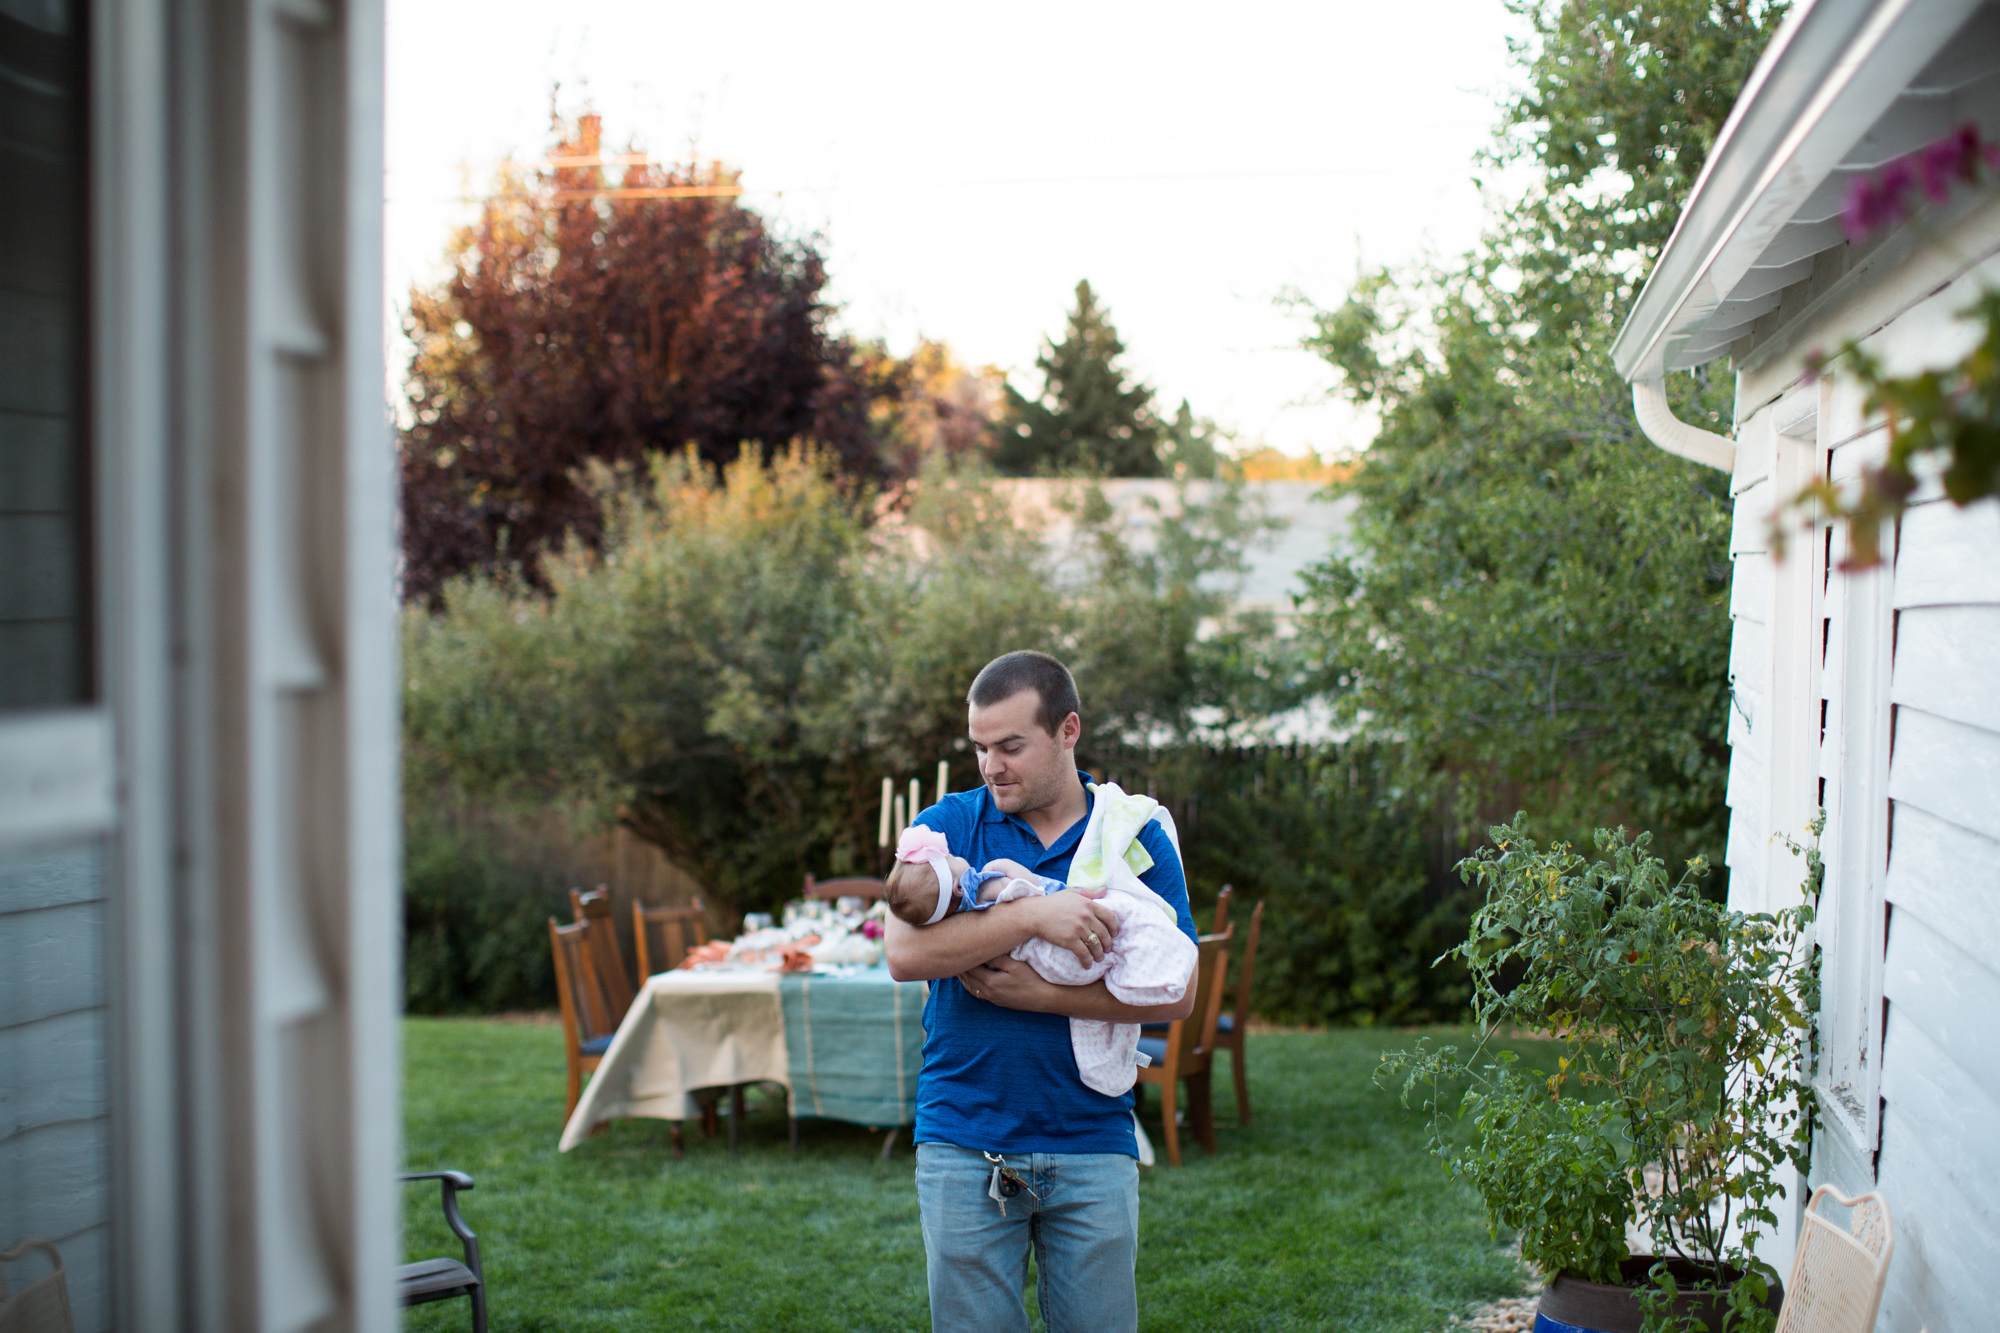
All images in this post via Leah Michelle Photography


Hello friends. It's been a minute. Last month I tested my culinary limits.

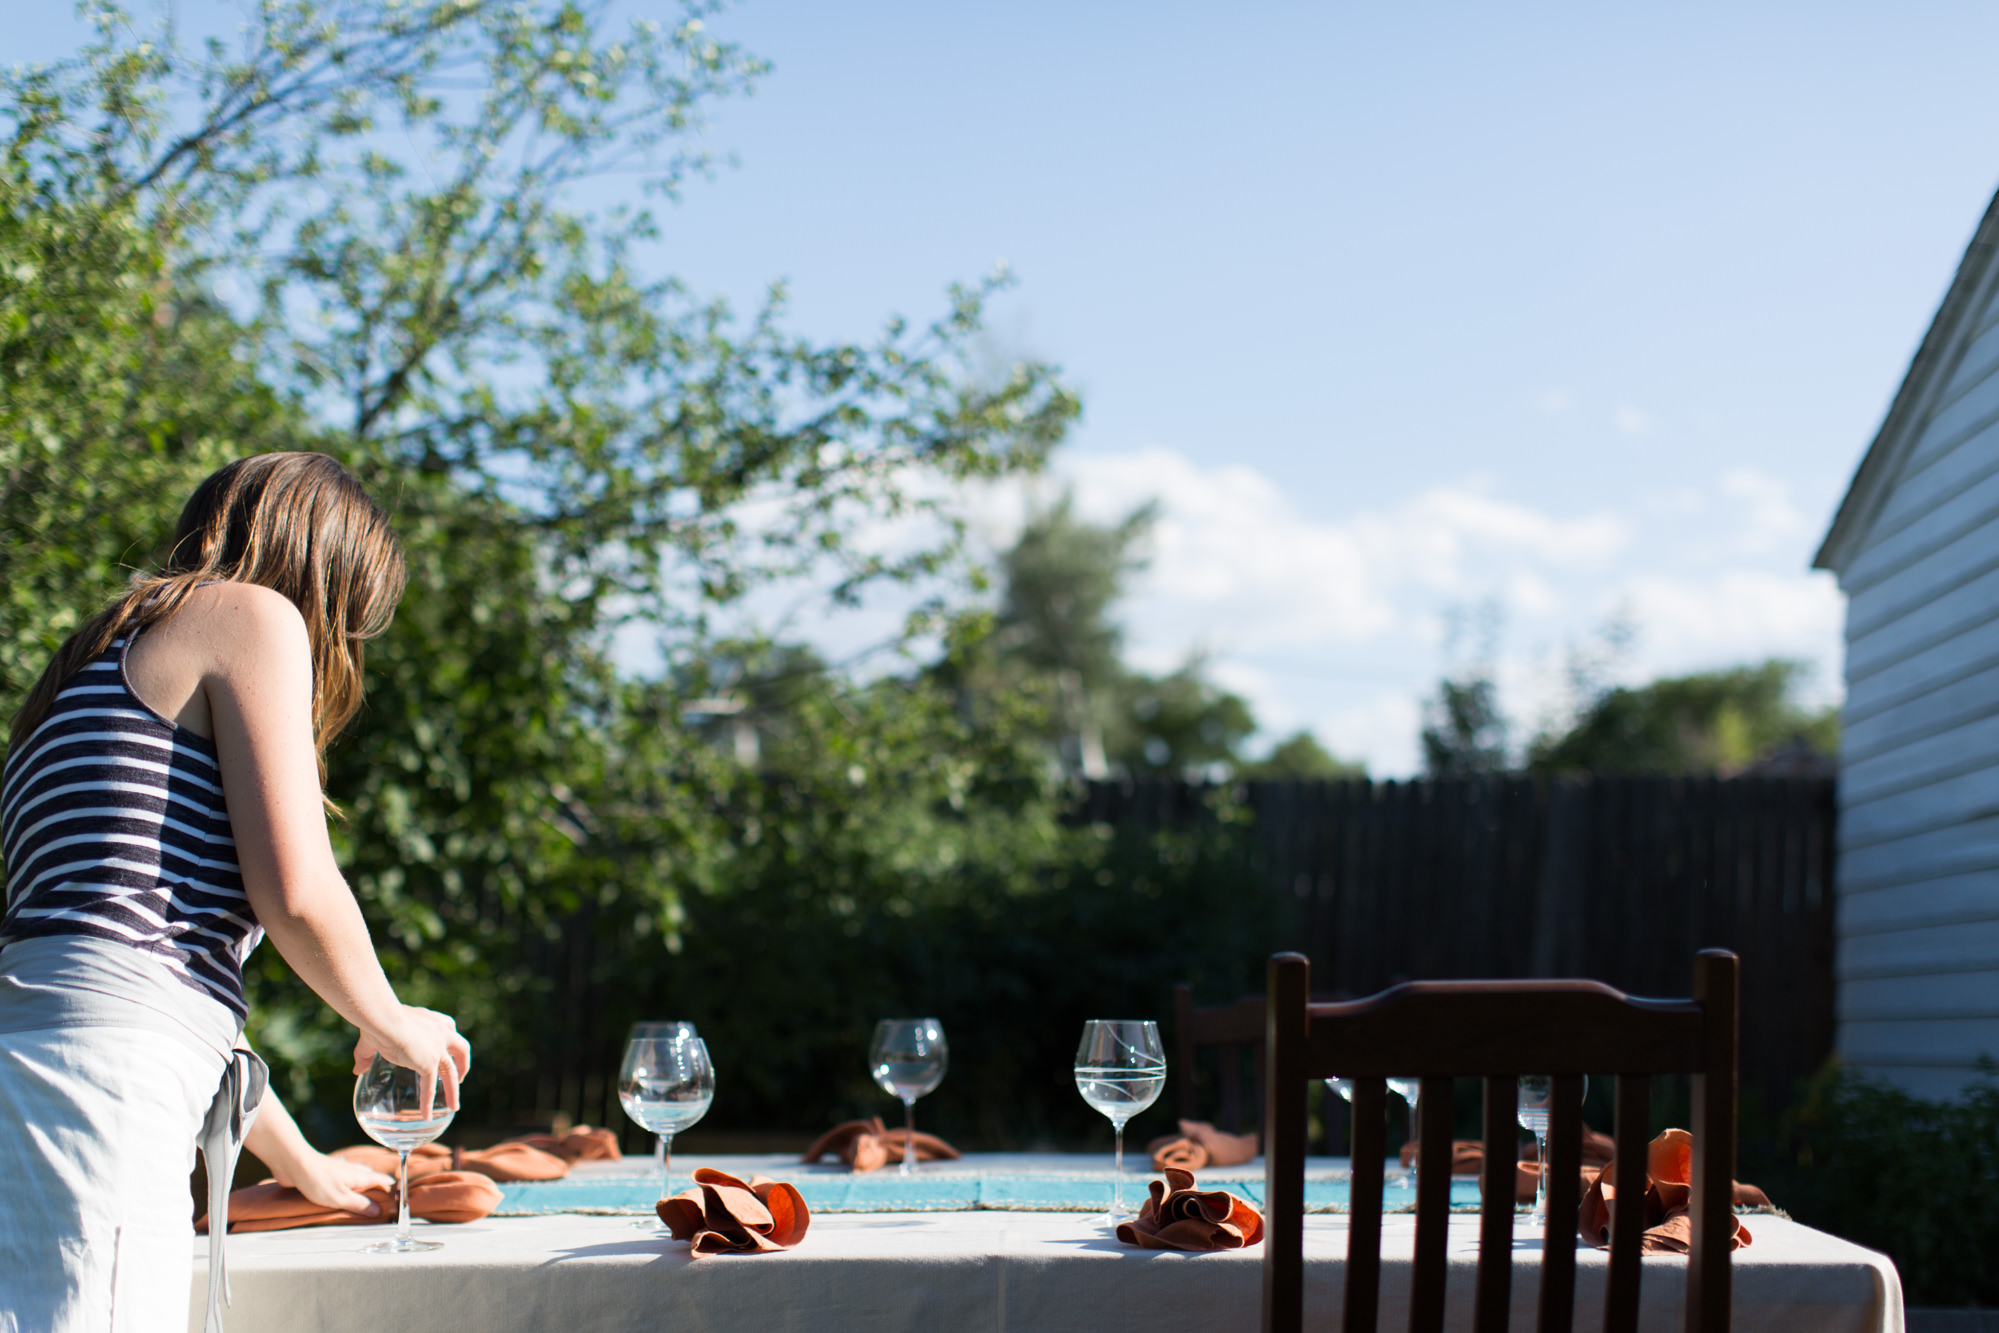
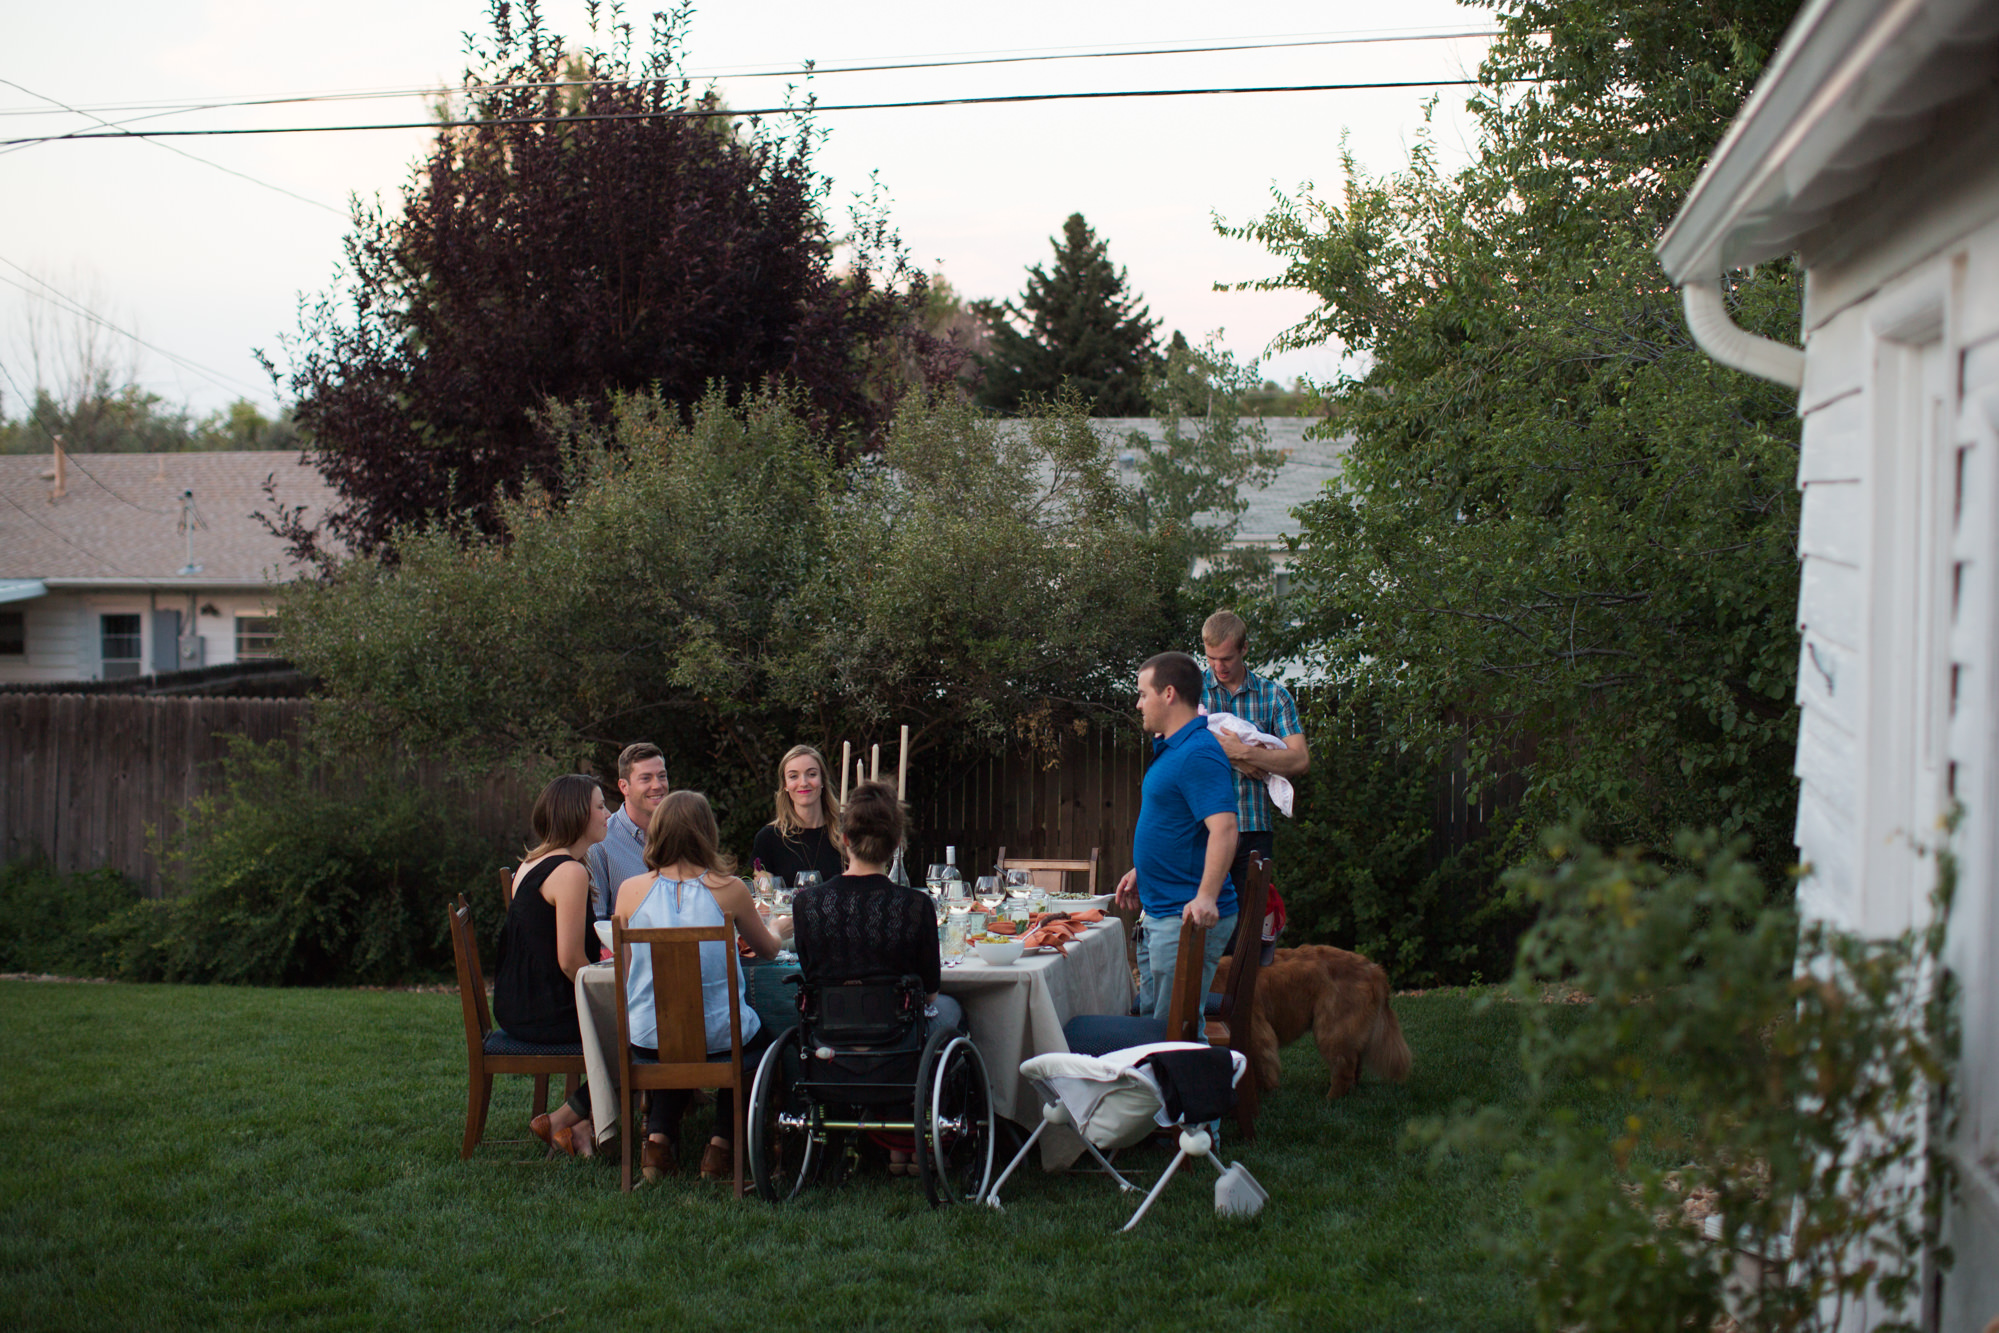
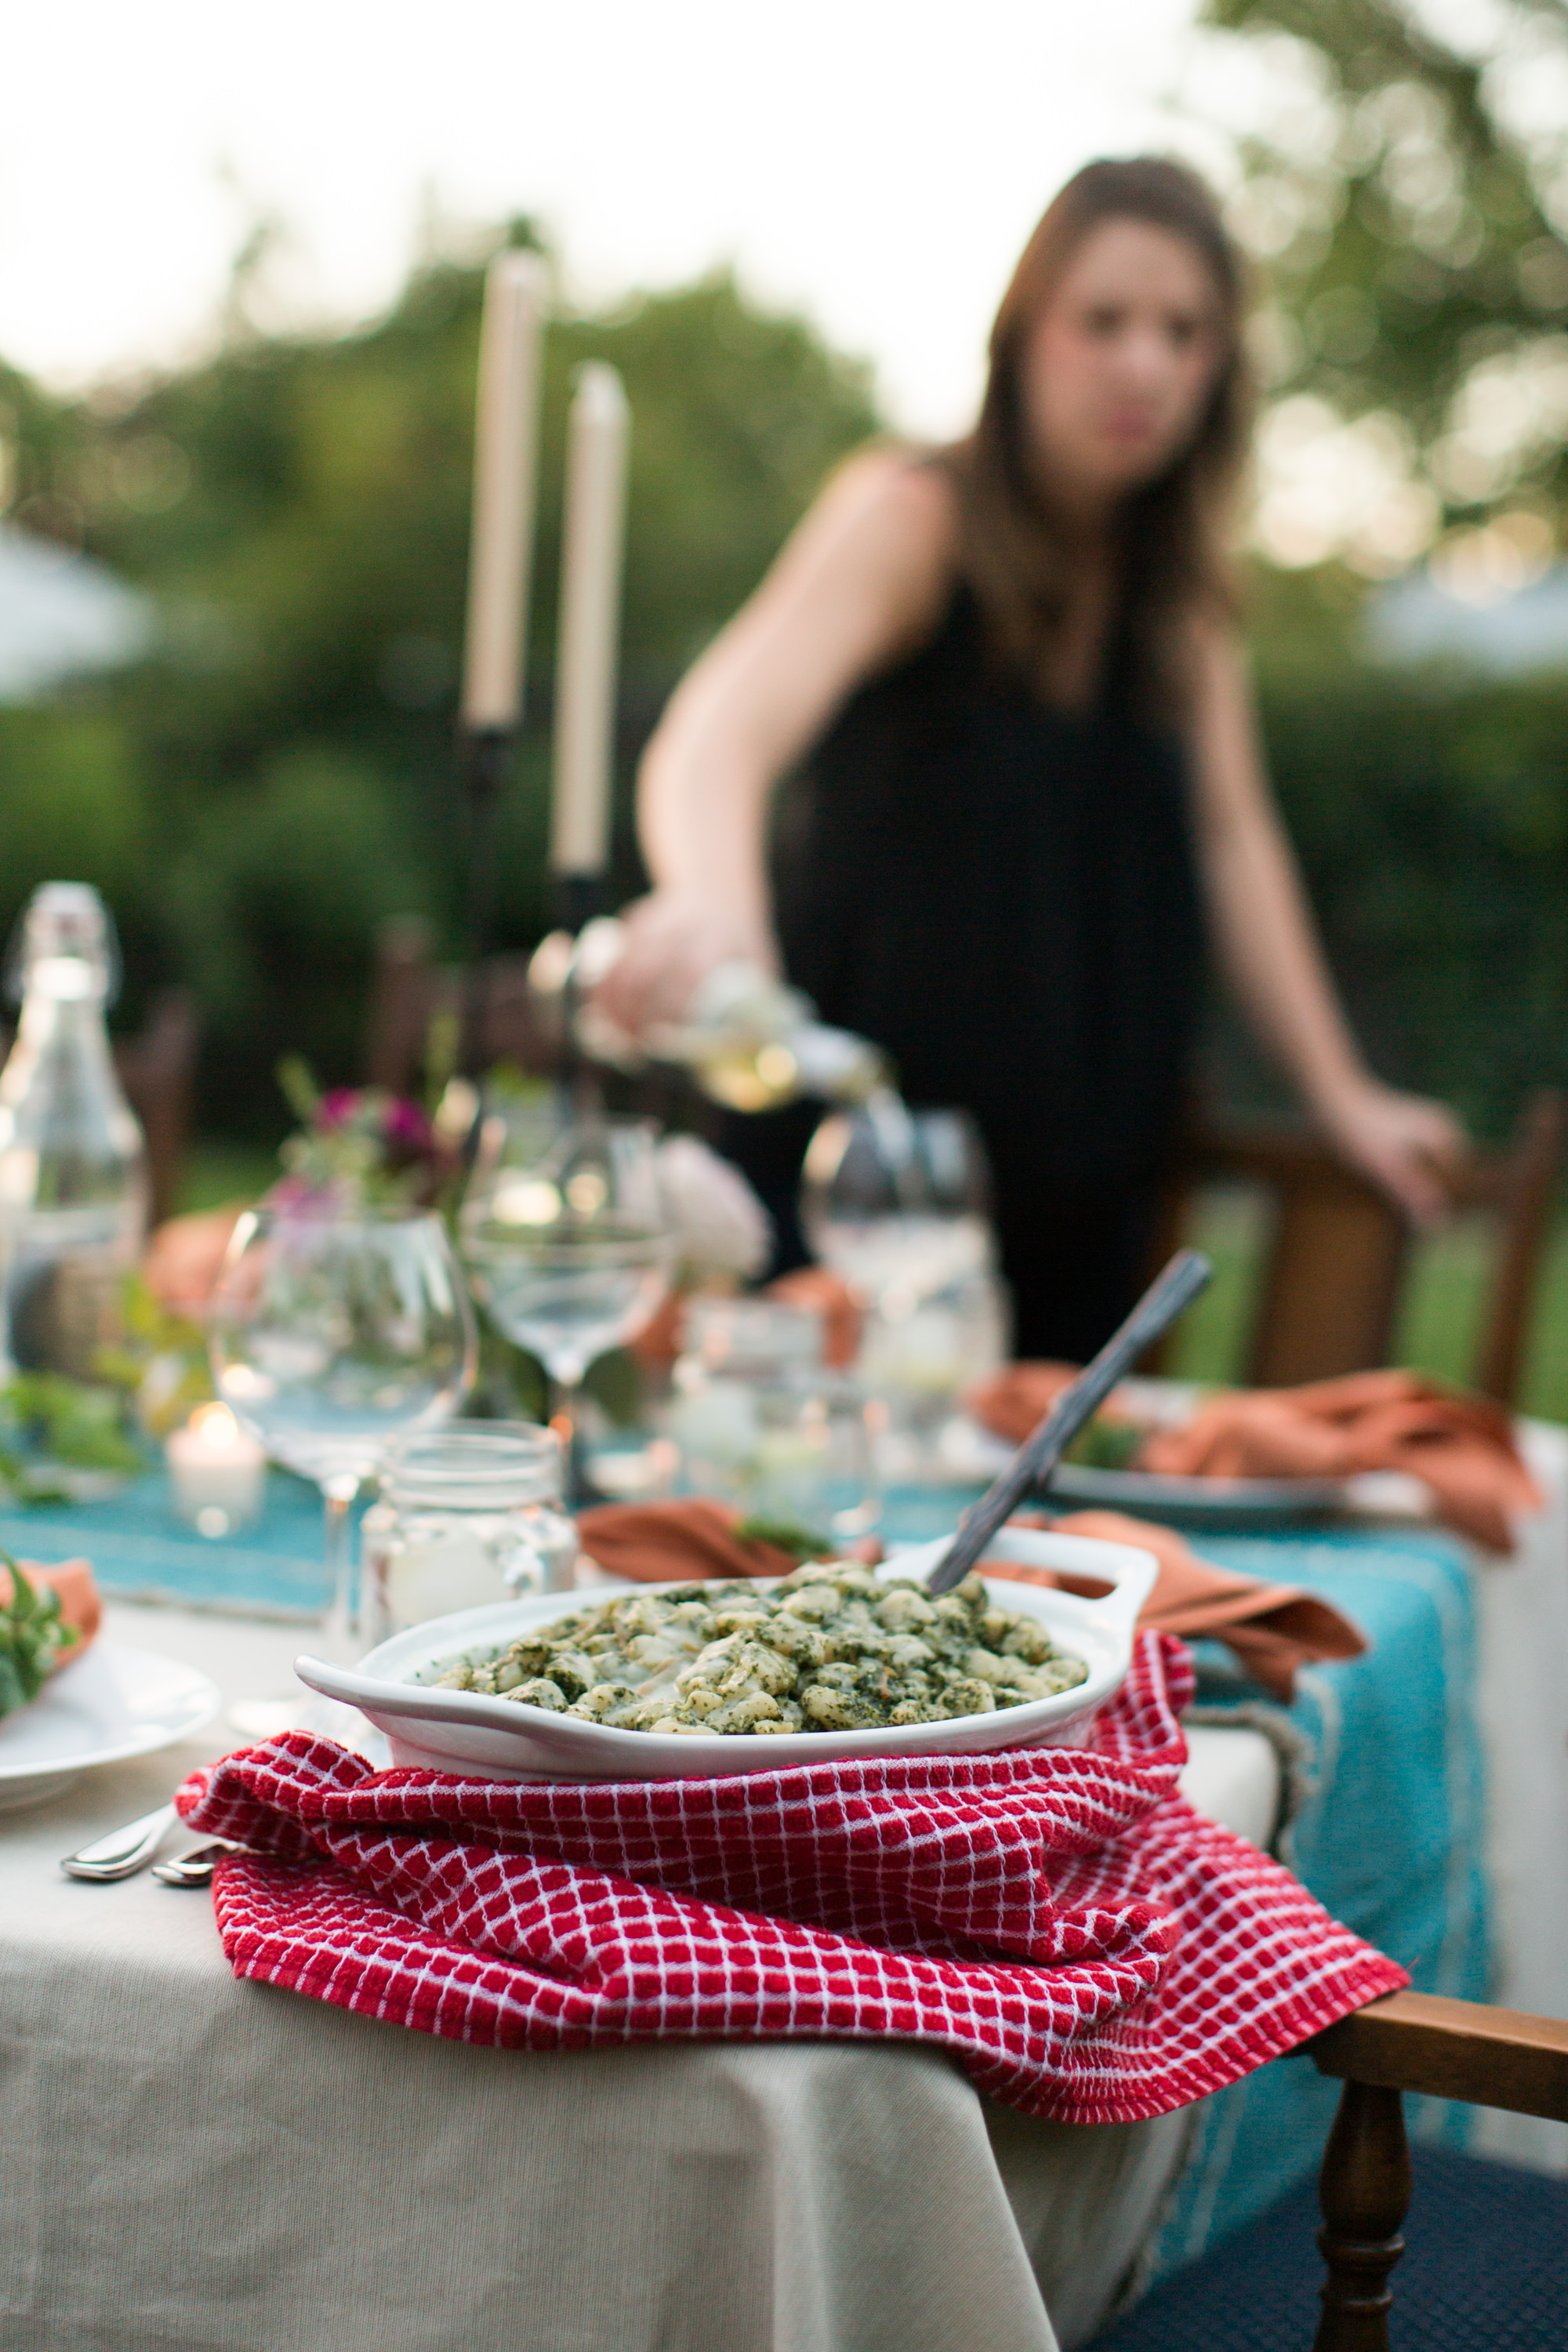
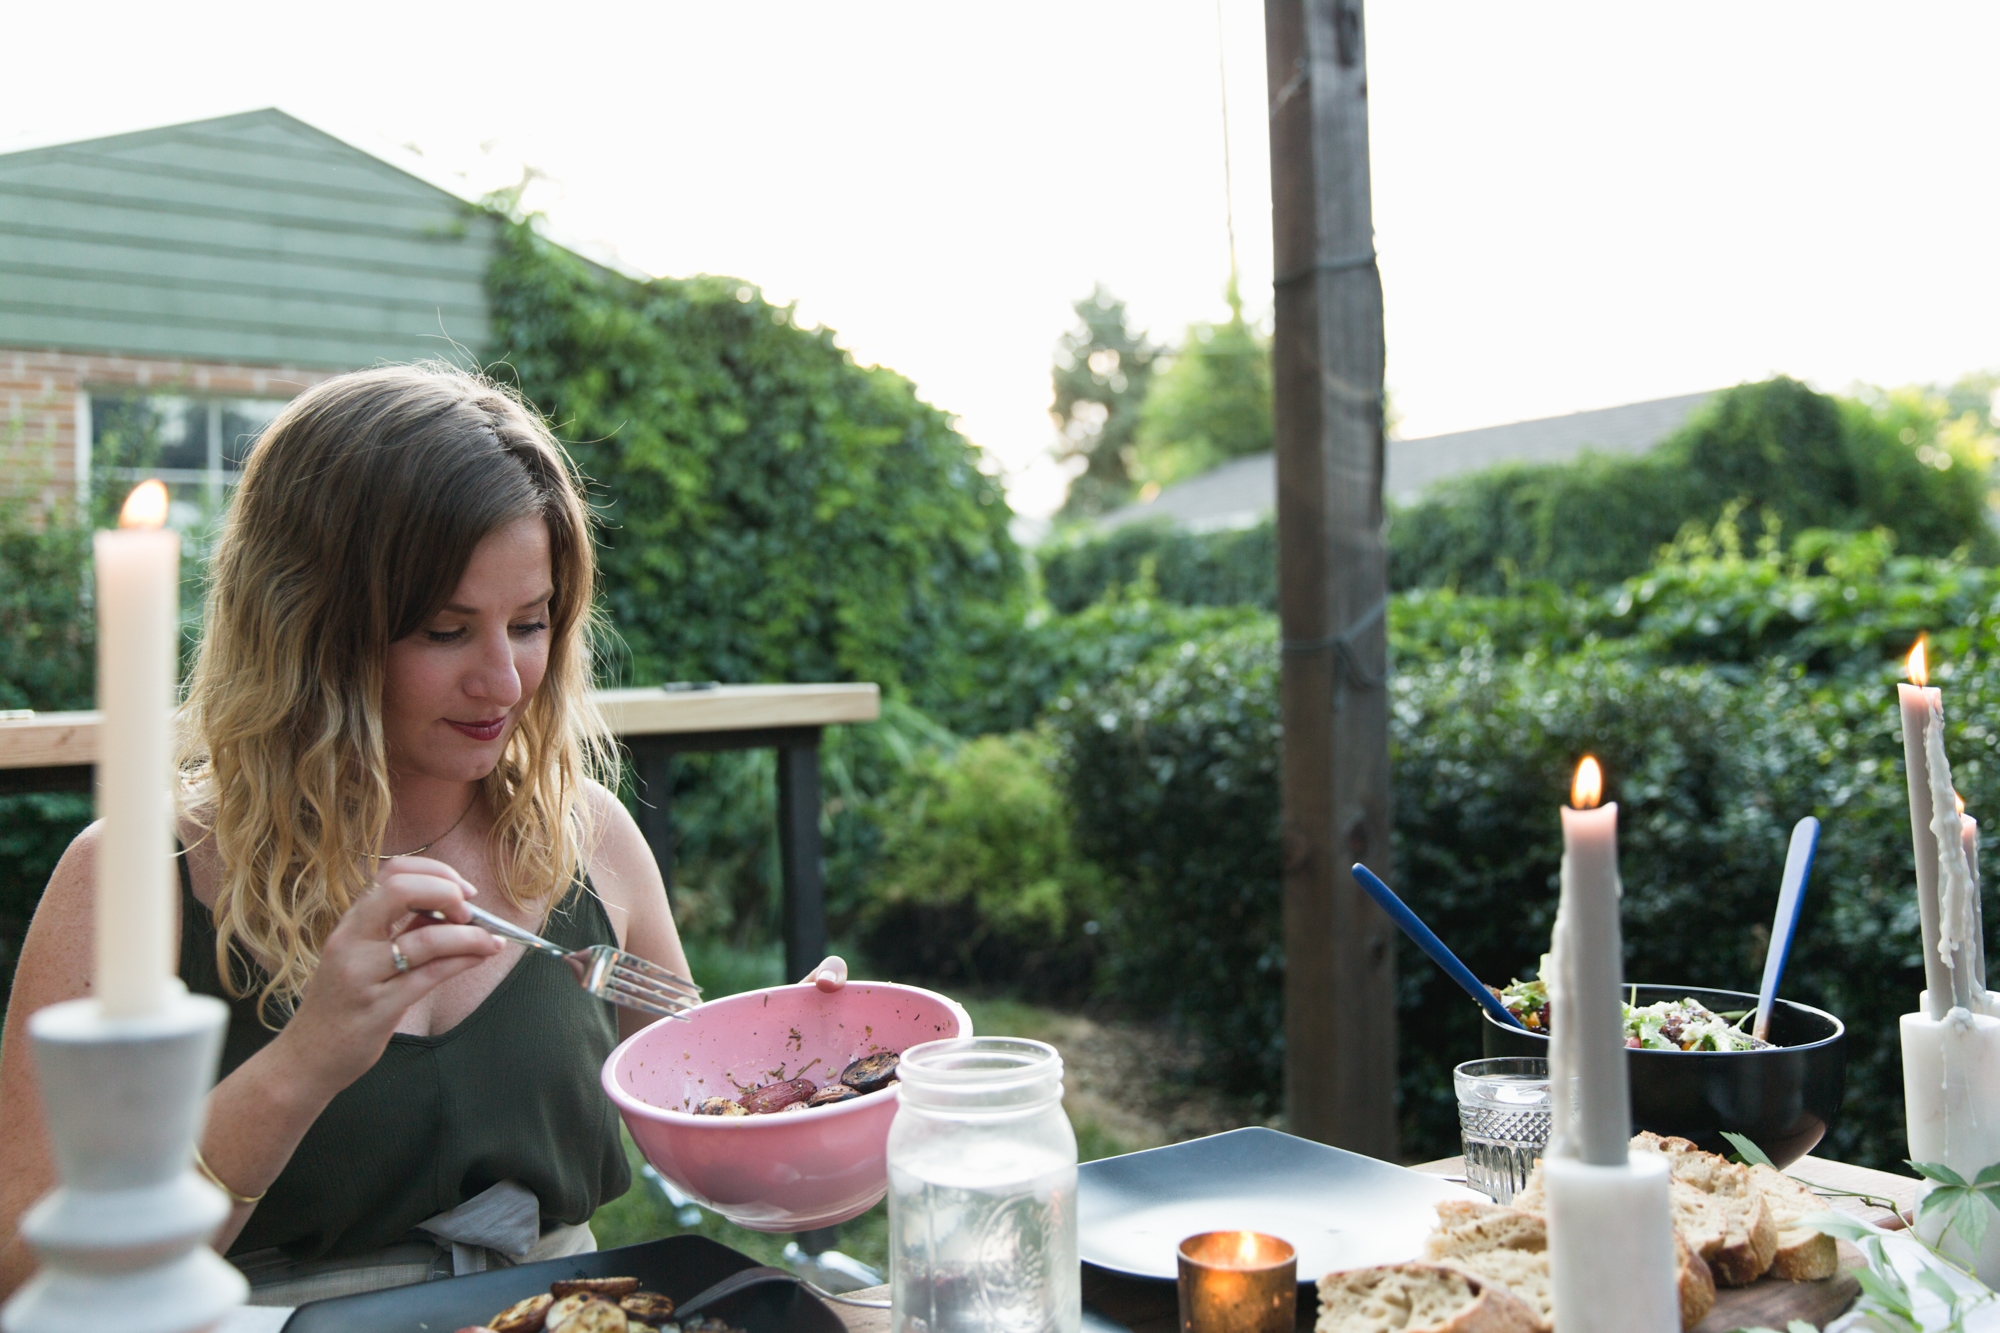
Fall of 2015 Megan and I were approached by Camp Well, who asked us to donate two special mountain vibe dinners for attendees coming to their Denver-based conference. Women at the conference would be wrapping their minds around their personal dreams and life goals and would learn how to practically move forward to make them happen. Being able to provide a space for these women to enjoy and process this was a no brainer. I was in! 

We were given free reign and creativity over the menu, which effectively meant pulling out all of the stops. A few months into planning, the original number of 25 people per night was upped to 50. I had never cooked for anyone besides my friends and on top of that am a people pleaser to the core. My head was full of doubt: 

How will this come together?
What if I fail?
What if someone hates the food?
Oh God... WHAT IF ONE OF MY HAIRS FALL IN?!**

**Meg and I are both blonde so I totally could have blamed her**


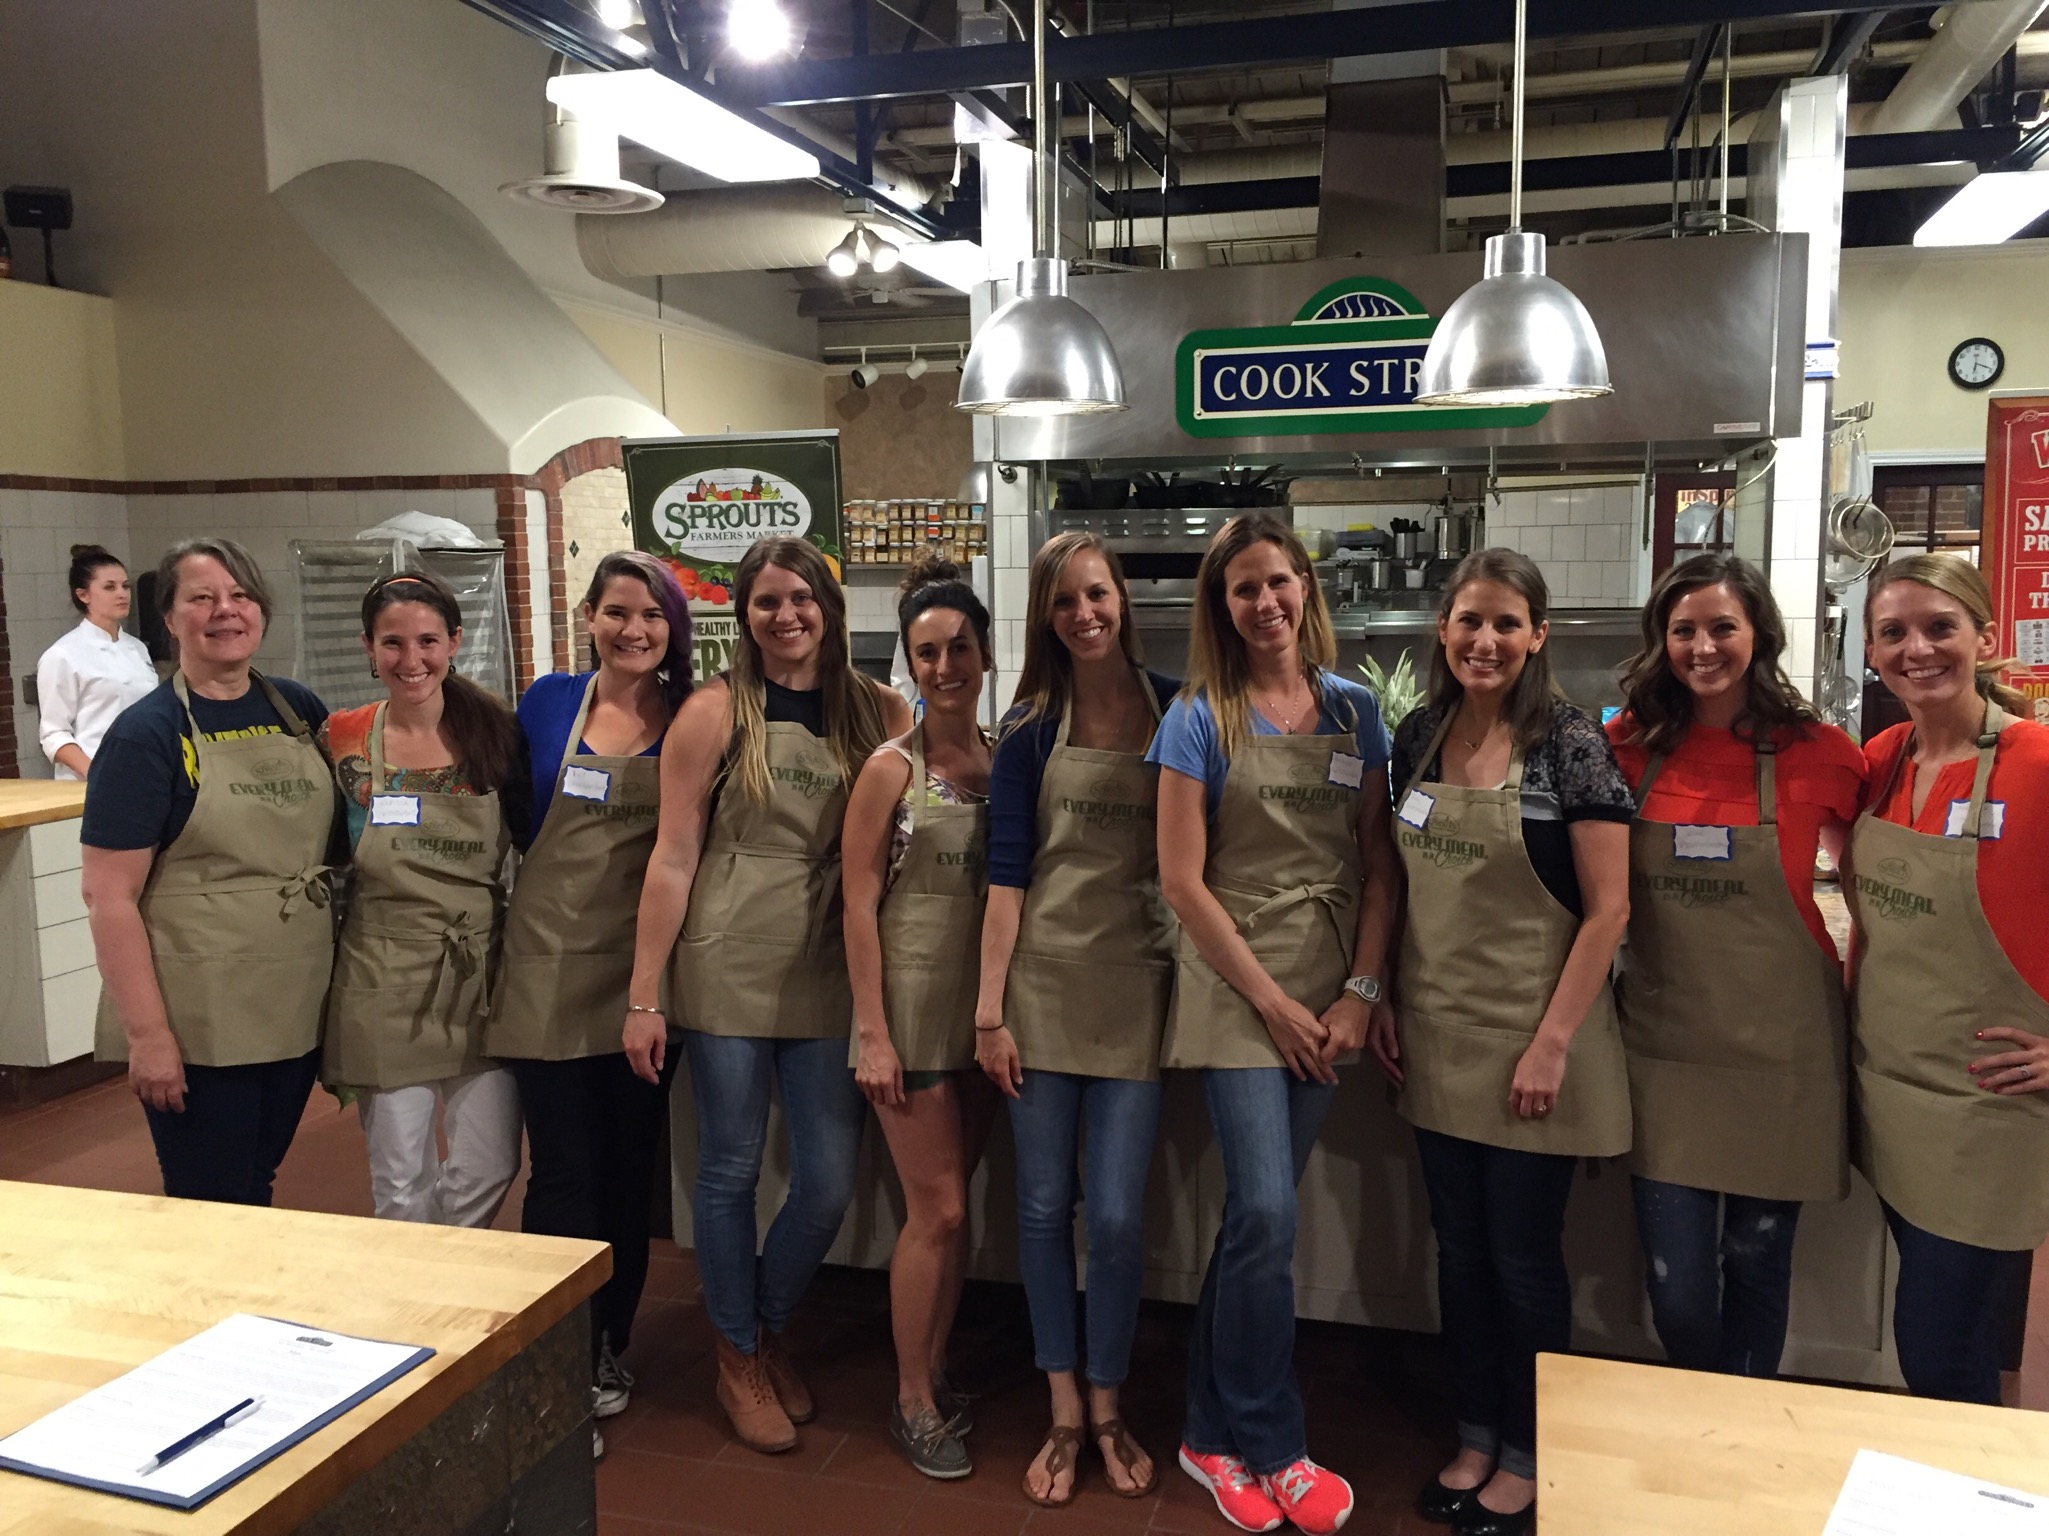
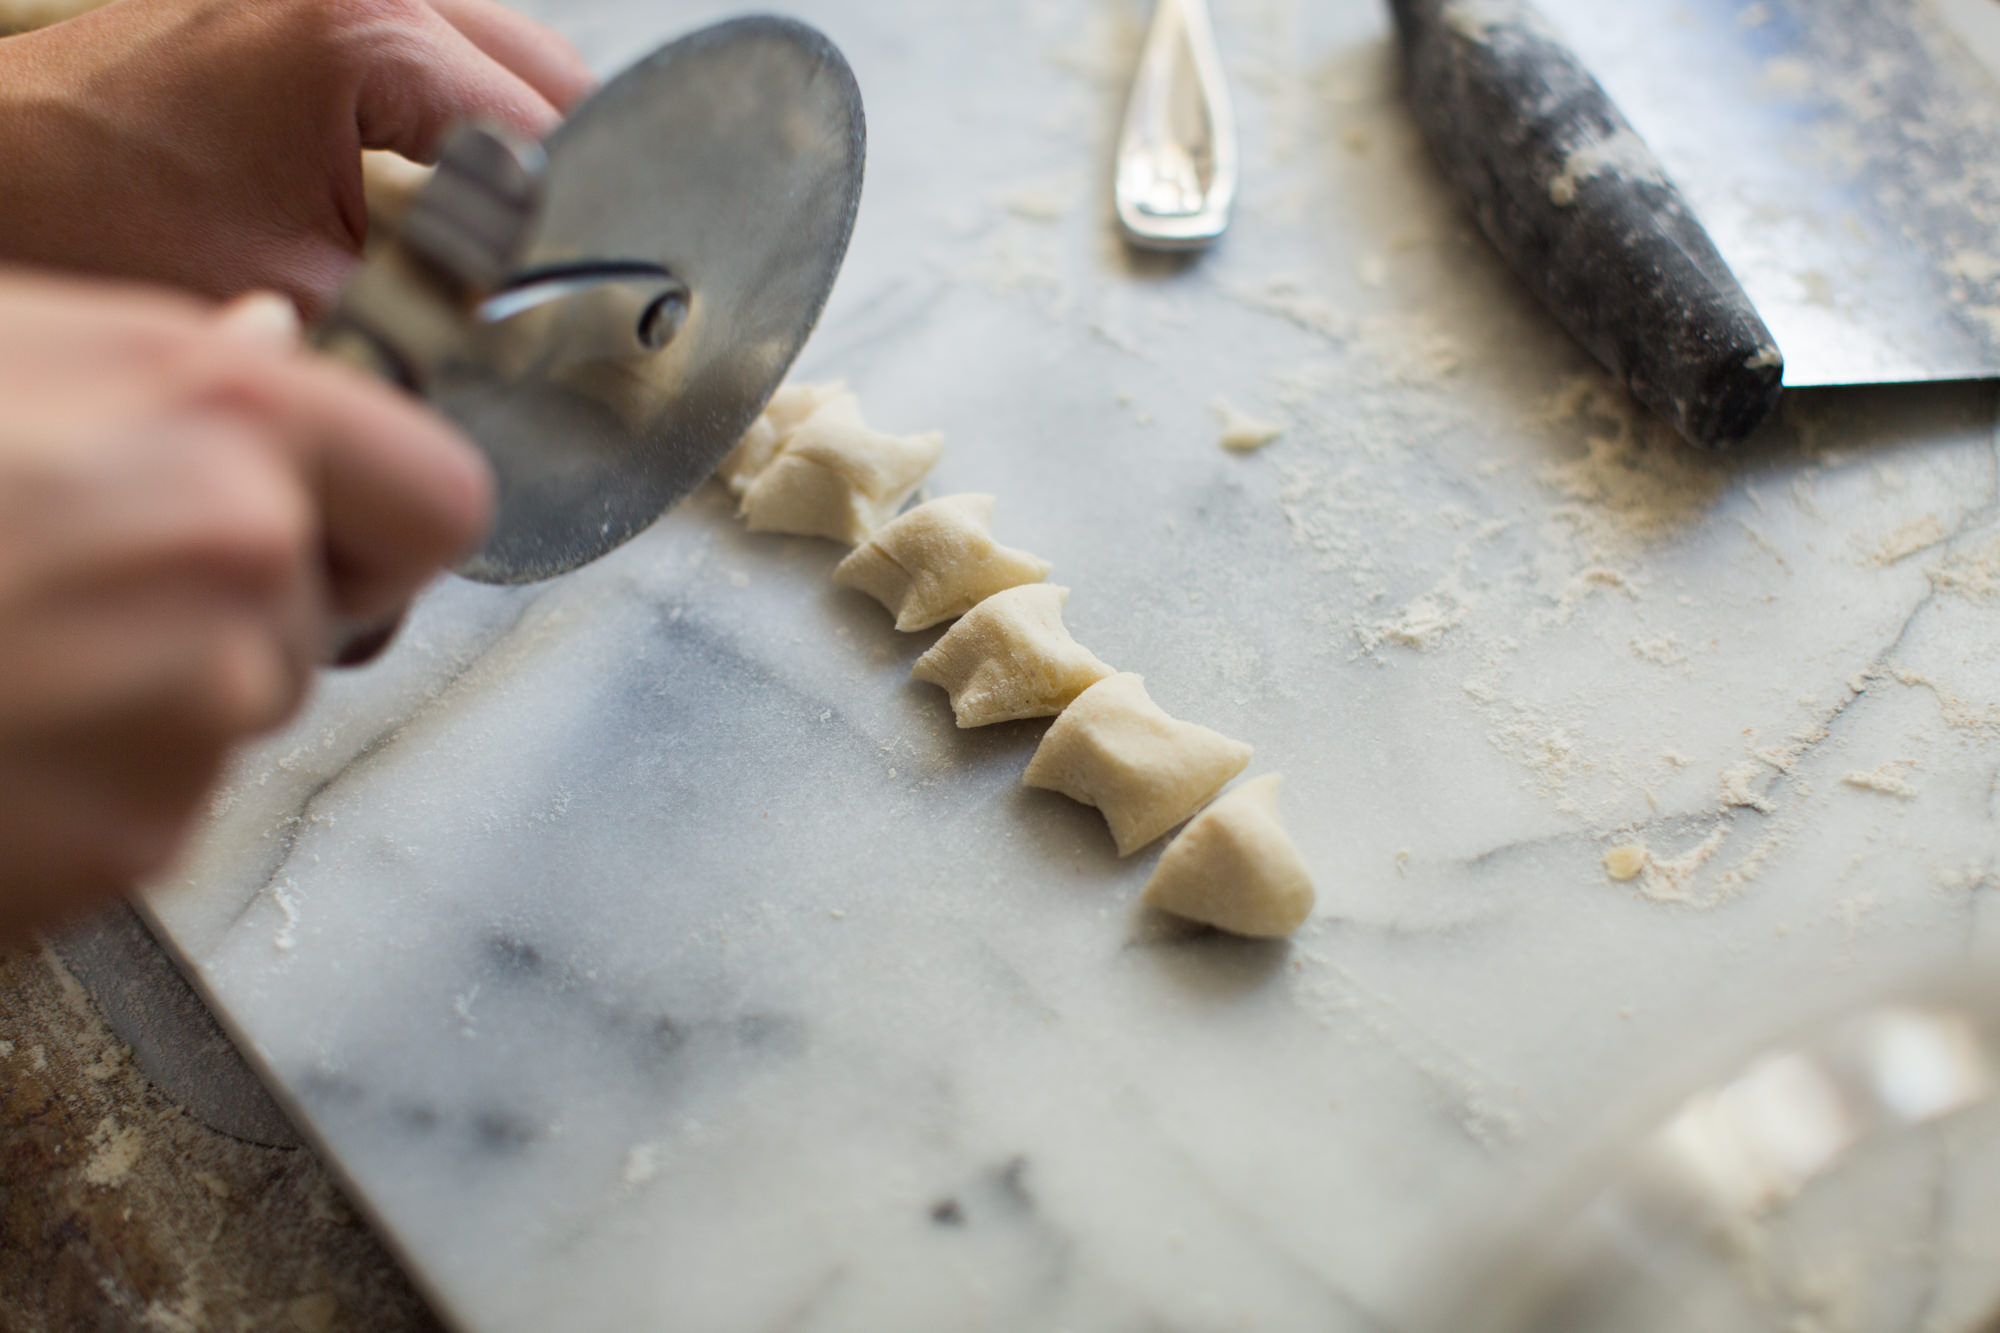
With Megan by my side and Rachel Evans, an event organizer, on board to help with all things logistics, we felt supported enough to tackle the beast. The dinners were scheduled for a Monday and Tuesday night, but full days of all day grocery shopping, prepping, and cooking started the Thursday before. To add to the chaos, my kitchen is the size of a solitary confinement cell in federal prison. 

Despite the odds, because of Megan, Rachel and every amazing person who helped, these dinners went off without a major hitch.

Yes, many things went wrong and total chaos ensued for 90% of this experience, but everyone absolutely loved it. I left both dinners feeling like superwoman. I credit this to Megan and her real life experience in actual restaurants as opposed to my self declared cooking know - how. 

This experience taught me three things:

  1. I can do anything I decide I can do: If I say yes to something, I am committed and fear is not a legitimate reason to back out. I have an able mind, Google exists, and asking people to help is an option. 
  2. My friends eat more than the average woman: Although I came in way under budget on ingredients, we had a TON of leftovers. This would not have happened if attendees were strictly from my friend group. We eatin' girls. Also I married a giant so my portions are probably off. This is a good thing to keep in mind for future endeavors.  
  3. My time & expertise are valuable: I came into this experience thinking I didn't really didn't know what I was doing; I left feeling incredibly valued by every single woman that I met. The reality is (some of this is of my own doing) a lot of my life went on the back burner to tackle this. So moving forward, donating my time will be on a strict case by case basis. I think this is a good, healthy framework for anyone to have. 
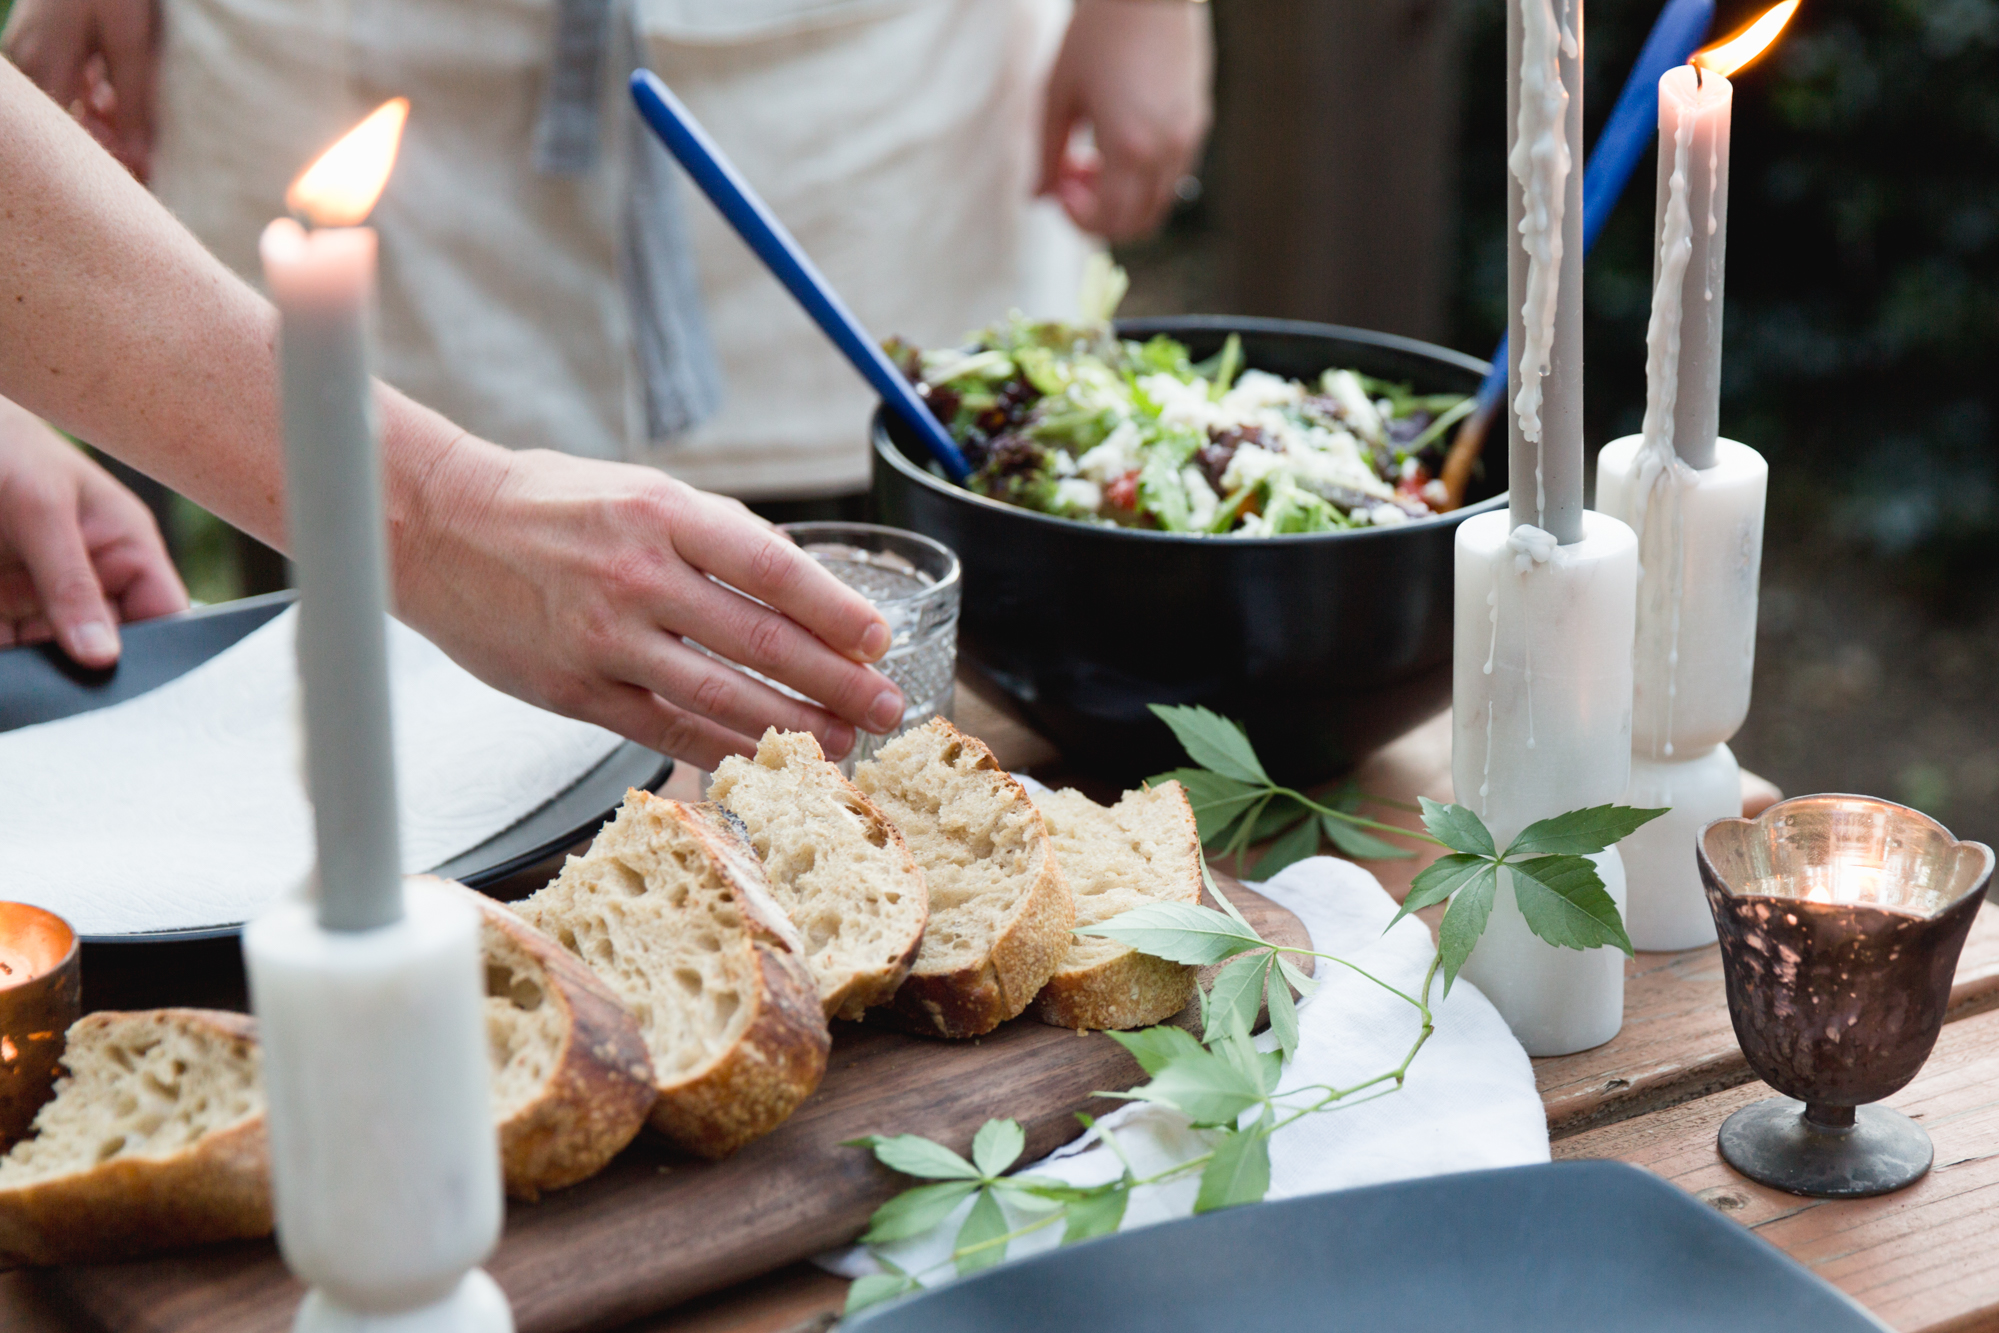
Menu Night One

TO START

celery root soup  |  tartines topped with whole roasted garlic spread or burrata & carrot top pesto
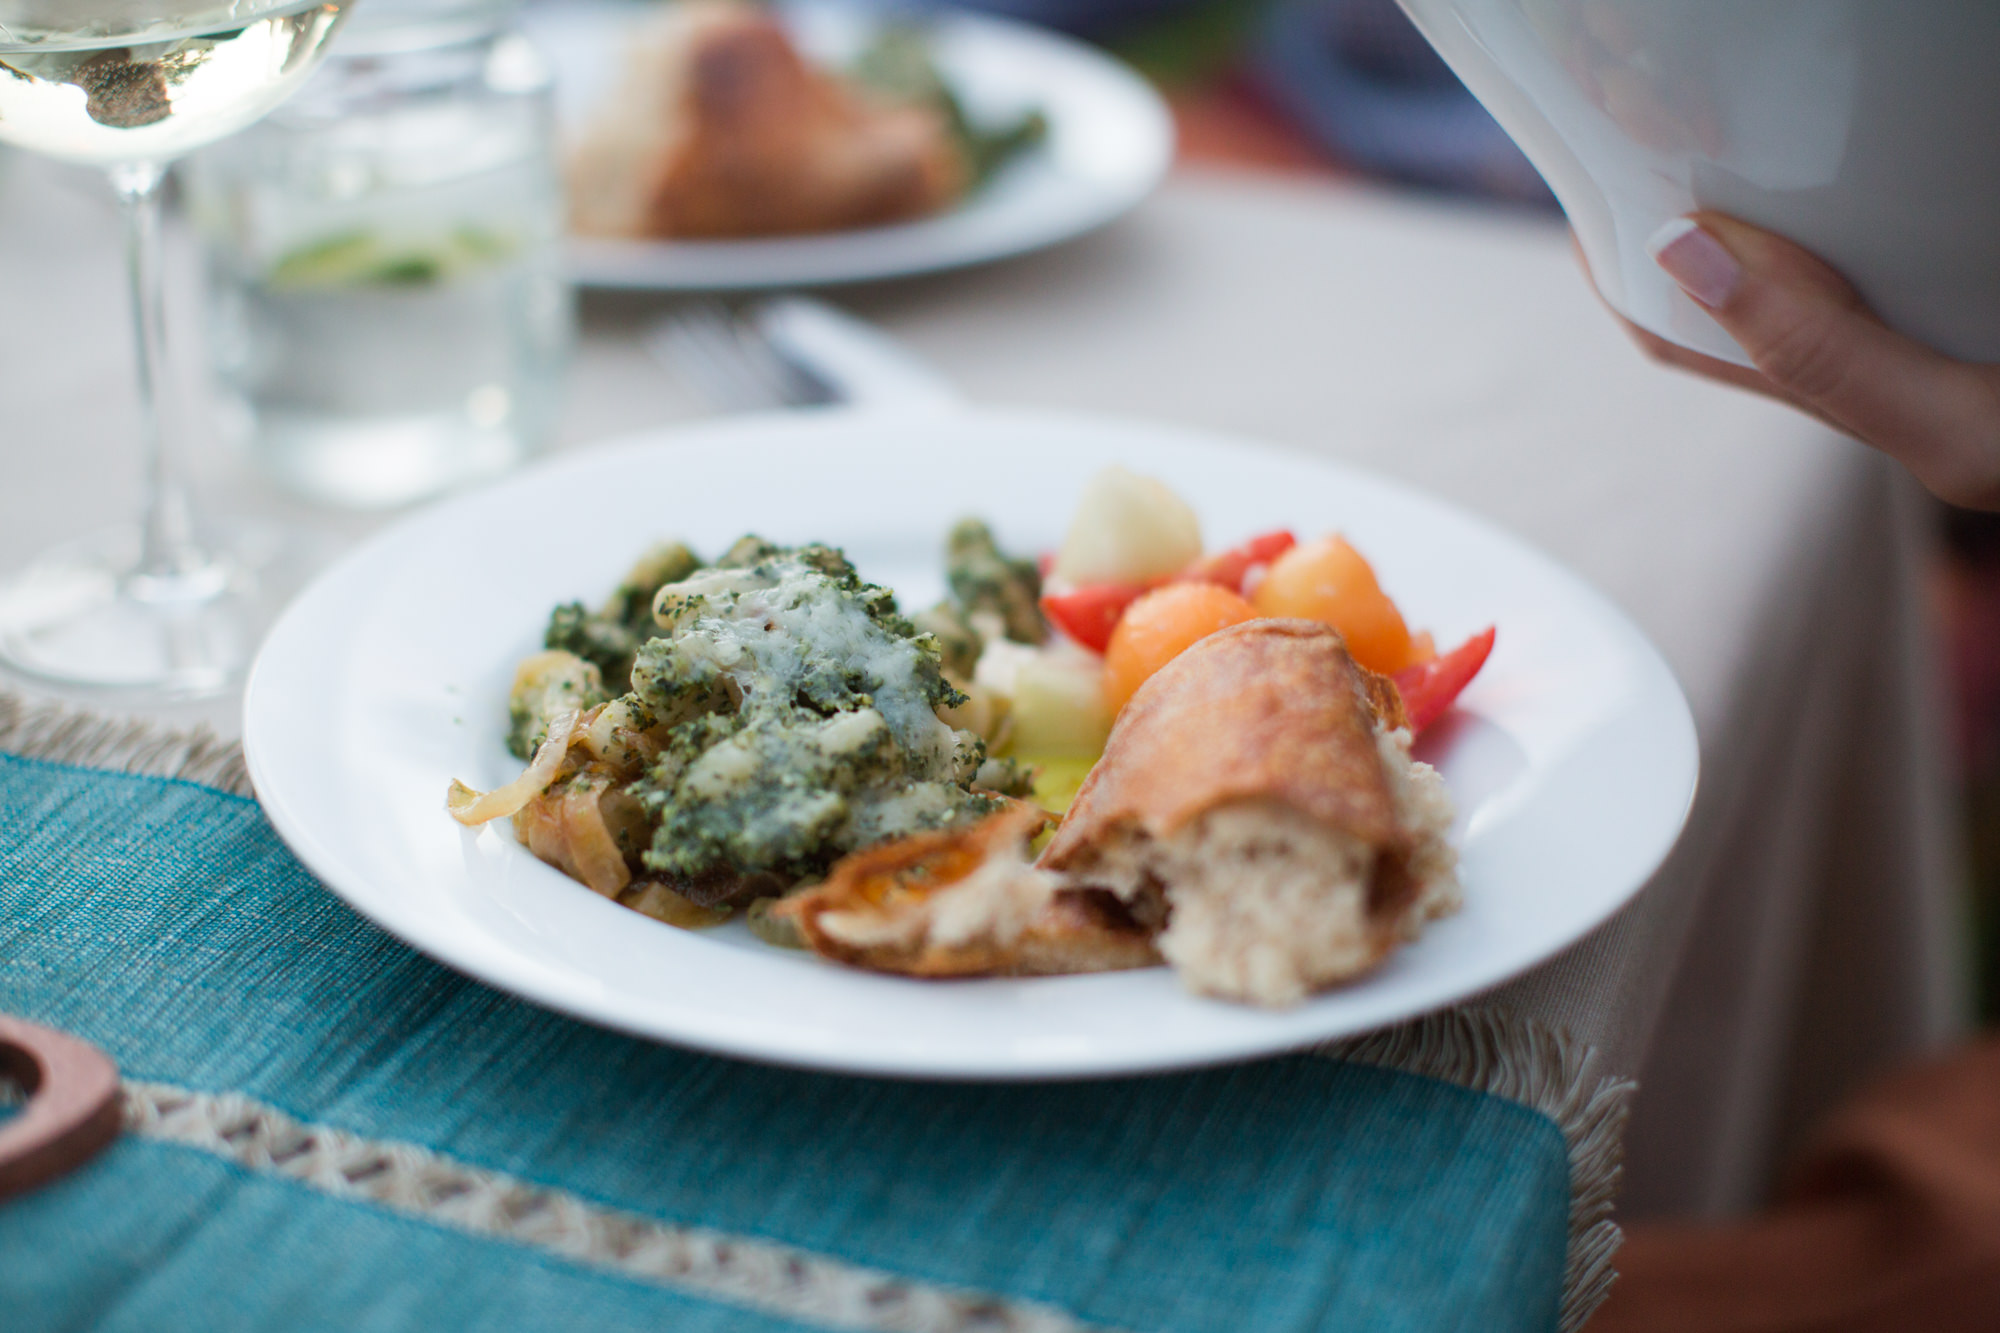
TO SAVOR

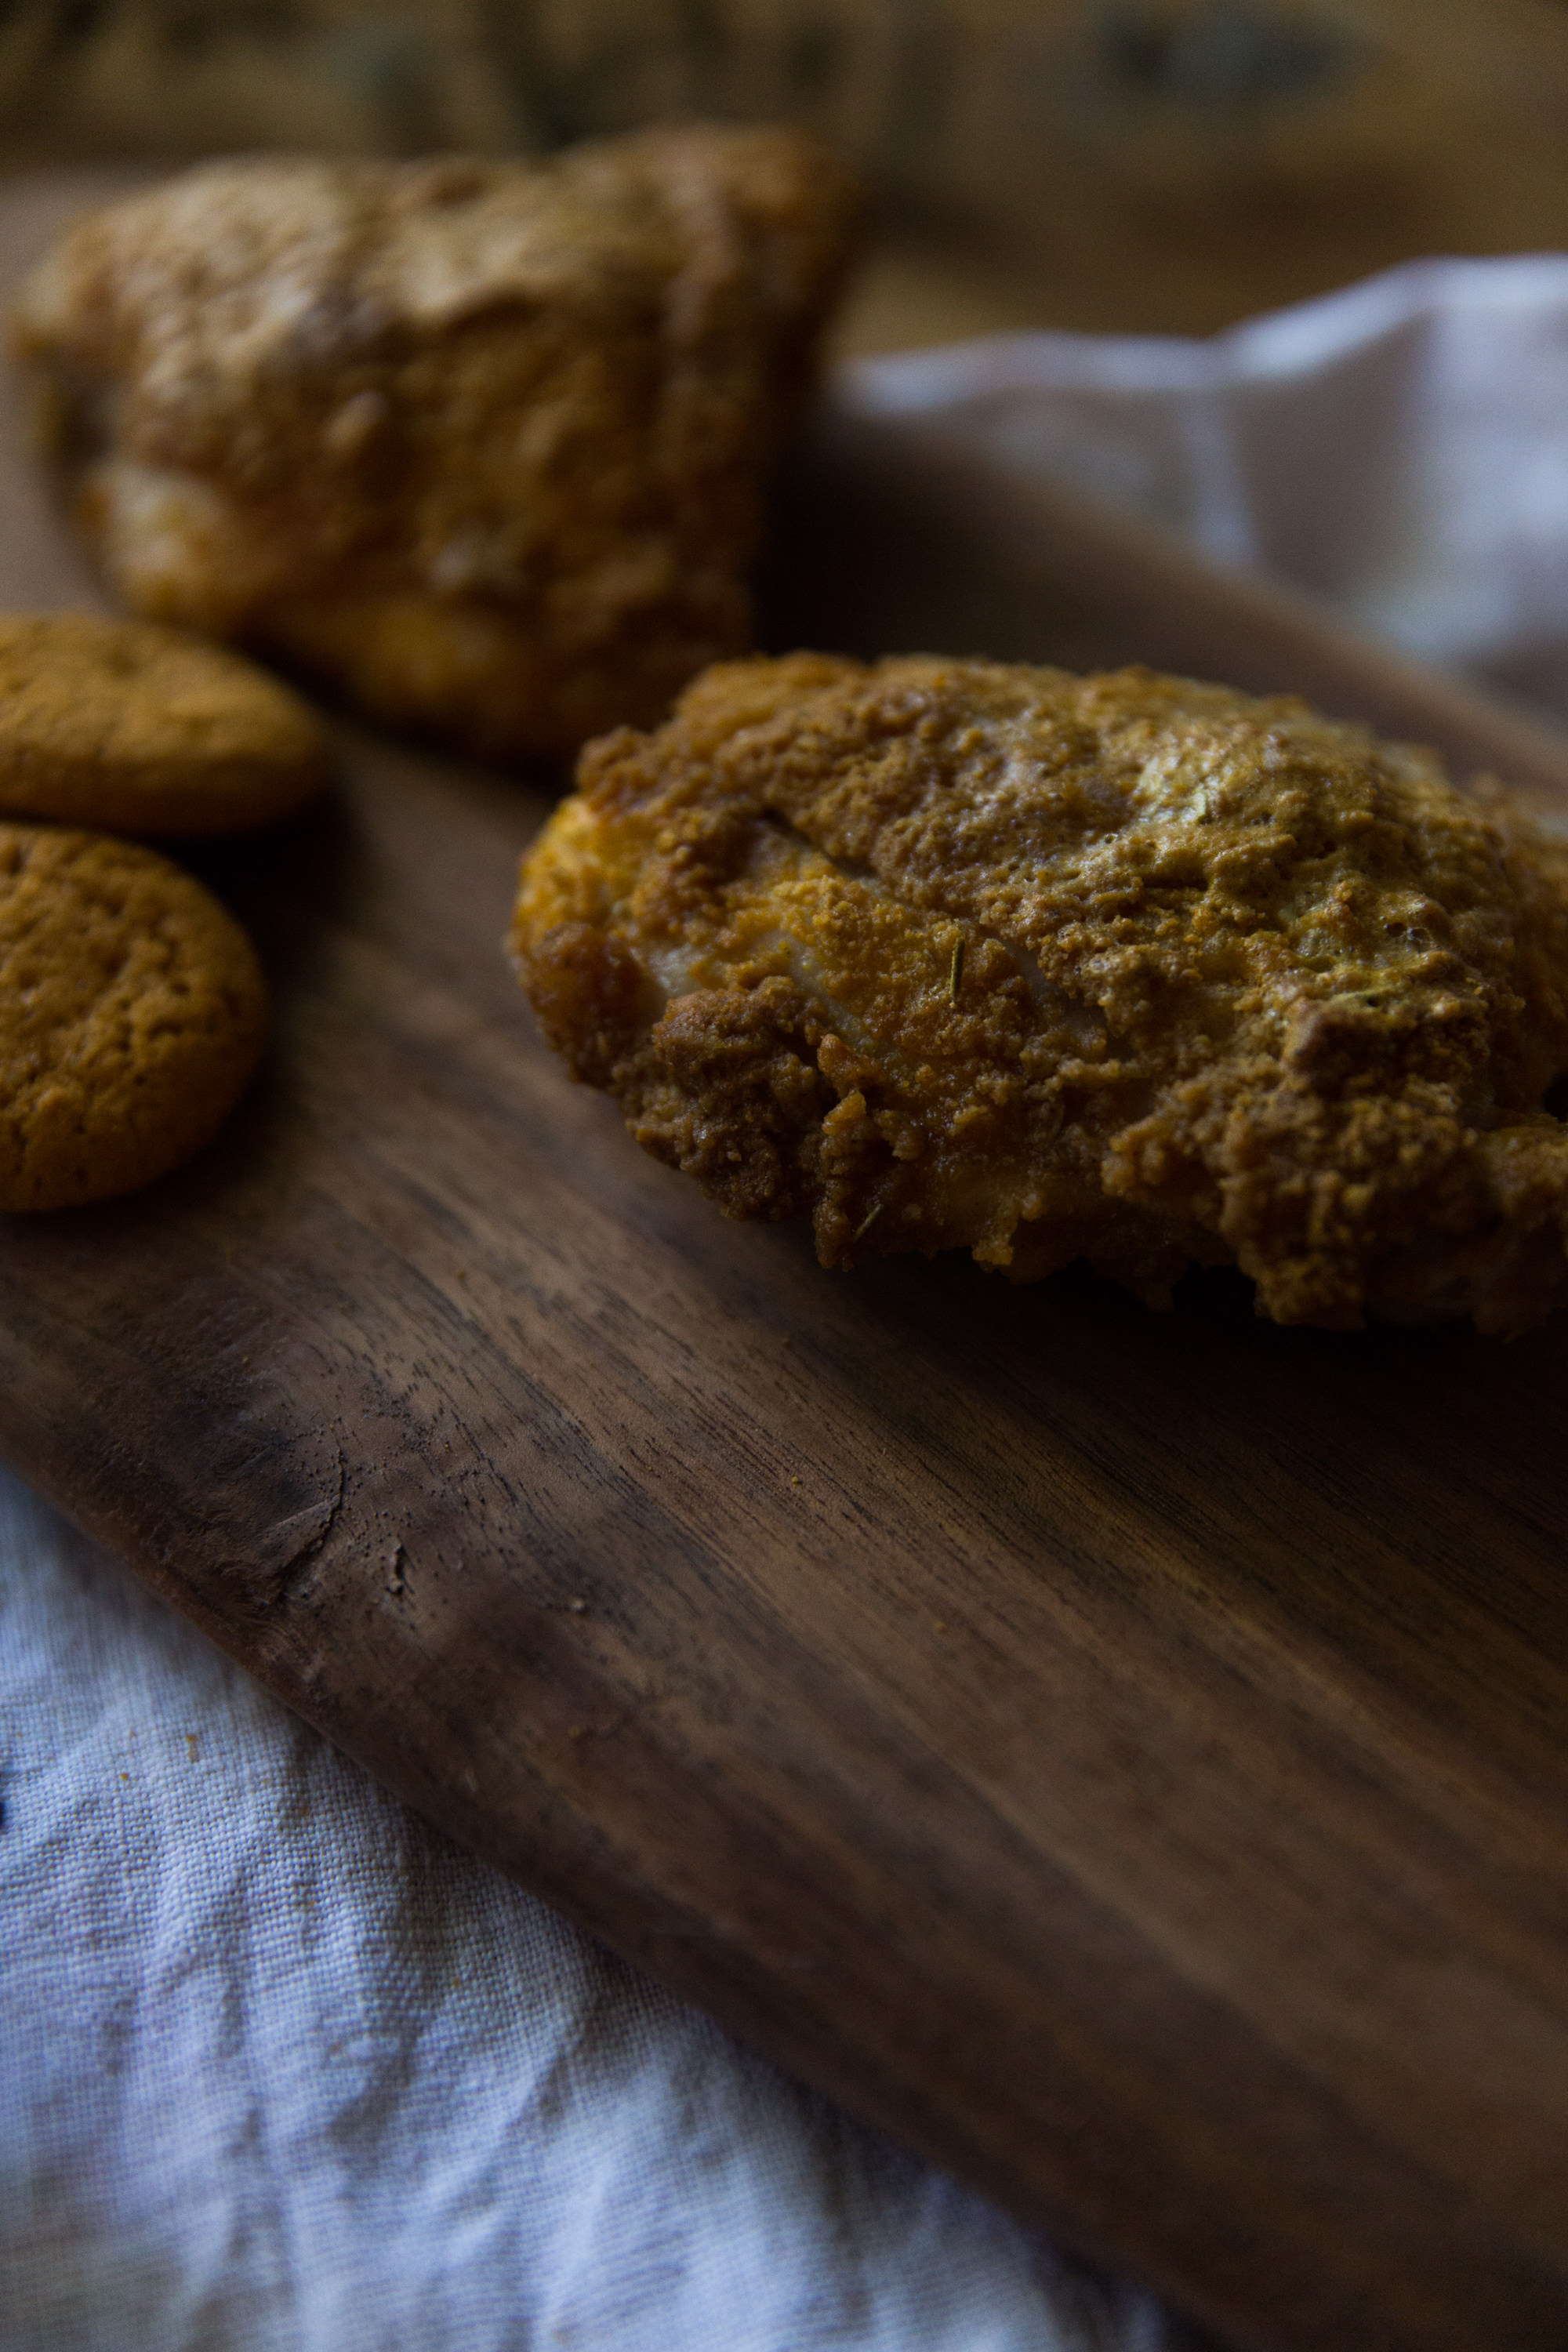
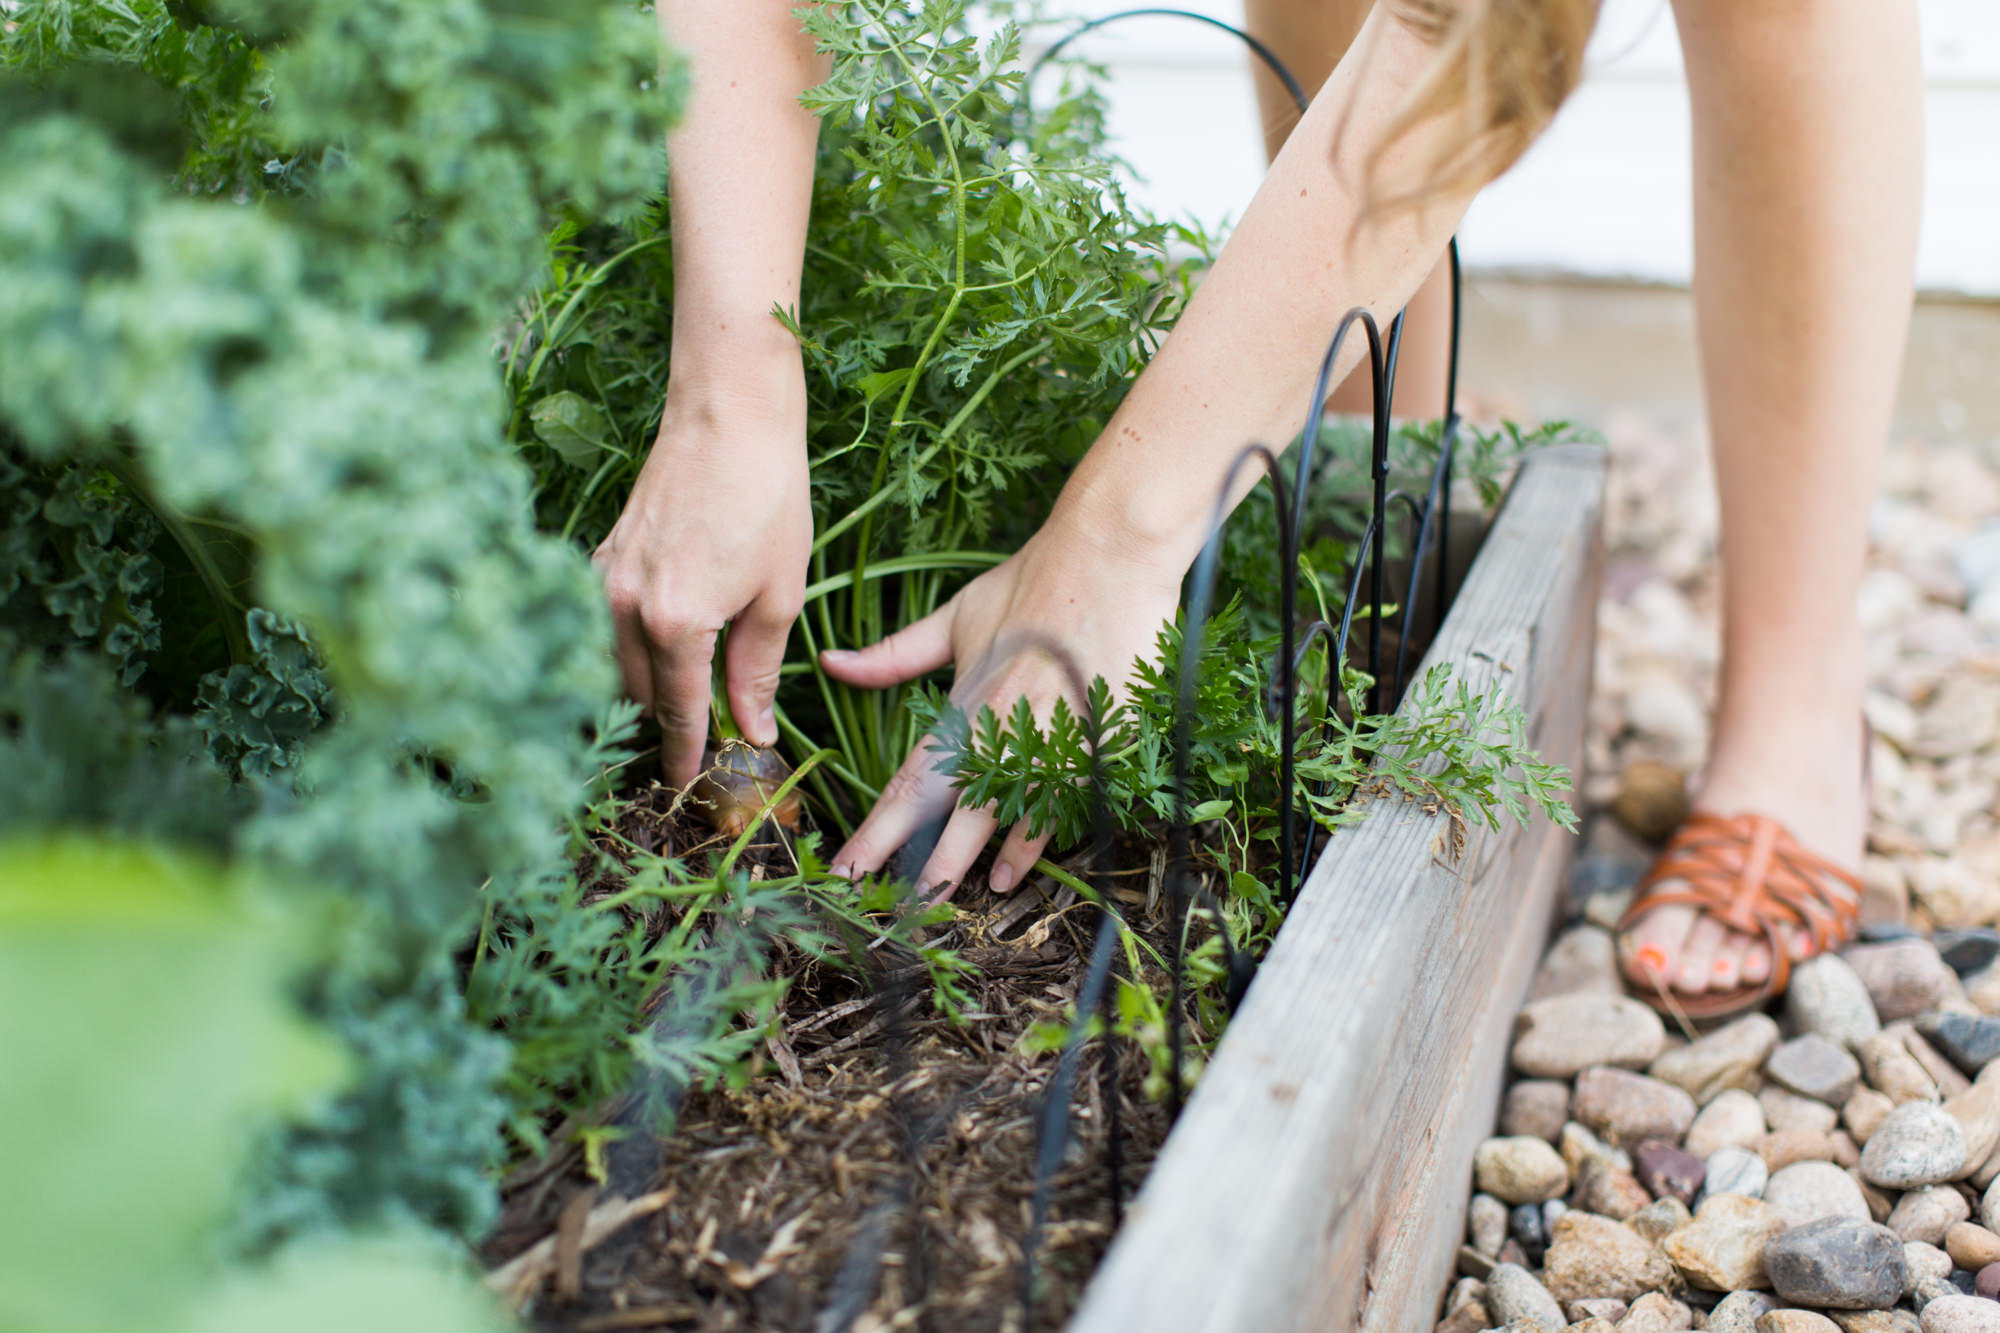
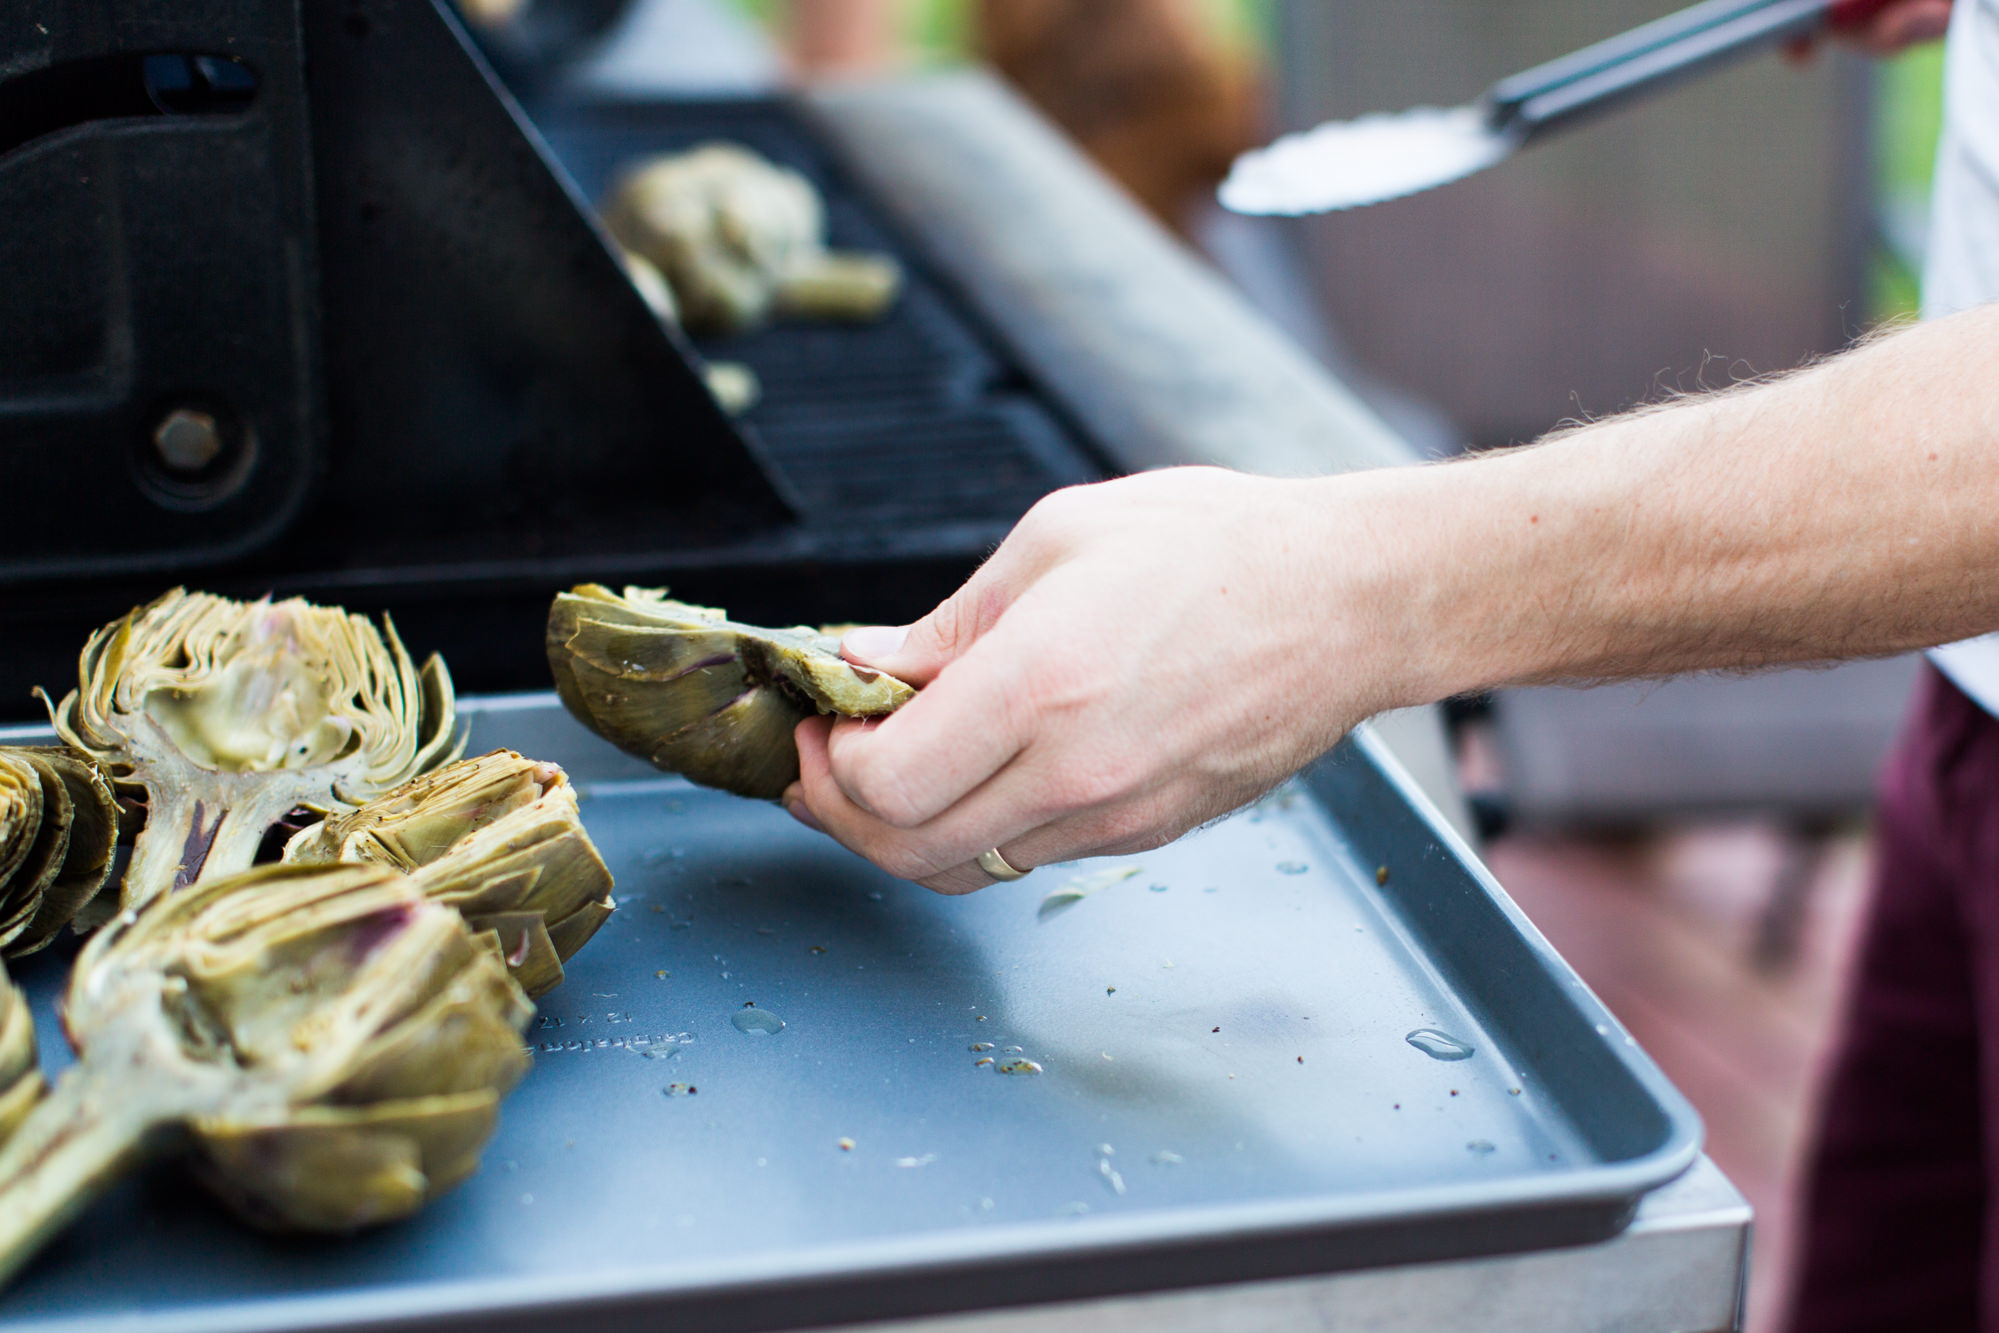
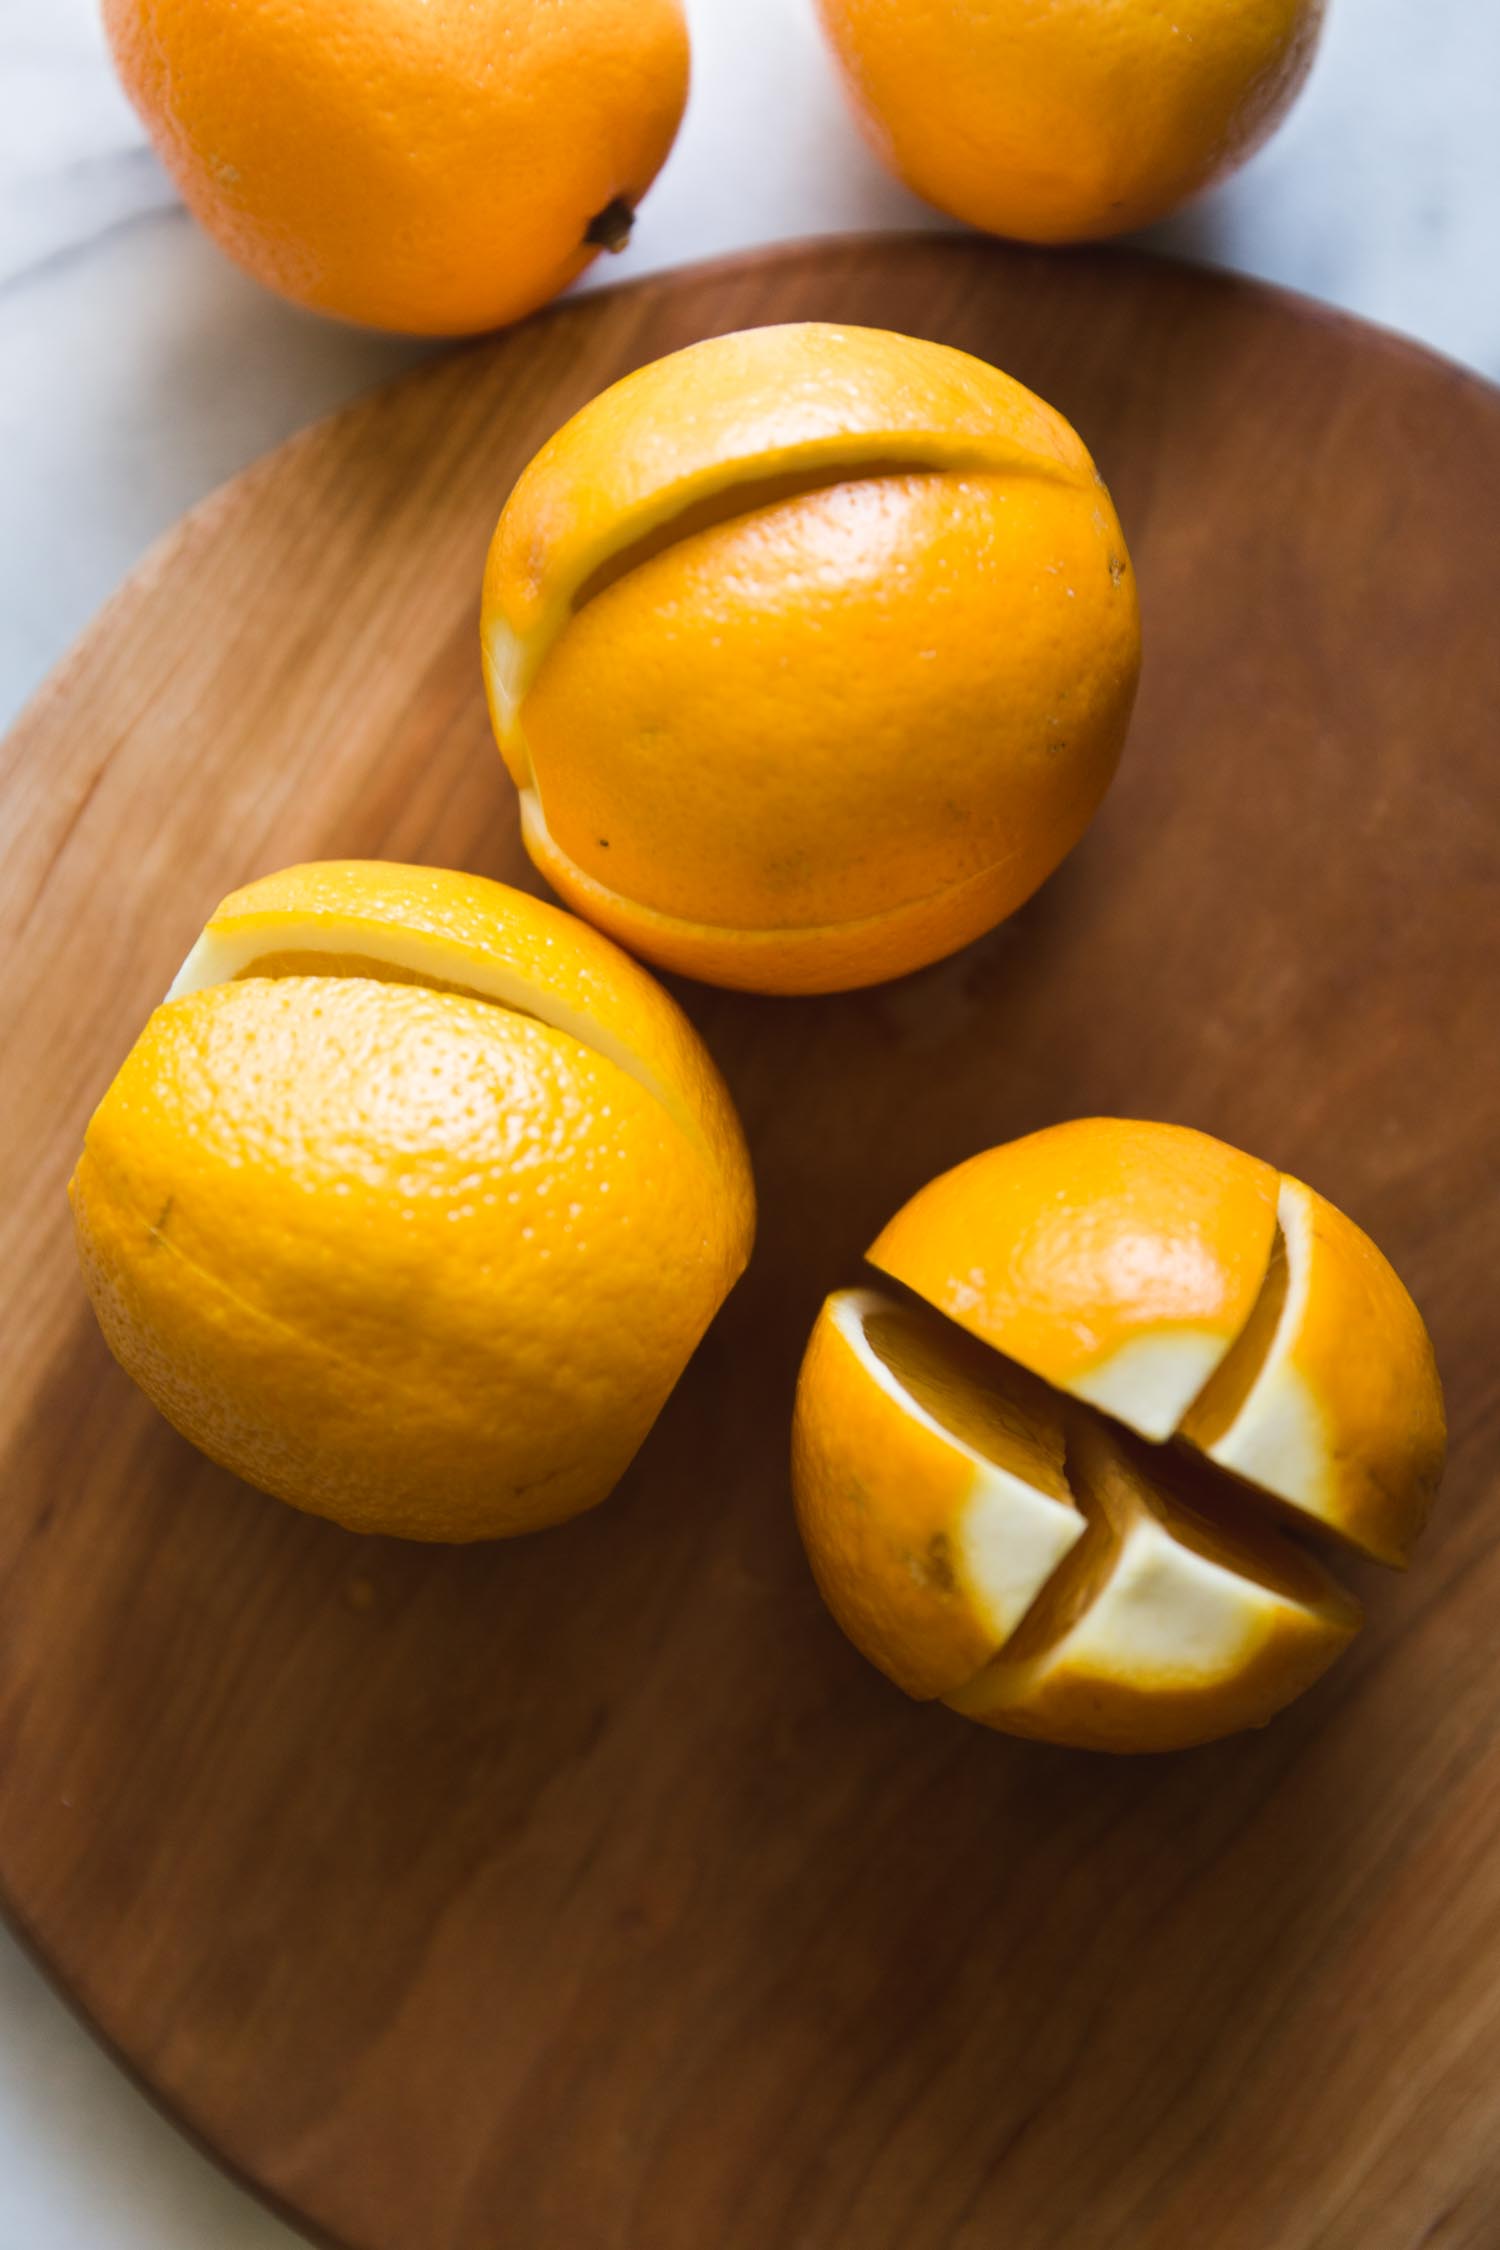
whole roasted carrots w dipping aioli  |  braised endives  |  whole roast chickens w pan sauce & lemon wedges
seasonal salad with cashew dressing
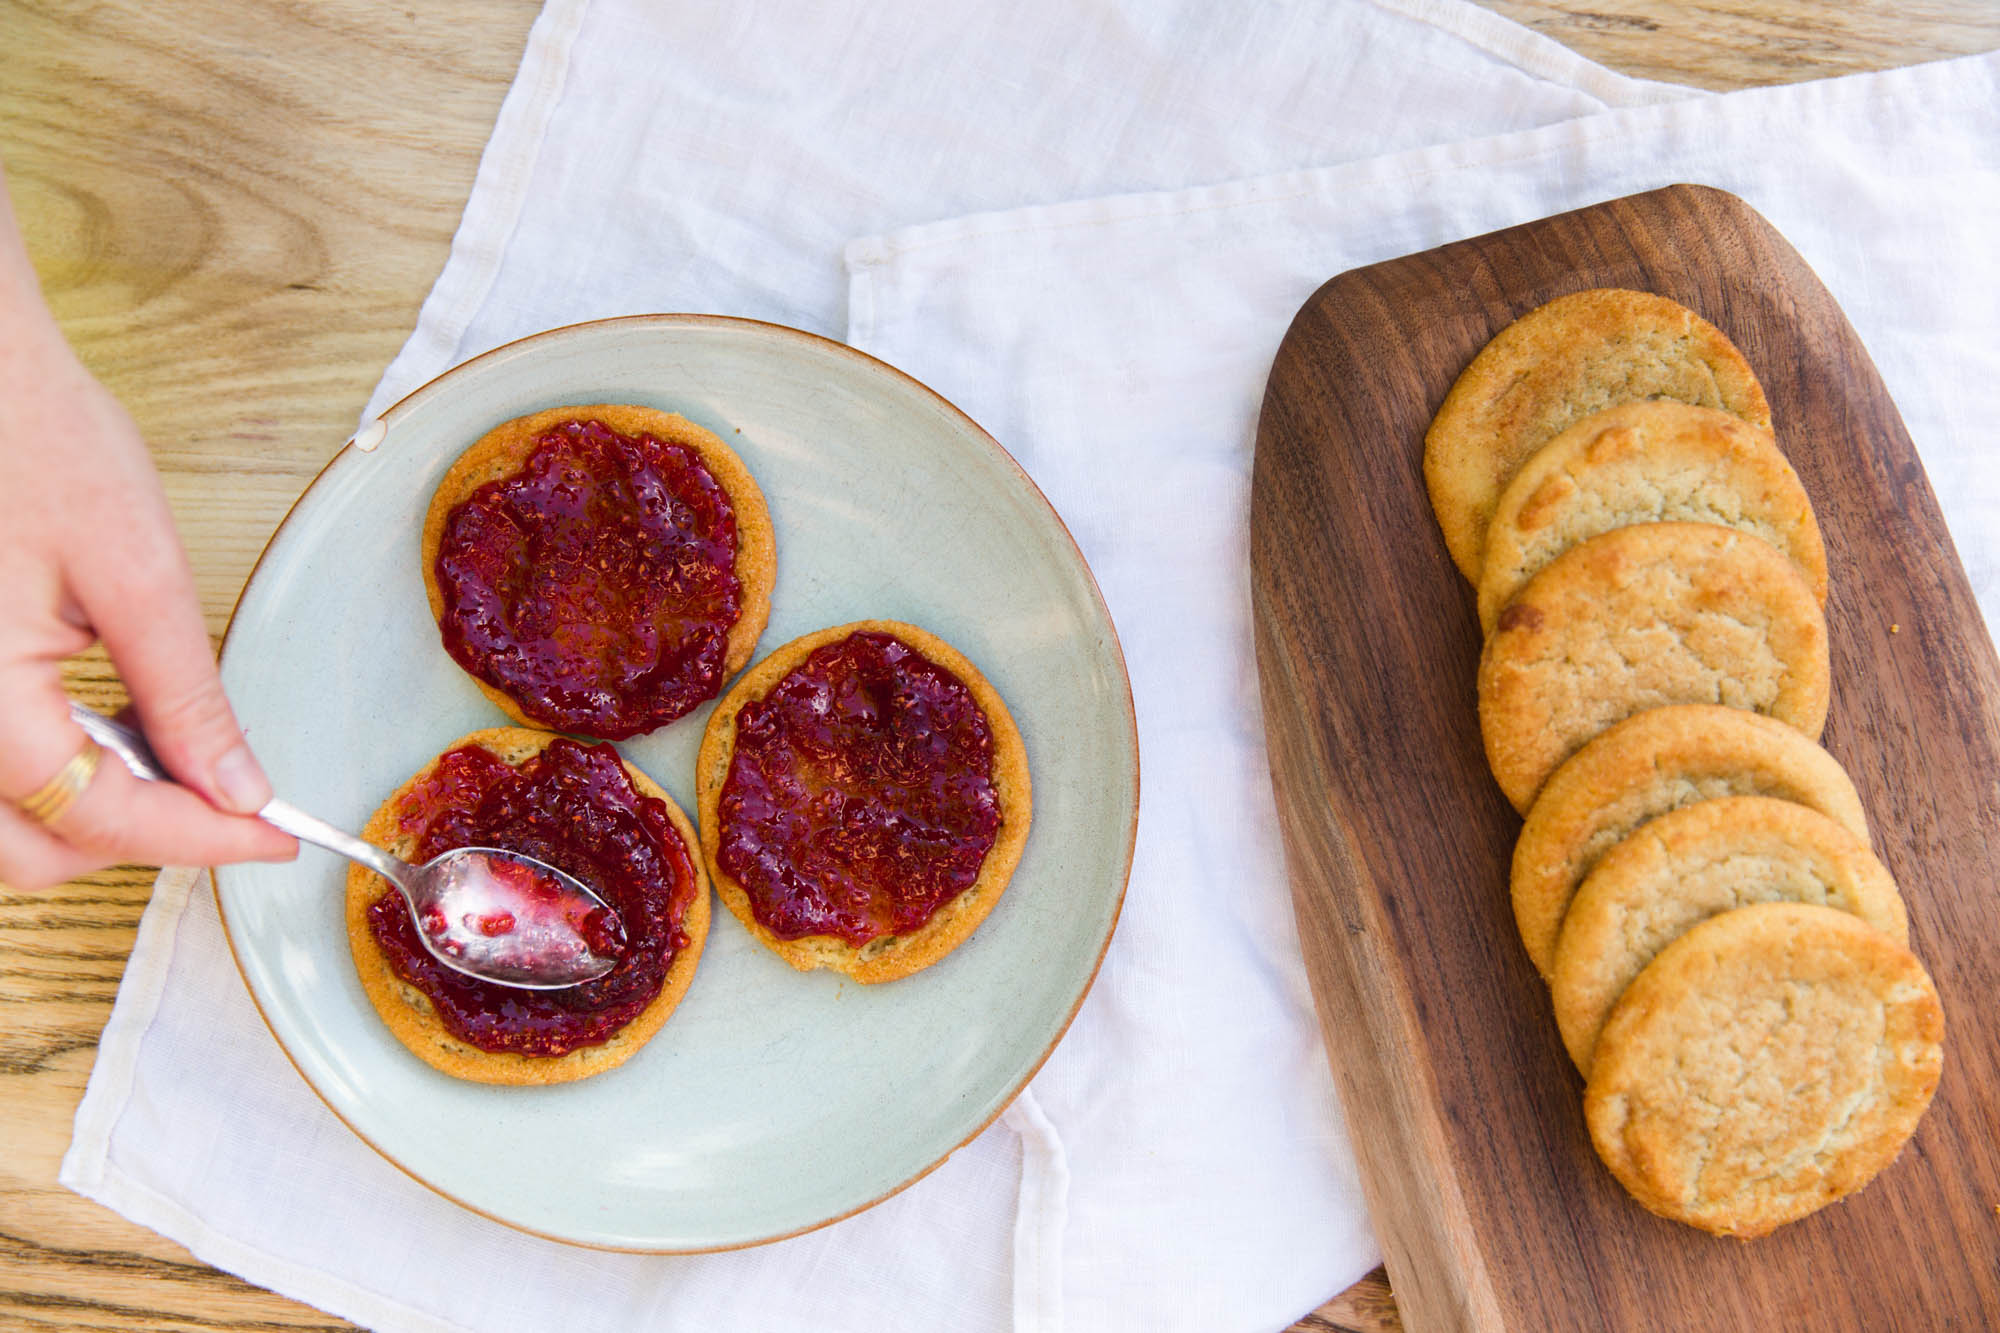
TO FINISH

homemade truffles with cocoa or walnuts
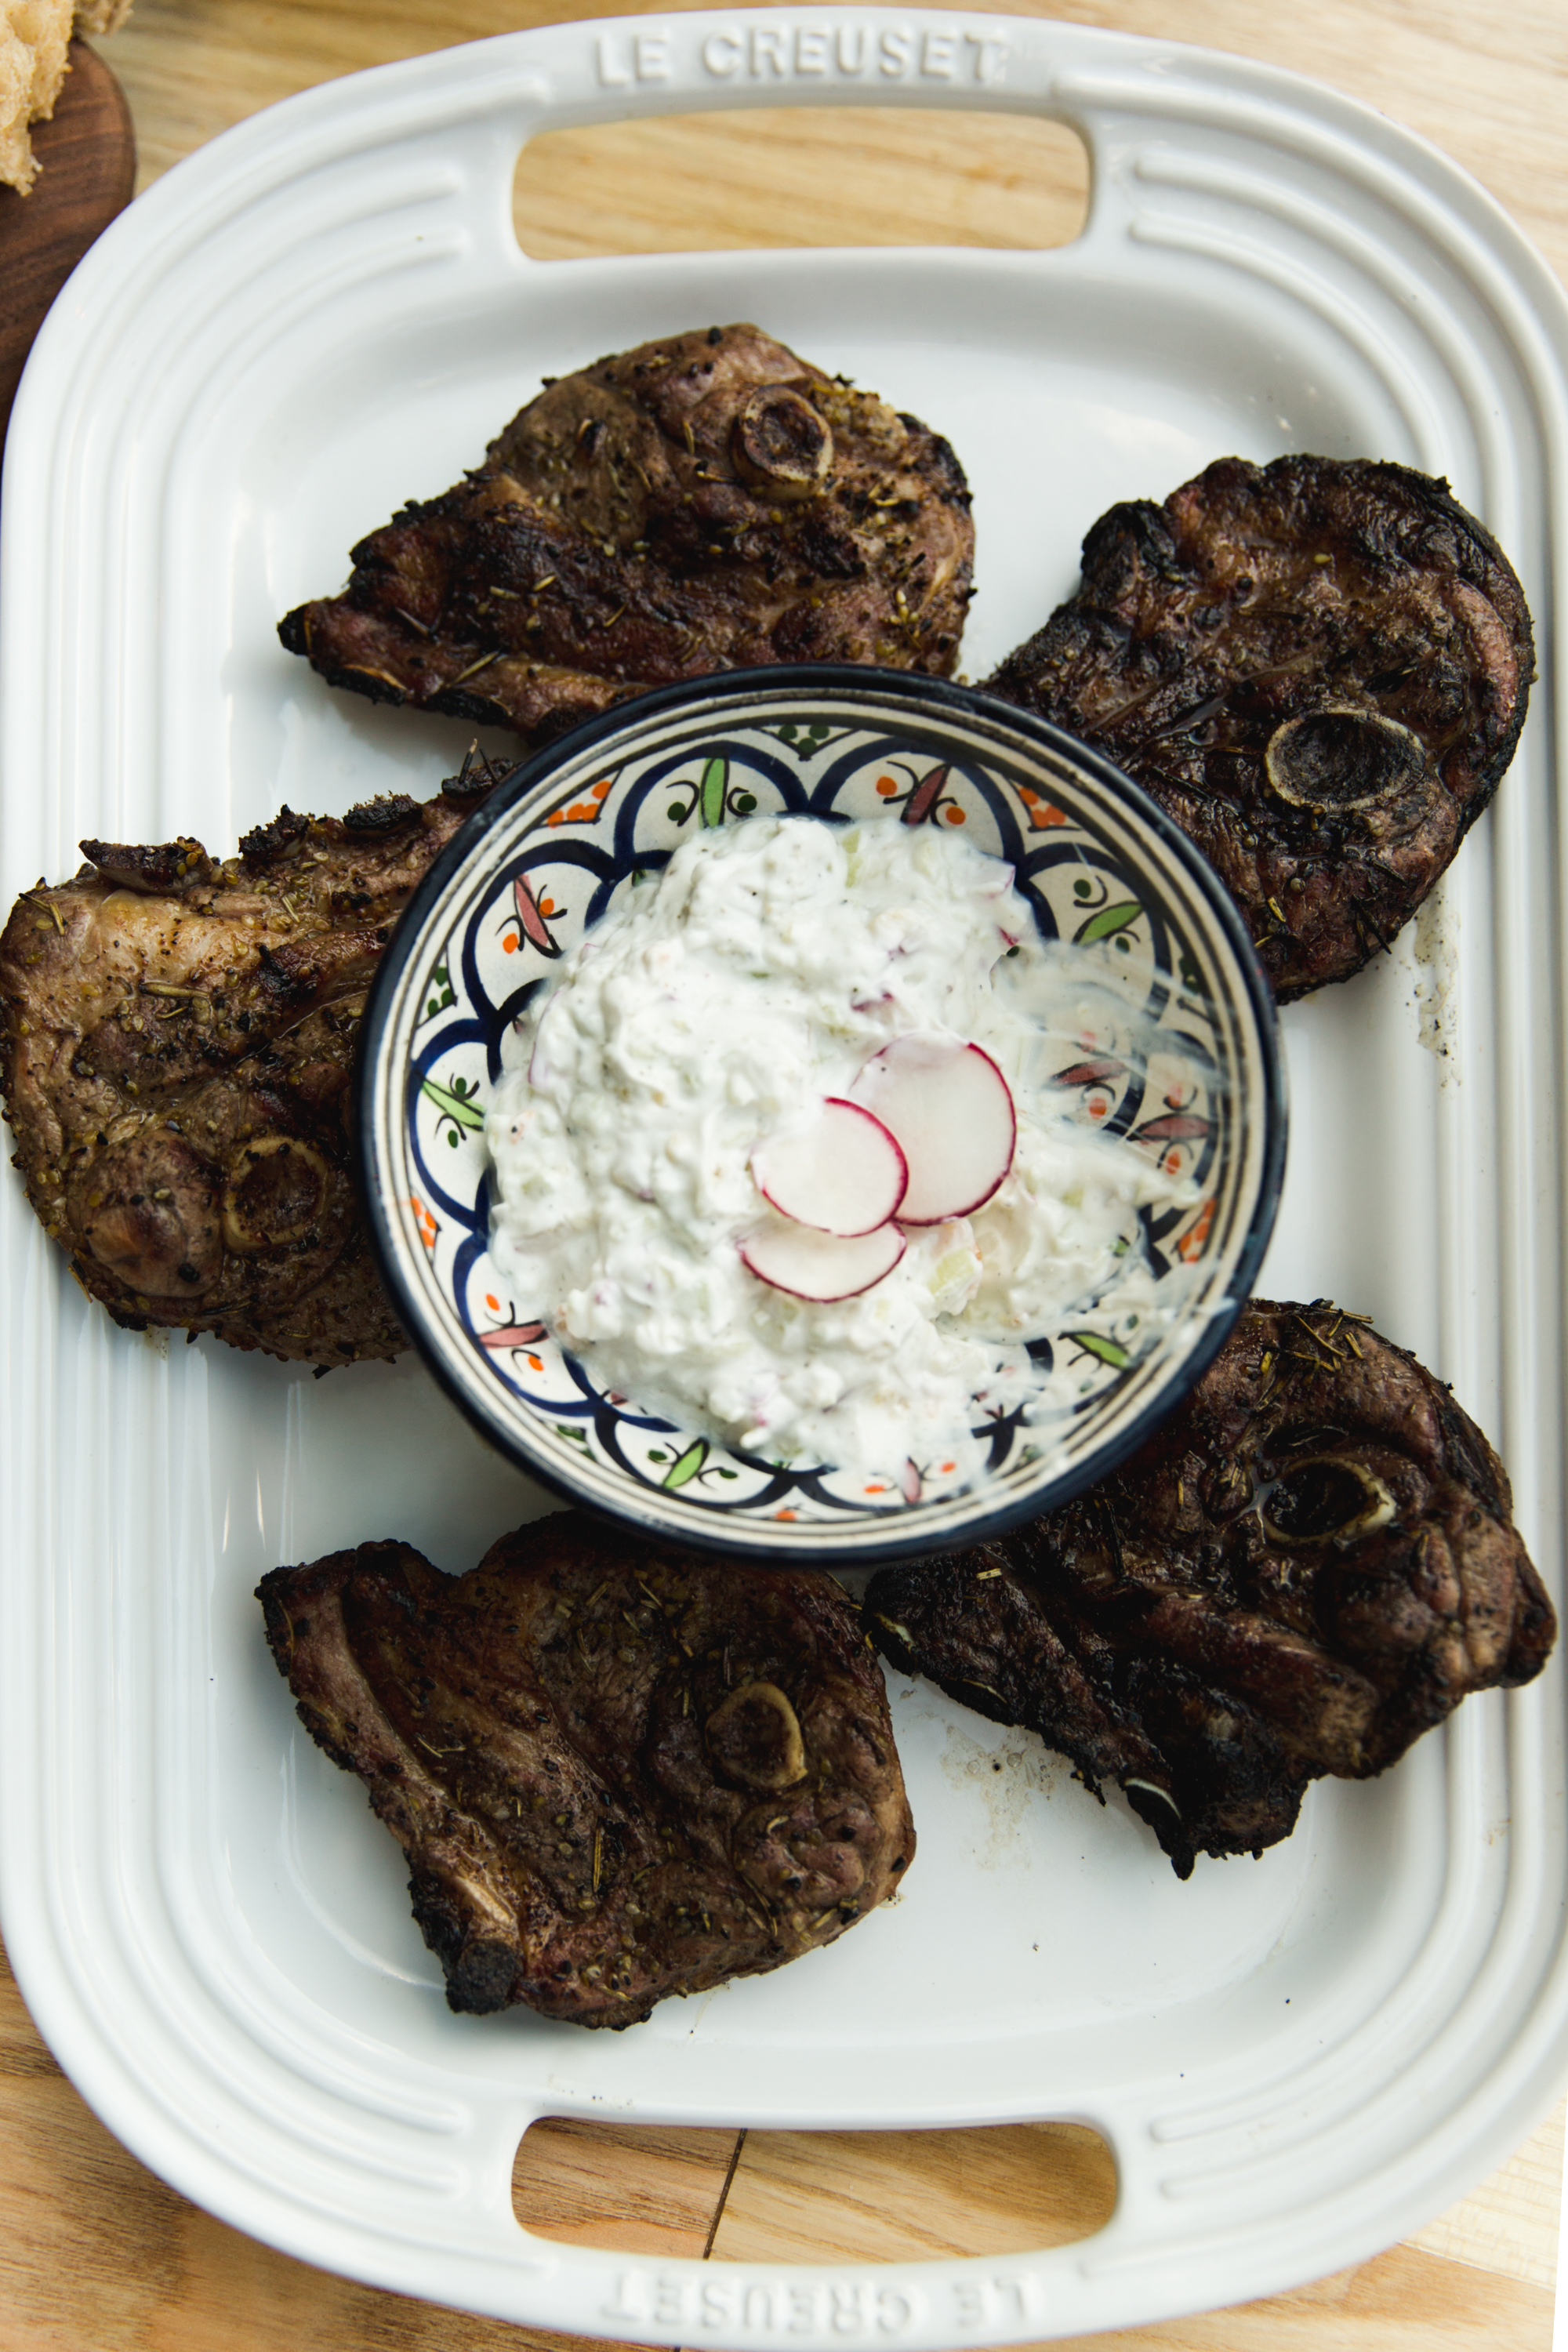
Menu Night Two

To Start

pita | baba ganoush | labneh | cucumber salad | whole olives 

To Savor

roasted cauliflower with green zatar and pomegranate seeds | espinacas | meat balls with chilli oil seasoning | pickled veggies | black rice with seasonal veggies | white beans with tomato 

To Finish

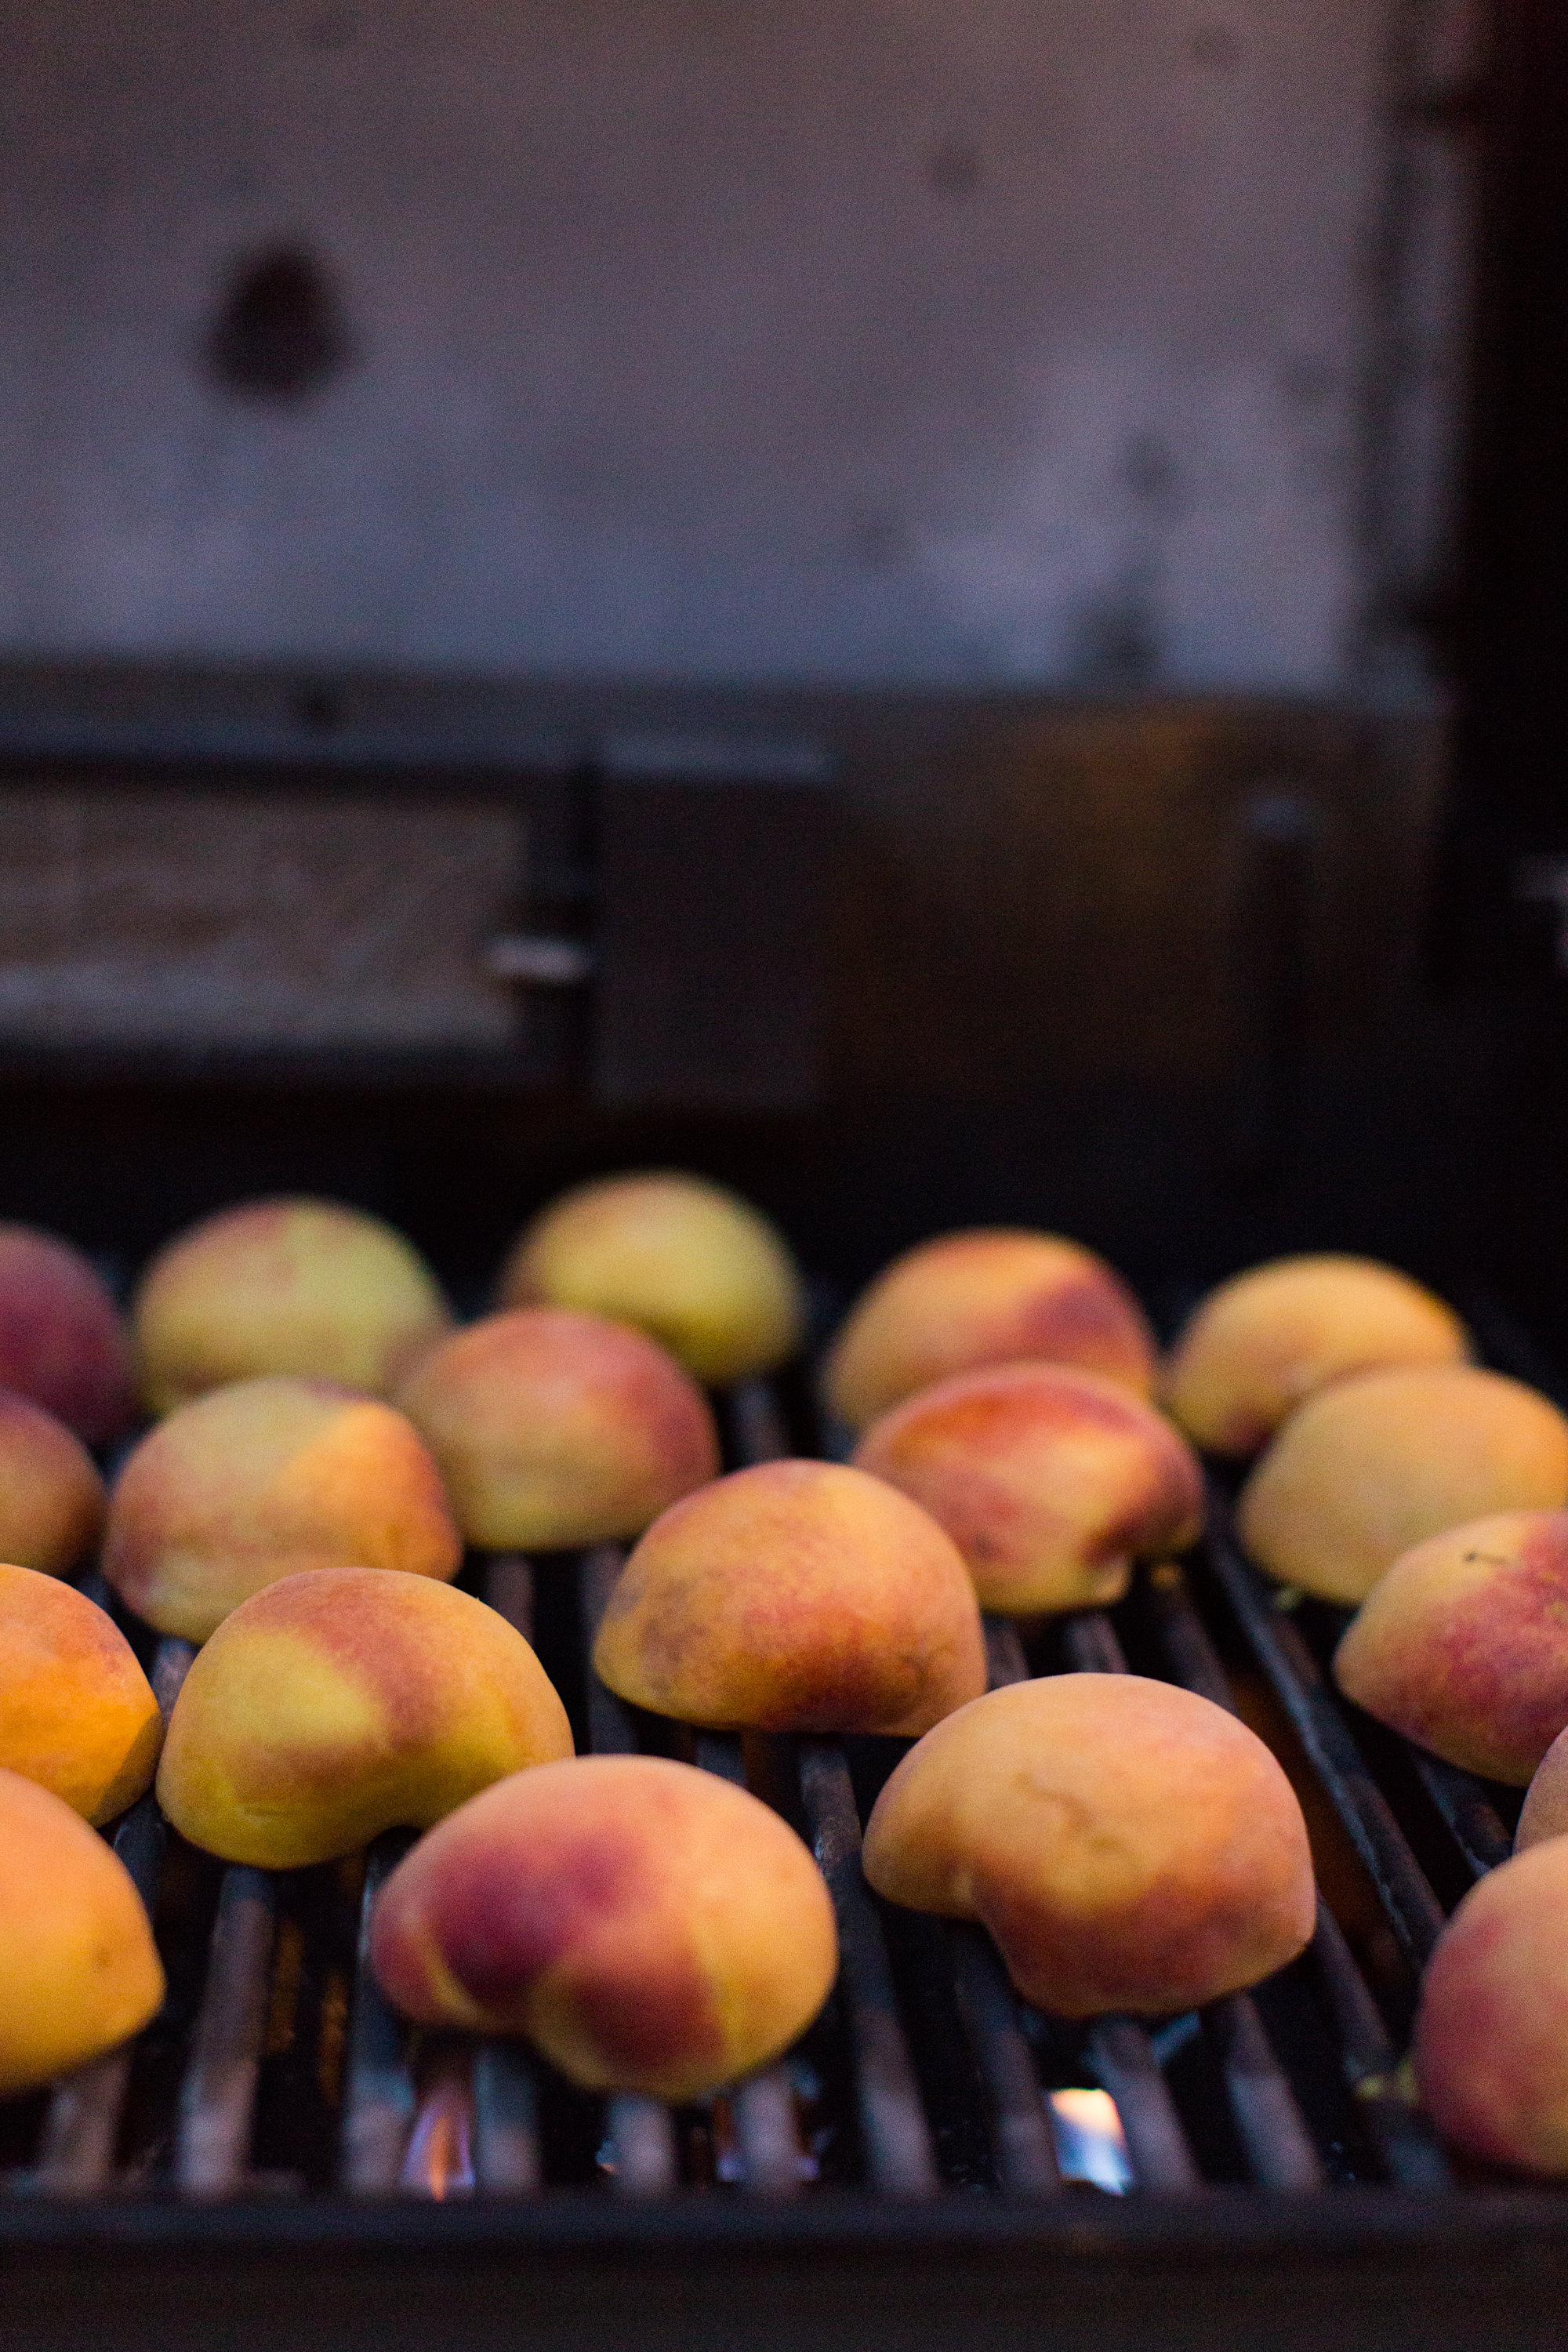
olive oil cake | whipped cream | peach compote


Pumpkin Recipes For Fall


Today was the first day that I felt it; a fog rolled in and a slight chill settled around Denver reigning in the start of sweater weather. And with the cooling temps comes the warm and nostalgic flavor of pumpkin.

I partnered with Sprouts Farmers Market to bring two pumpkin recipes to celebrate the new season. Sprouts has a variety of fabulous new pumpkin products that are perfect for any fall craving. 


Savory Pumpkin Tart

Tarts are one of my favorite dishes because you can fill them with just about anything like a sweet lemon curd or in this case, savory pumpkin.


1 raw pie crust
1 15oz Sprouts canned pumpkin
1/3c ricotta cheese
2/3c heavy cream
1T fresh sage, minced
2 eggs
1t salt
½t pepper
goat cheese

  1. If making your own crust, roll out dough, shape into pie or tart pan, and then let chill in the fridge for at least 30 minutes before baking.
  2. Preheat oven to 400 degrees.
  3. Combine canned pumpkin, ricotta cheese, heavy cream, minced sage, eggs, salt and pepper in a large bowl, whisking together until fully combined and smooth.
  4. Prick bottom of pie shell with fork and pour mixture into shell.
  5. Top with mounds of goat cheese.
  6. Bake for 45-50 minutes, until cooked all the way through, the crust is browned, and the goat cheese is beginning to brown as well.
  7. Remove from oven, garnish with additional sage leaves, and let cool for 5 minutes before serving.


Pumpkin Snap Chicken

First of all these cookies make holiday feelings flood your mind and soul. And bonus: they turn regular old chicken into an absolute dream.


Ingredients

8 pieces bone in skin-on chicken thighs
1c Sprouts Pumpkin Snap Cookies
1/2c Sprouts all purpose flour
1t Sprouts dried rosemary
1/2t salt
2-3 eggs

Instructions

  1. Preheat oven to 375 degrees.
  2. Blend a few handfuls of pumpkin snap cookies in a food processor until you’ve achieved a fine crumb. Measure out 1 cup and place into a bowl with flour, rosemary and salt. Mix well.
  3. Whisk eggs in another medium bowl.
  4. Pat chicken dry and trim excess fat. Coat chicken thighs in egg mixture and then dredge with cookie crumb mixture, making sure to shake off all excess crumbs.
  5. Place breaded chicken on on a lined baking sheet and bake for about 45 minutes, or until center of chicken registers at 165 degrees.


Sprouts Event at Cook Street


Cooking classes are one of my favorite things in life (maybe that's why I'm starting to teach them)! So when Sprouts contacted me about a blogger event they were throwing at Cook Street School of Culinary Arts, a top notch cooking school in Denver, I jumped on the opportunity.

We spent the night learning how to make and stretch home made pizza dough, create our own sauces and dressings, and effectively grill our pies, using delicious Sprouts Brand Ingredients. I even gave pizza tossing a try, which pretty much meant effectively slinging flour everywhere. My favorite part was learning how to make my own garlic infused olive oil, which was the inspiration of this amazing pizza recipe. Needless to say it was a blast.  

I also had the privilege of meeting this awesome group of bloggers in the Denver / Boulder area:

Climbing Grier Mountain  |  Cookistry  |  Good For You Gluten Free  |  Habits of a Modern Hippie  |  Mere's Nutty Kitchen  |  Run To The Finish  |  Sailor Bailey  |  South On Broadway  |  With Our Best


Homemade Gnocchi & Garden Party


I hope to have a garden one day. Like a full blown, almost takes over your life garden. The kind that you have high hopes for and make statements like, "Now I'll never go to the grocery store again," and "I would have made a great pilgrim!" 

That's why when Carolyn, who has an amazing garden said she wanted to host a party in her back yard with produce from her garden, I almost backflipped. Carolyn's mom had a degree in botany, and can tell you how to grow pretty much anything. No wonder her garden is so marvelous; she has learned from one of the greats! 

We picked a "labor of love" menu (which means we were in over our heads) and Carolyn invited some of our closest friends & family. She got up early in the morning to start the bread making process and I joined in a bit later. We pruned artichoke, picked veggies from the garden, tended to dough, boiled potatoes, made and hand rolled each individual gnocchi, picked out cocktails and paired wine. Needles to say, it took all day. #worthit


Menu

Grilled Peach Cocktails  |  Fresh Garden Carrots  |  Grilled artichoke  |  Garlic Aioli  |  Sourdough Bruschetta  |  Melon Salad  |  Carrot Top Pesto  |  Gnocchi  |  Lavender Cream Pops


Grilled Peach Cocktails

These may have been my favorite item of the night and the flavor of the roasted peaches went perfectly with the artichoke. This was adapted slightly from a cocktail book. Makes 4 cocktails.


Ingredients

3 peaches, halved
aged rum
8 sprigs fresh thyme
simple syrup

instructions

  1. Heat grill to medium high. Half peaches and remove pits. Grill peaches cut side down until outside begins to caramelize and leaks juice. Turn over and cook for an additional minute. Let rest until cool enough to handle. 
  2. For each cocktail, muddle 1/2 peach & 1 sprig of fresh thyme in cocktail shaker. Stir in 2oz of rum and 1/4oz simple syrup.
  3. Strain into cup with ice & garnish with fresh sprig of thyme and additional quarter of roasted peach.


Grilled Artichoke

Artichoke may take time to cook into submission, but it is well worth it. Top with lemon & dip in melted herbed butter or a garlic aioli. You will need a pastry brush and a steaming basket for this recipe.


Ingredients

4 artichokes
1 recipe garlic aioli
1/2c lemon juice
1 lemon, cut into wedges for serving
 

prepping artichoke

  1. Cut off tip of each artichoke stem and use a vegetable peeler to peel off the outer layer of the skin. Brush exposed stem with lemon juice to keep it from browning.
  2. Pull off any leaves on the stem, and first layer of leaves around the base. These leaves tend to be very tough. 
  3. Cut 1/4 of the artichoke top off, brushing the exposed top with lemon juice.
  4. To the remaining leaves around the artichoke, cut the sharp tip of each leaf off, leaving a blunt edge.
  5. Cut each artichoke in half and brush with lemon juice.
  6. Remove the furry inside using a sharp knife or spoon, making sure to leave the fleshy heart in tact. 

Cooking artichoke

  1. Bring a large pot fitted with steamer basket to a boil, making sure the water line doesn't come up past the steamer basket.
  2. When water has come to a boil, place artichoke in steamer basked and steam for 45 minutes to an hour, refilling water as necessary.
  3. During last 5 minutes of steaming, heat grill to medium heat. When artichokes are done place cut side down onto grill for 5-8 minutes, until leaves are chard and grill marks are achieved.
  4. Serve immediately with garlic aioli and fresh lemon wedges.


Sourdough Bruschetta

We baked two loaves: one we served with dinner, the other we used to make bruschetta fresh out of the oven. This is by far one of my favorite things to do with sourdough, especially if it's a few days old. Find the recipe here. 


Melon Salad

It is important to use the ripest melons you can find. The melons are the hero here, and unripe and un flavorful just won't do.


Ingredients

1/2 honeydew or green melon
1/2 cantaloupe or yellow or orange melon
1c small tomatoes, halved
1/4c feta cheese
1T sherry vinegar
2T live oil
pinch of pepper

Instructions

  1. Halve melons and remove seeds. Cut melons into about 1/2" chunks or use a small melon baller.
  2. Combine melon in large bowl with halved tomatoes and feta cheese.  
  3. Mix with oil, vinegar and pinch of pepper.
  4. Chill in fridge or serve immediately.


Carrot Top Pesto & Homemade Gnocchi

This recipe comes from a friend of Carolyn's from college, who grew up cooking with his Italian Nonna. This pasta dough is amazing, though it takes a bit of elbow grease to make. All potatoes are different sizes, so the amount of flour you have to add all depends on how much potato you are using. It really comes down to feeling out the dough to know when it is ready to roll and cut. 


Ingredients

4 large potatoes
1-2 eggs
white flour

Instructions

  1. Boil potatoes until soft, as if you were making mashed potatoes.
  2. Drain potatoes and mash well in a bowl. Once cooled, drop in one beaten egg.
  3. Knead the mixture together and add 1/4 cup of flour. Mix well.
  4. Place dough on counter and repeat this flour adding + kneading process until the dough starts to come together. 
  5. After dough comes together a bit, continue kneading, adding small handfuls of flour as you go until the dough is smooth and doesn't stick to the counter or your hands. If you add too much flour and the dough becomes crumbly, just add a few teaspoons of water or a little beaten egg till it's incorporated back in. This should take about 10-15 minutes.
  6. When dough is smooth in consistency, roll into ropes roughly the thickness of a finger.
  7. Use a pizza cutter or bench knife to cut the dough into into 1/2" pieces and then roll off the back of a fork to create texture.
  8. Spread gnocchi onto cookie sheets in a single layer to prevent them from sticking together.
  9. Bring a large pot of salted water to boil. In batches, drop 30-40 gnocchi into the boiling water for about 3-4 min. They cook quickly so stay vigilant!  
  10. Drain pasta, top with pesto, and serve.


Lavender Cream Pops with Berries

These may be my favorite pops of the season, with a lovely hint of lavender, and a tart yet sweet addition of berries. We used this recipe, but added in blueberries as well. 


PBJ Ice Cream Sammies


A few weeks ago, one of my best friends in the entire world came to visit us in Denver. How this girl has been woven into my life is a whole other story, but we spent an entire afternoon cooking a delicious meal for us and a few friends.

I had been thinking about my next Sprouts recipe, themed "back to school" and had been talking ideas over with Erin. We spent a while talking about all of the food nostalgia associated with a new school year: dunkaroos, gold fish, lunchables, pixi sticks, pizza rolls ... the list goes on and on. But there is one thing stands out above all others: PB&J. We thought, "why not make a dessert out of it?"

I wanted to make this back to school themed recipe easy enough to be an activity you can do with your own kids or nieces and nephews. Pretty sure I accomplished this because it is my easiest recipe to date and it is DE-LOI-SHUS. 

 
fond life recipe pbj ice cream sammies-6.jpg


PBJ Ice Cream Sammies

This twist on the original is great for a hot summer day. With just three ingredients, working this recipe into your back to school schedule is a piece of cake. Makes 4.


INGREDIENTS

1 Package Sprouts Brand Organic Honey Vanilla Ice Cream
8 Tbsp. Sprouts Brand Raspberry Preserves (or flavor of preference)
8 Large Peanut Butter Cookies

INSTRUCTIONS

  1. Remove top of ice cream container and carefully cut a vertical slit in the cardboard packaging at the top. Gently tear away the container, leaving ice cream in tact.
  2. Slice ice cream into rounds, placing each round an inch apart on plate and let chill for 30 minutes. It melts quickly so work fast!
  3. A few minutes before assembling cookies, place 8 cookies bottom side up on work surface and spoon out 1 Tbsp. Sprouts Raspberry Preserves on the bottom of each cookie.
  4. After Ice Cream rounds have chilled for 30 minutes, place each round on cookie, and top with additional cookie.
  5. Place assembled cookies on plate, cover loosely and freeze for 1-2 hours before serving.


Key Lime Cookie Butter Pops


These popsicles made their debut at last year's summer gathering. The procrastinator in me pushed off getting popsicle molds until the day I made the pops and...well options were limited. The molds were downright awkward so I didn't end up taking any photos of them, but dannnnng were they delicious. Solidly imprinted into the my mind, these delicious pops (which are a very slight variation of smitten kitchen's key lime pops) were begging for me to give them another try. 


image.jpg
 

Key Lime Cookie Butter Pops

This recipe is a slight variation of a Smitten Kitchen recipe. The cookie butter is a great addition to these tart pops, and the cayenne adds a subtle kick to the mix.


INGREDIENTS

2/3 c key lime juice
1t lime zest
1c half and half
1 14oz can sweetened condensed milk
1/4t cayenne pepper
cookie butter

INSTRUCTIONS

  1. Combine lime juice, zest, half and half, condensed milk and cayenne. Mix well.
  2. Pour popsicle molds 2/3 full. Dollop a few scoops cookie butter into each popsicle mold, and top off with additional key lime filling.
  3. Insert pop sticks and freeze for at least 4 hours.
 

Grilled Lamb & Yogurt Sauce


Grilling used to intimidate me, but after a little practice (aka doing it one time), it is my favorite way to cook delicious cuts of meat. The flavor and texture just can't be replicated on the stove top or in the oven. My sister-in-law and her Aussie husband made a variation of this on our family vacation a couple weeks ago and I am obsessed. It is officially my favorite summer dish. 

I got to collaborate with Sprouts for this recipe, and incorporate some ingredients inspired by their hydration workshop.

Serve with toasted bread and mixed greens.


Yogurt Sauce

There's really nothing to this other than chopping your veggies. So easy and goes with just about anything. 


Ingredients

½ cucumber, finely diced
5 red radishes, finely diced
1c whole fat yogurt
2t Sprouts brand garlic & herb seasoning
1T Sprouts brand dried rosemary
1T preserved lemon (optional)
salt & pepper to taste

Instructions

  1. Dice cucumber and radishes finely.
  2. Combine veggies with yogurt, seasonings, and salt & pepper to taste.
  3. Mix well and let chill in fridge until ready to serve.


Grilled Lamb

Just give this recipe one try and you'll realized why I'm absolutely smitten.


Ingredients

4 bone-in lamb chops
Sprouts brand garlic & herb seasoning
Sprouts brand dried rosemary

Instructions

  1. Preheat grill to medium high heat.

  2. While grill is heating, season each slice of lamb generously with Sprouts Brand Garlic & Herb Seasoning & Sprouts Brand Dried Rosemary, rubbing the spices into each side of lamb.

  3. When grill is hot, place lamb on grill, cooking until desired doneness is achieved, about 4-5 minutes on each side). If you like your meat well done, increase your cooking time.

  4. Remove from grill, cover with foil, and let rest for 5 minutes before serving.

  5. Serve with a generous topping of yogurt sauce.


Preserved Lemons


Last fall I made a chicken & couscous recipe that called for preserved lemon. I had never heard of that ingredient so I made the trek down to Whole Foods and paid way too much for a jar. It added a brightness and unexpected flavor to the dis my interest was piqued. 

A couple of months ago, I saw an article about how to preserve your own lemons. This lead me down a rabbit trail of research and much joy when I found out that this method is easy and requires no special canning equipment and is soooo much cheaper than purchasing from specialty stores.


Here are a few links to recipes that utilize preserved lemons:

ONE POT CHICKEN  |  RICE BOWL  |  LEG OF LAMB  |  QUINOA


Preserved Lemons

This is a great preserving recipe because it requires no special canning equipment. When incorporating into a recipe, make sure to rinse the lemon first to avoid over-salting your dish.


INGREDIENTS

4-5 meyer lemons
8oz glass jar with lid
coarse salt
distilled water

INSTRUCTIONS

  1. Sterilize your jar & wash lemons. To sterilize, Bring a large pot of water to boil and submerge your jar and lid for a minute. Let air dry. Drying with a towel may incorporate unwanted bacteria.
  2. Cut the ends off of your lemons, and quarter, careful to not cut all the way through, leaving one end in tact.
  3. Place 1t salt in the bottom of your jar, and 1t inside the cuts of your first lemon. Squeeze lemon into the jar so you start extracting the juice. Place lemon into jar cut side down and press down with end of spoon. Top with 1t salt. Repeat process until jar is full.
  4. Fill any remaining space with distilled water or additional lemon juice.
  5. Let stand for 4 days in a cool dry place away from direct sunlight. After day 4, transfer to fridge.
  6. After the first week, you can incorporate any additional herbs / spice such as dried red chilli, thyme, oregano, bay leaf, coriander, star anise, cinnamon sticks etc. 
  7. Lemons are ready after 4 weeks.
 

original method found here